[
Return to Main Page ] [
Return to Projects Index
] [
Doc's Machine & TWB Store] [
Contact Us ]
[
The Whiteboard Webcomic
]
Making a Needle Scriber, Part 1:
Regular gadget-oriented YouTubers may- or should- already be aware of a fellow known
as Clickspring, who does some amazingly fine work both in the machine shop and behind
the camera. One of his videos, originally for MAKE: Magazine, illustrated the creation of a
needle scriber. I use scribers a lot, so I set out to make one for myself.
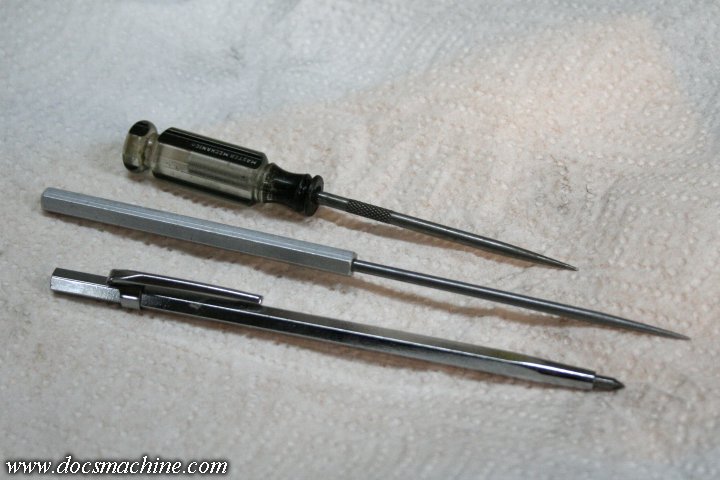
I already have some scribers, and use them a lot- but oddly enough, I kind of hate using them.
To clarify that particular statement, here are my three most-used scribers. The bottom one is a
commonly available replacement- a cheap "carbide
scriber" off eBay. The carbide tip lasts
admittedly forever when used
with aluminum, but it's blunt- the shaft is fairly large in diameter,
with a short, 'fat' point. I can use it for lots of scribing, but it's
nearly useless for tight quarters,
the inside of small holes, narrow
slots, etc.
The middle one is my favorite. I have no idea who made it, and would
love to buy
more if a supplier could be found. The shank is nice and
long and come down to a
needle point that's easily small enough for
virtually all the tiny features I might scribe.
The problem is, while the steel is very good quality and I've only had
to resharpen it a
couple of times, it too is going to eventually "wear
out". I could make one just like it,
but the big trick is in shaping and
hardening the point- I can do it, but it's a lot of
labor and we're
back to the the issue of it eventually wearing out.
Clickspring's solution was simple- use a heavy sewing needle. Simple, durable,
sharp,
thin, and easily and cheaply replaced if and when it gets dull.
Why didn't I think of that?
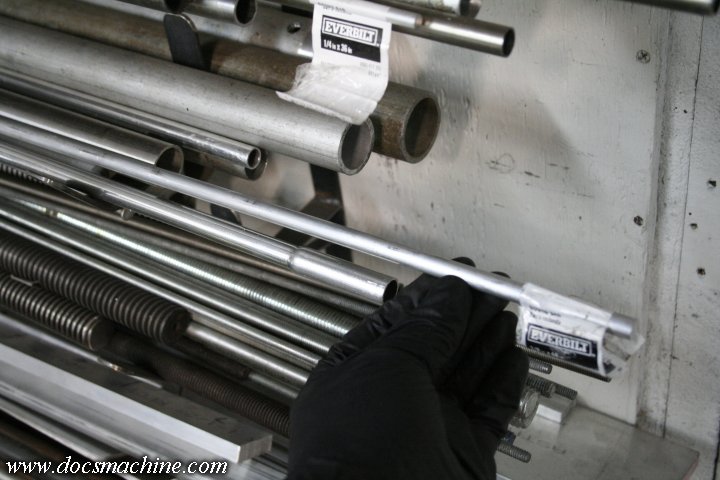
Click's handle is fairly fancy (ish) brass but I thought I could make do with
some aluminum.
I checked my racks, and sure enough I had a couple chunks
of 3/8" mystery aluminum
that I'd bought from the local Homey-Dee.
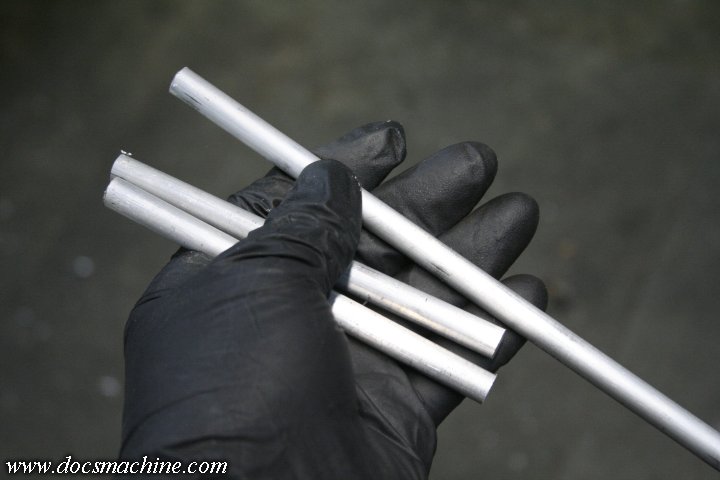
Click suggests that about 5 inches (I thought he was Australian? : ) would feel most comfortable,
so I lopped off two 5" lengths in the bandsaw.
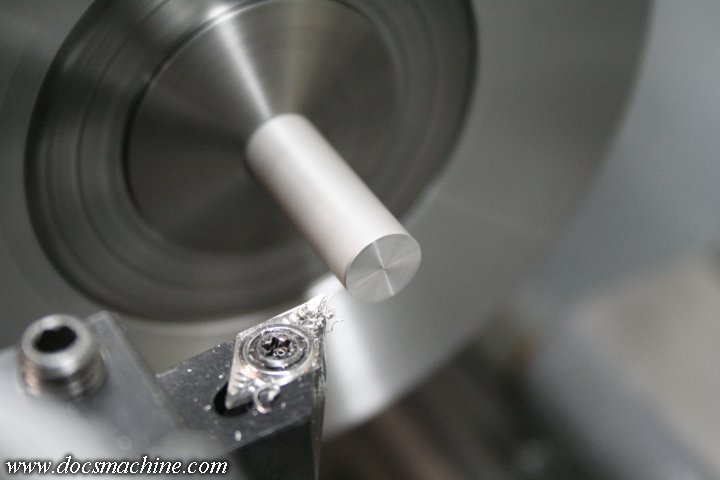
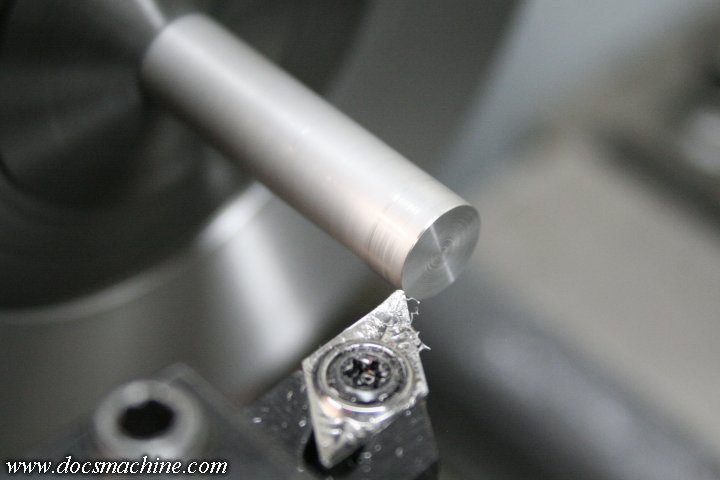
Faced one end...
And used a small form tool I had laying about to round the end.
A splash of WD-40 and a bit of green Scotchbrite evens up the finish a little.
Flipping it around, I faced the other end...
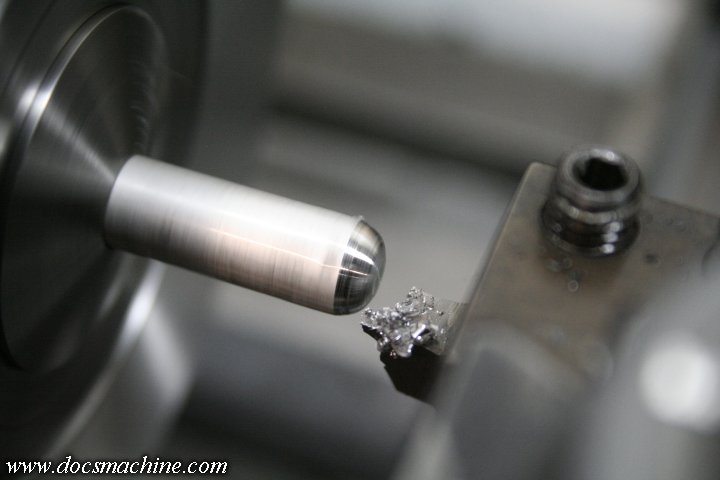
And then swung the compound around to about 6 degrees. For this kind of
turning,
I also use a screwdriver and back off the gib a touch, so it's
easier to turn.
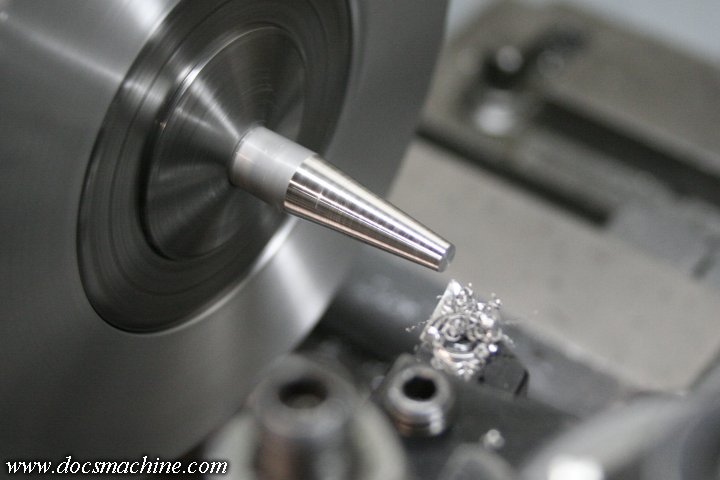
Turn a taper leaving a flat spot on the end about 3/16" in diameter.
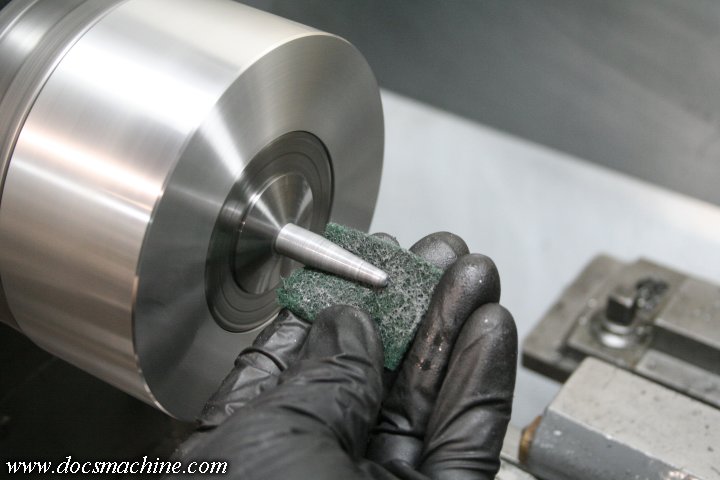
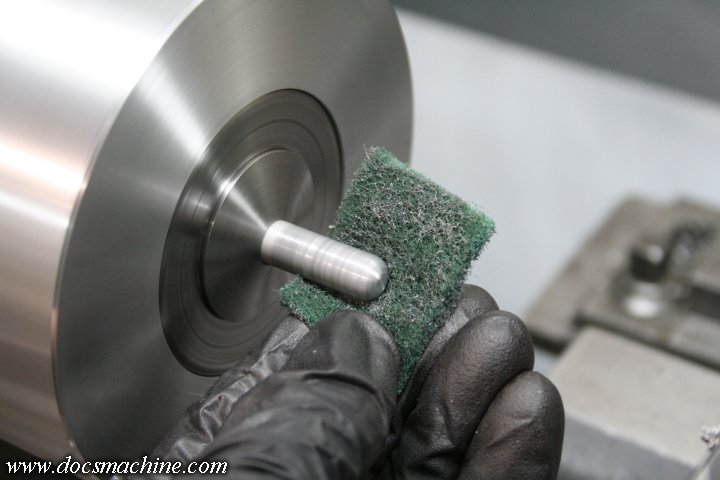
A quick lick with a file rounds the blunt end slightly, and another sweep of the
Scotchbrite blends and smooths the finish.
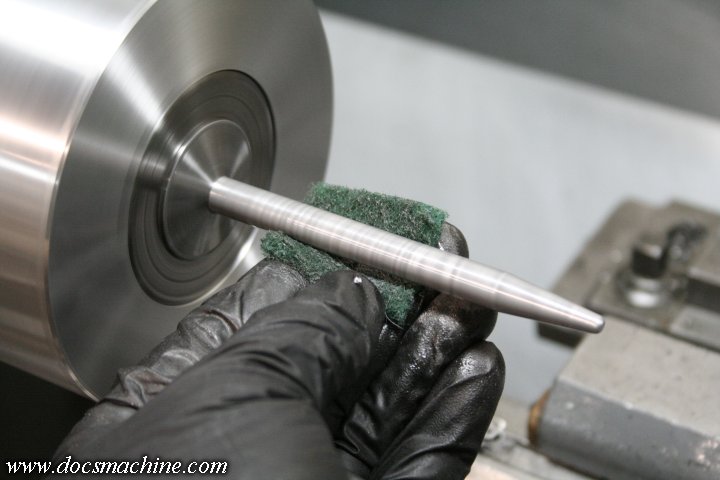
Extend the rod out of the chuck and grip it by the previously-Scotchbrited tail end,
and gently condition the rest of the shank.
All text, photos and graphics
Copyright 1998- 2019, Doc's Machine & Airsmith Services. All Rights
Reserved.
Information contained in
these pages is for reference and entertainment
purposes only. Our methods are not always the best,
quickest, safest, or even the correct ones. It's up to you to know how
to use your own machines and tools.
Keep your fingers away from the spinny blades o' death and you should
be all right.


