[
Return to Main Page ] [
Return to Projects Index
] [
Doc's Machine & TWB Store] [
Contact Us ]
[
The Whiteboard Webcomic
]
Anayak "Exacto" Vertical Mill Rebuild, Part 3:
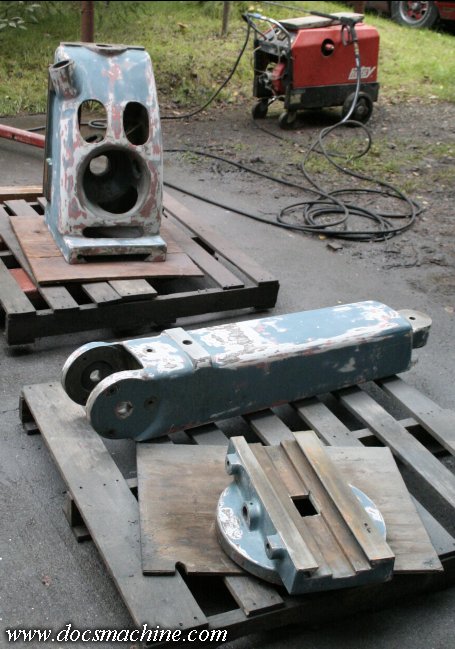
I didn't manage to get any pictures of the cleaning, since it was wet, nasty, filthy disgusting
work, and I had to do it in the rain anyway. Suffice to say I degreased everything with a good
citrus-based cleaner, and power-washed the bejeebers out of it.
Then, once dry, I did a minimal amount of bodywork and sanded everything relatively smooth.
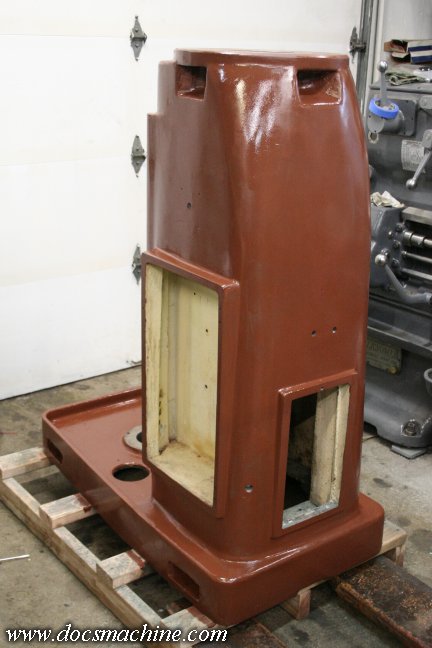
Then primed, using a Rustoleum enamel primer and a 4" detail roller.
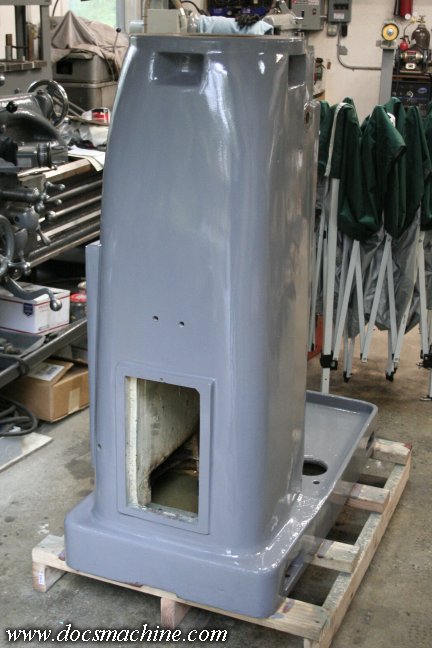
And painted, using Bar-Ox alkyd enamel in a good industrial grey.

While the main pieces were curing, I started cleaning, sanding and priming the smaller bits as well.
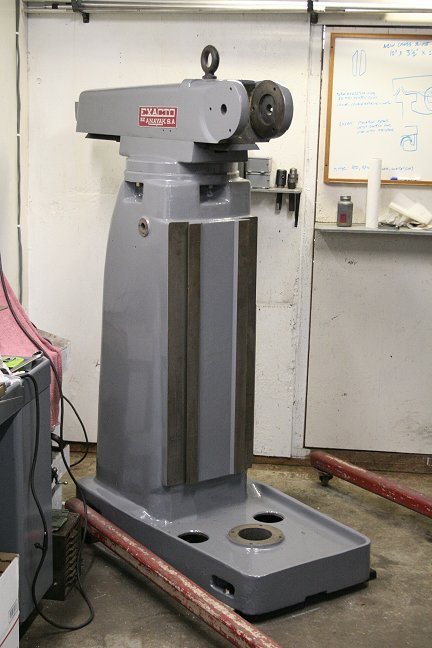
Once the column was painted and dry, it was time to move it into the machine shop and get it placed.
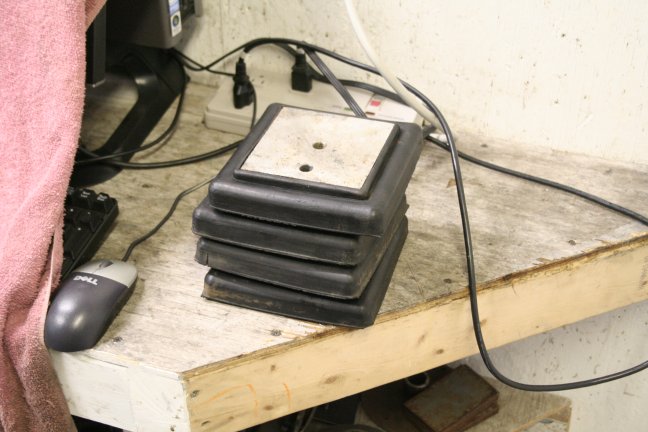
It came with these really nice rubber anti-vibration feet, so I got those cleaned up and ready.
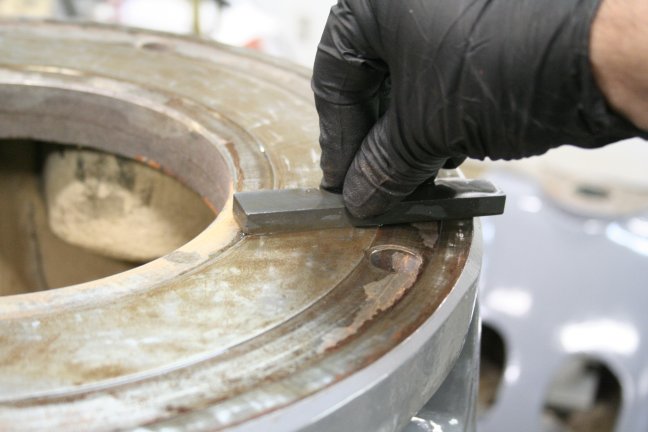
The top face where the ram saddle goes had gotten slightly rusty thanks to the pressure-washing and rain,
so I scraped it clean with a razor blade and stoned it lightly to remove any burrs.
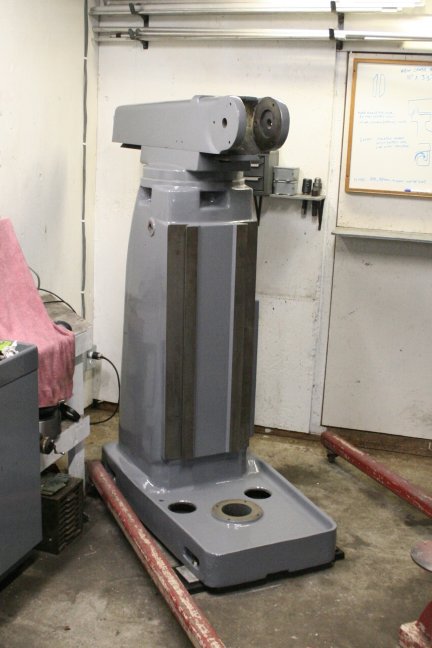
And, with the help of several burly neighbors, I got the column rolled into the shop,
taken down off the pallet, and placed about where it needs to go. It seems like it's
pretty far from the wall, but I wanted to be sure the ram could be slid all the way back,
and still, if necessary, rotated to the side. I could have slid the whole machine a good
18" closer to the wall, but then the head and ram could only rotated a realtive few
degrees to the side- and it's too handy an option to restrict it that much.
And now, for the moment I'm waiting on some new bearings so I can't assemble the knee yet. So in the meantime
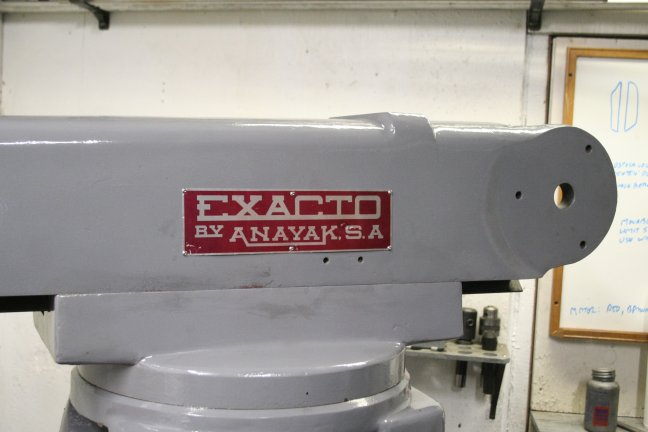
I drilled out the old rivet holes for the placards, and tapped them to 4-40. It was then a simple matter to reattach
the tags with some tiny 4-40 button-head allen-drive stainless screws. First the name tag...
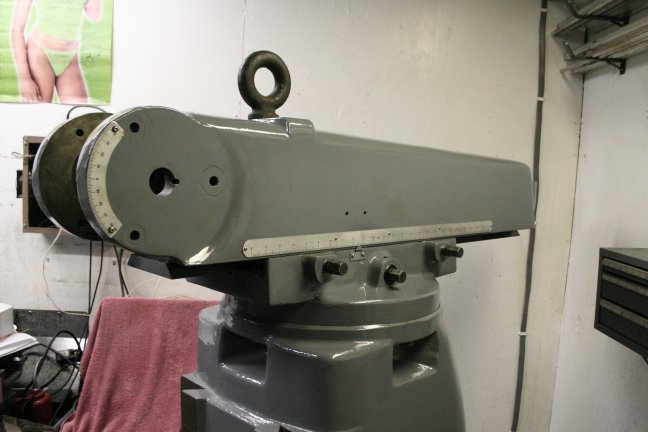
And then the ram yardstick. The yardstick pointer and head angle protractor were already attached
with small machine screws, so those, too, I replaced with some stainless buttonheads.
And so it's complete as far as I can go for the moment. I still need a couple parts
in order to reassemble and install the knee, and I'll have to rebuild the head before
I can install that- plus possibly fabricate a couple of important pieces...
Next up, the Knee!
All text, photos and graphics
Copyright 1998- 2016, Doc's Machine & Airsmith Services. All Rights
Reserved.
Information contained in
these pages is for reference and entertainment
purposes only. Our methods are not always the best,
quickest, safest, or even the correct ones. It's up to you to know how
to use your own machines and tools.
Keep your fingers away from the spinny blades o' death and you should
be all right.


