


|
|
|
|
Today I ran a rather extensive list of checks on the mill. Nothing too terribly involved, much of it was simply
looking for loose parts, and running an indicator over a few things looking for eccentricities or out-of-roundness.
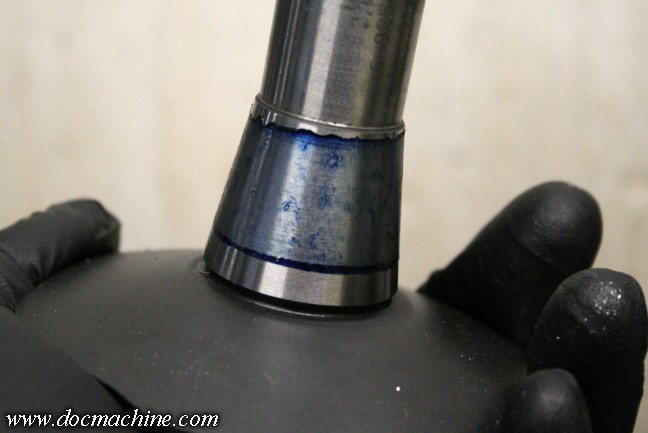
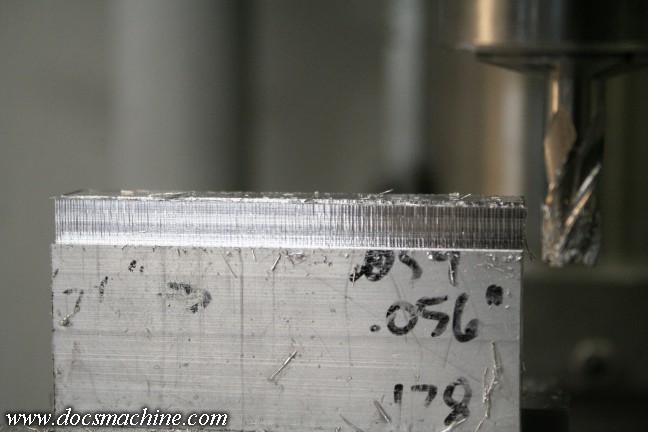
After looking things over, I focused on the spindle. First, I checked to see if the collet taper was good-
if the taper didn't match the collet, it's possible the tool could wobble in the collet. For a test, I smeared
some Prussian Blue in the spindle nose, and seated a good American-made integral-shank indexible cutter,
presumably one of the more accurate tapers I'd have. The tapers match perfectly. The blue is evenly
distributed, with no lighter or darker bands.
It's a little worn, as evidenced by the mottled
appearance- clearly it's gotten some chips in there on occasion, and isn't all that hard.
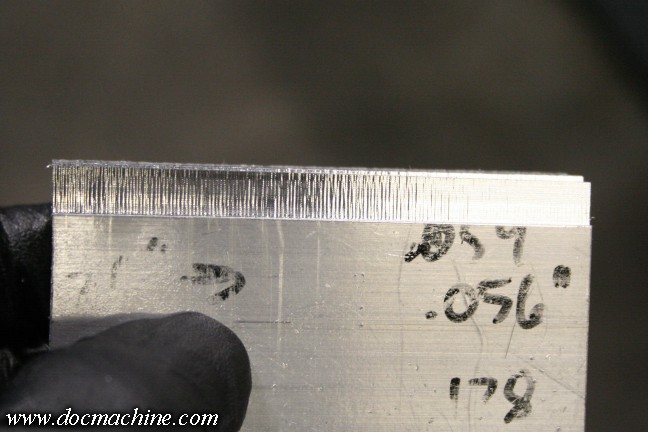
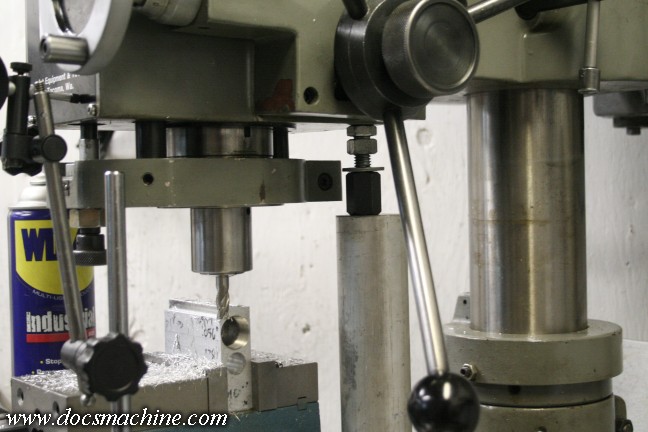
So then I chucked up a 3/8" endmill, and checked it for concentricity, turning it very slowly while indicating it
with a .015" clock. The result was only about .0003" runout. Not the best, but by no means bad either-
and far less than the error we're seeing in the cut.

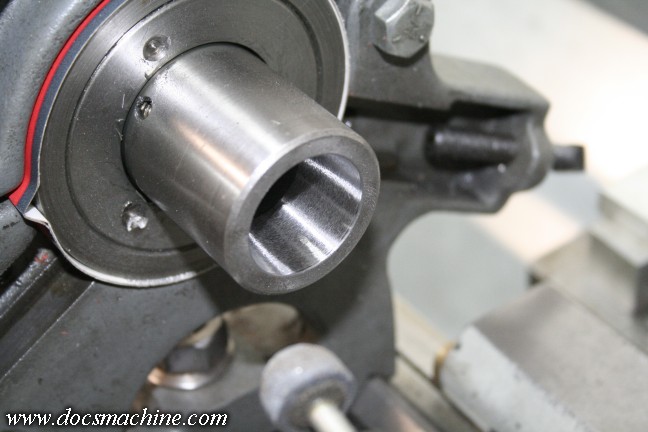
Pulling the spindle yet again, I checked the taper closely, and tried to stone a few of the dings out. Turns out
it was pretty ugly in there. I decided that, even though .0003" wasn't anywhere near the error I was seeing,
between that slight runout and the dings, I might as well fix it. It's a tricky bit of work, but straightforward.
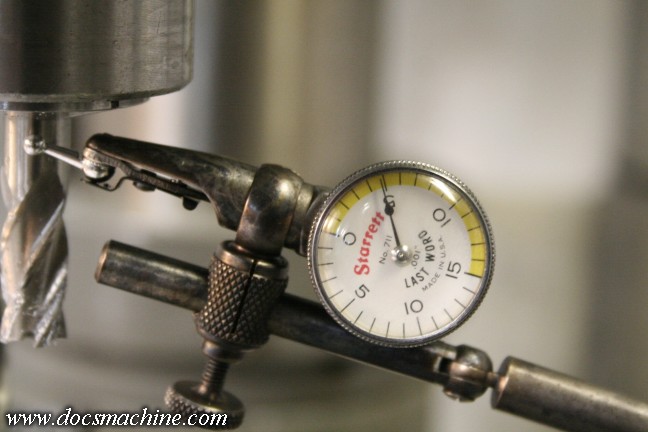
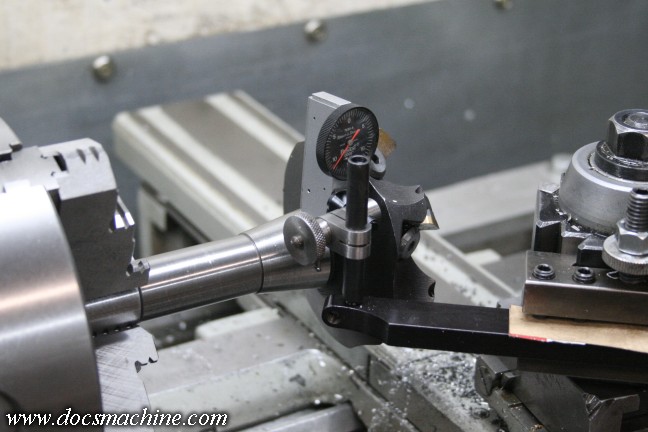
First, I got out the .0005" indicator and set it up in the lathe.
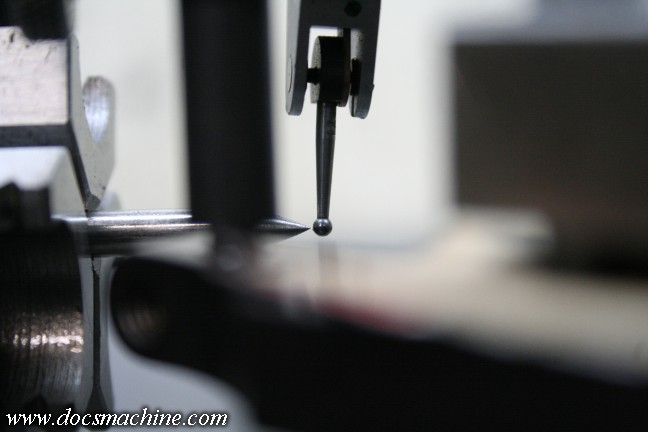
Chucking up on a small ground point, I made sure the indicator ball was exactly on center.
This is important when indicating a taper.
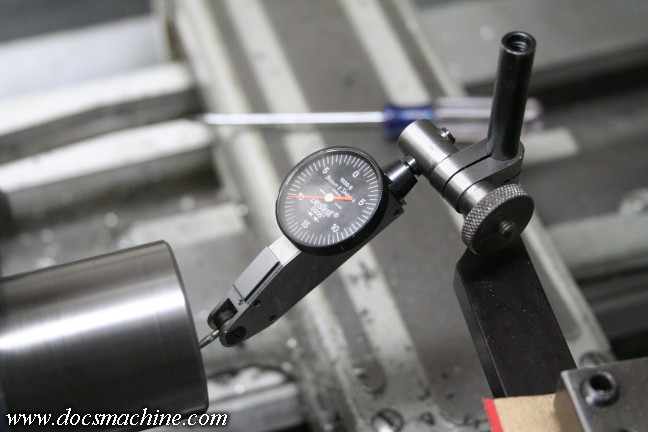
Using that indicator setup, I chucked up the same cutter, and indicated the taper, moving the
compound gently 'til the indicator read zero as I advanced it along.
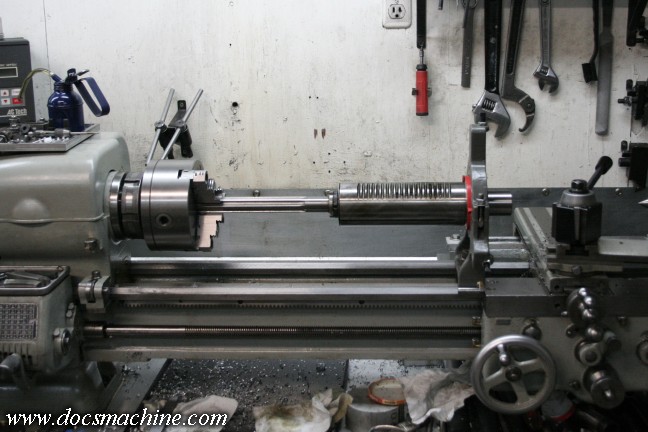
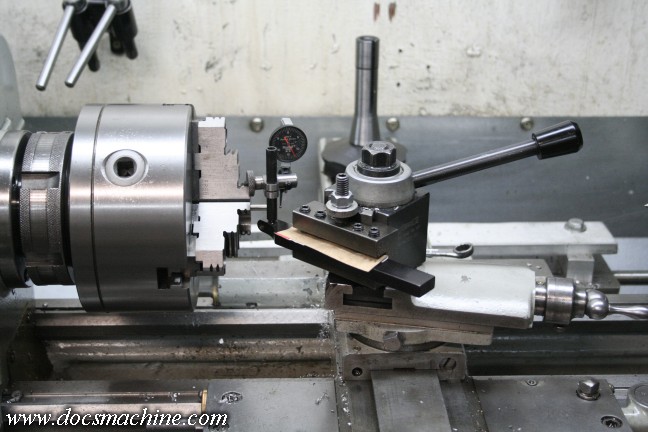
Then I set the spindle up like so- an odd arrangement, though I was lucky enough that with a bit of cardboard
shim, the nose of the quill fit perfectly into my steady rest, after the arms were removed. While the setup is odd,
it will allow me to machine the taper while it's fully assembled, and turning in its own bearings,
which should produce the best possible accuracy- a theoretical zero runout.
So, using the air toolpost grinder I made about a million years ago, and using a carefully dressed stone,
I lightly reground the taper. That's not a job to be taken lightly- it's a good way to ruin things if you're
not paying attention. But I was careful, and the job came out well.
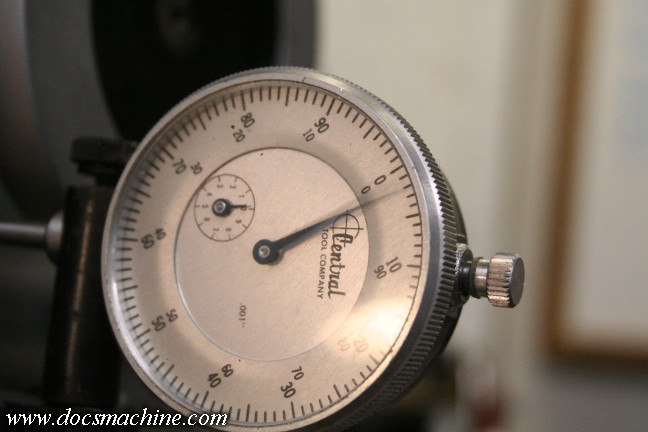
Putting the half-thou clock back on it showed... zero runout. Like, no runout. The needle didn't
even budge while the spindle turned at speed. Dead nuts steady.
I reinstalled it, checked everything, and gave it another test cut! No change. None. It made zero difference.
No change whatsoever. The spindle is now perfect. It's a brand-new cutter, and a good collet I've used for
years with quality results on the other mill. The table's solid. And yet, after all this, all the new belts, all the new
bearings, all the double-checking, it's still giving me the exact same surface finishes it did back when it was
sloppy and worn out. Okay, it's not the spindle. It's not the quill, and it's not the table. What else can it be?
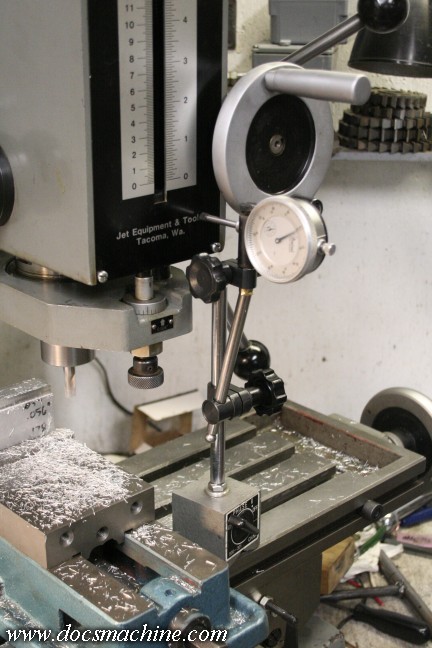
Lacking any better ideas, I set an indicator up to check the face of the headstock, like so.
Turned it on, and just running, no cutting, the needle was doing this. The indicator was showing the entire head
was shaking almost .002". Despite my extra braces, the drivetrain is producing enough vibration to shake the
entire head almost two thousandths. That may not sound like much- and it isn't- but that's more than enough
to produce a bad surface finish.
But how to fix that? My braces apparently aren't all that bracey,
and the cast-iron factory column ain't all that much better.
Just as a quick experiment, I threw together a sort of screw jack, and put some firm upward pressure on the
headstock: Still no change. Even with a fourth point of support, the finish was exactly the same as before.
So basically the drivetrain produces enough vibration that even my big braced table can't hold firm against it.
And that, after all these years, has been the problem since day one.
But how do I fix it? Add more reinforcement
to the stand? How do I smooth out the drive? All the belts and bearings are already brand new, and freshly serviced.
Do I balance the pulleys? That's not really a home-shop job, and I have no idea what it would cost to have a
professional do it.
Or even that it would help.
Do I ditch the entire vari-drive and go with a straight set of change
pulleys? I'd been considering that for years, back when I thought most of these parts were more badly worn
than they are.
I may have to set this particular project aside and ponder options for a while.
 |
 |
 |