


|
|
|
|
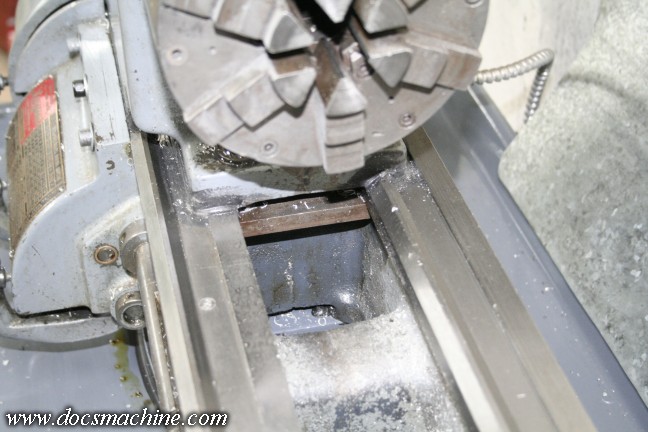
Here's the problem: There's three gaps there, where coolant, chips and other gunk can fall into the base of the lathe,
and therefore down into the cabinet. That kinda-rust-colored bar in the center, directly under the chuck bolts the
headstock down to the bed casting. Behind it is a largish gap over the top of the bed casting crossbar,
and down into the well where the belt goes. So basically there's a gap above the bar and below it,
with a third at the bottom of the bed- you can see that spot of lighter grey with the silvery swarf on it.
All were too big to just stuff with sealant- although that's exactly what had been done to it when I got it-
in one case, a chunk of rag had been stuffed in first to back up the sealant.
The bottom gap was the smallest
of them all, and the hardest to fill with anything else- as in, no way to attach anything without drilling a hole,
and an odd shape so a filler piece would have to be weirdly shaped.
That one I did just fill with sealant,
but as we'll see, I also guarded it.
The key to the top gaps was that crossbar. Instead of a flat bar, I'll
make a T-shaped one that would fill in the top gap- at least enough that a thin layer of goop would seal it.
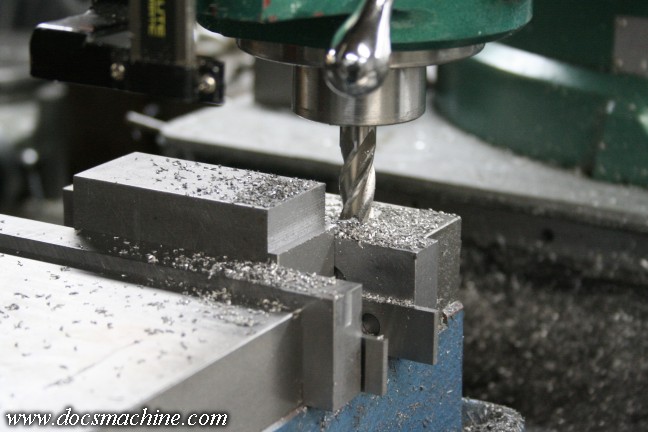
So, a block of 1-1/2" square bar, squared and notched on either end...
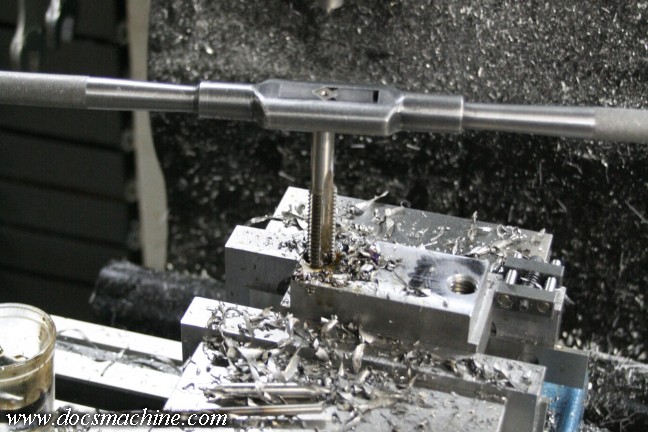
Drilled and tapped (I also bumped up from the old 7/16" bolts to 1/2"- the holes in the
headstock casting were already drilled to half-inch.)
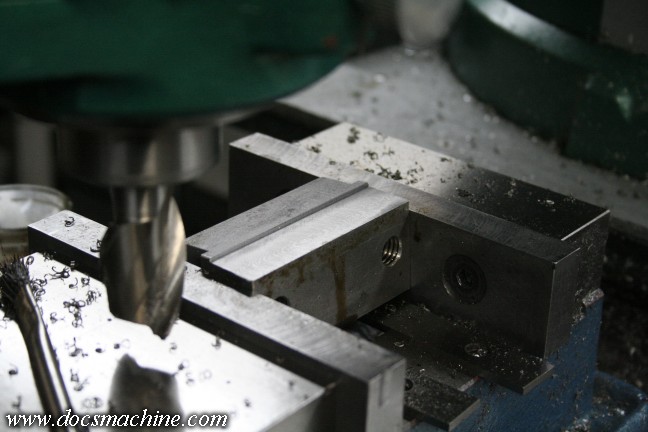
The front face set at an angle of, oh, about there, and milled....
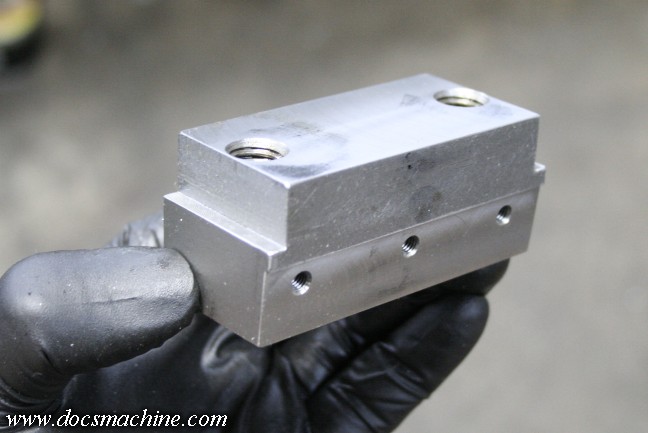
... Gets us this new clamping bar.
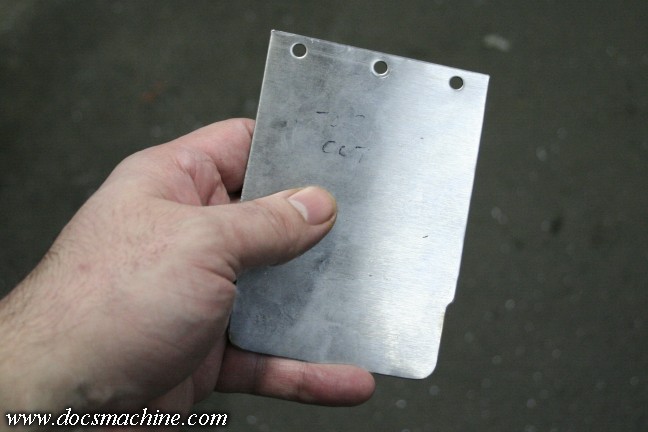
And the final piece is a carefully-fitted sheet of stainless steel.
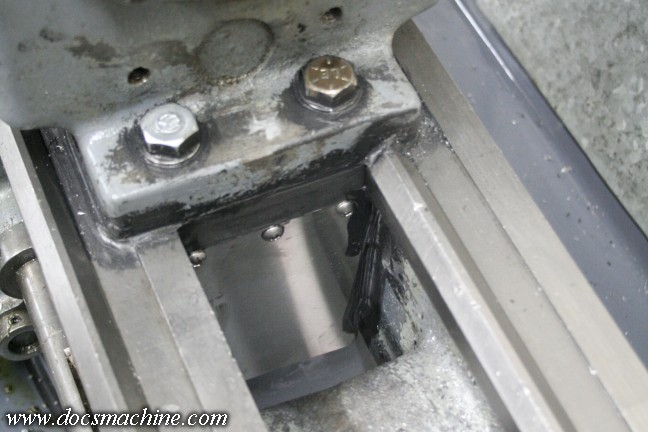
Slather everything in sealant and we're done! The clamping block is smeared on all three sides with sealant,
the bolts are sealed, and the plate is sealed to the block. The block has a generous fillet of more sealant
against the sides of the opening, and the plate extends slightly below the bottom edge of the lowest gap.
(Itself, as I said, filled with sealant.)
The plate was also angled backwards, so the opening in the bed gets
wider towards the base, which should help keep chips from getting packed in there,
which in turn helps keep the coolant from pooling in there.
 |
 |
 |