[
Return to Main Page ] [
Return to Projects Index
] [
Doc's Machine & TWB Store] [
Contact Us ]
[
The Whiteboard Webcomic
]
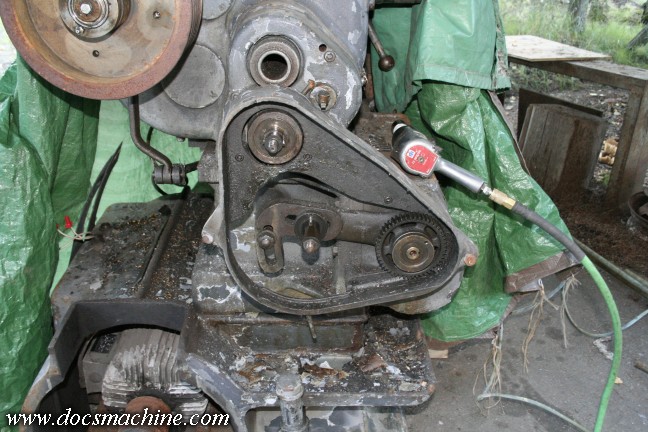
After the successful test of the headstock and motor, it was
finally time to start taking things apart. Most of these photos were
taken
simply to record what the parts were and where they went- I have no
manual, of course, and this badboy is an order of magnitude more
complicated than the little lathes. While I didn't have to dismantle
the headstock (whew!) most everything else got taken pretty down
pretty thoroughly. First up was the geartrain from the spindle and dog-clutch, to the quickchange threading box.
All text, photos and graphics
Copyright 1998- 2015, Doc's Machine & Airsmith Services. All Rights
Reserved.
Information contained in
these pages is for reference and entertainment
purposes only. Our methods are not always the best,
quickest, safest, or even the correct ones. It's up to you to know how
to use your own machines and tools.
Keep your fingers away from the spinny blades o' death and you should
be all right.


