[
Return to Main Page ] [
Return to Projects Index
] [
Doc's Machine & TWB Store] [
Contact Us ]
[
The Whiteboard Webcomic
]
Converting a Grizzly G8689 Mini Mill to 3-axis CNC, Part 2:

Due to other projects on my various tables, this setup wound up sitting for a bit until I found the time to dive back into it.
I dusted off all the parts, cleared a bit of bench, and sat down to take fresh stock of what I had and what I needed to do.
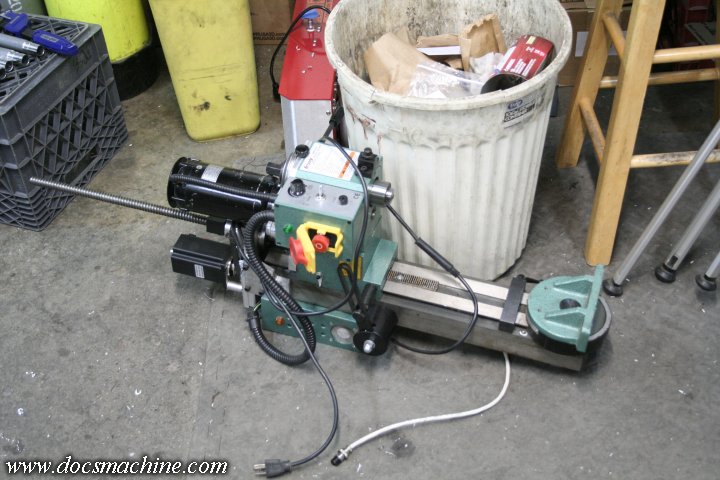
First thing up, I removed the entire head and column and set it aside. As noted, I have an idea
for a brace to help solidify that weak column pivot, but that'll come later.
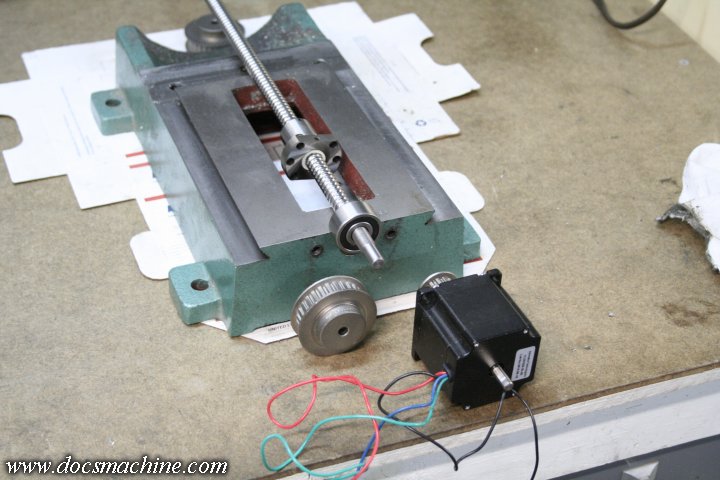
I revisited the idea of adding 2:1 belt reductions to the table screws, but I'm rethinking that. For the time being,
I've decided to go with common helical couplers and a straight stepper mount, for simplicity.
The belt reductions can always be added later, if necessary.
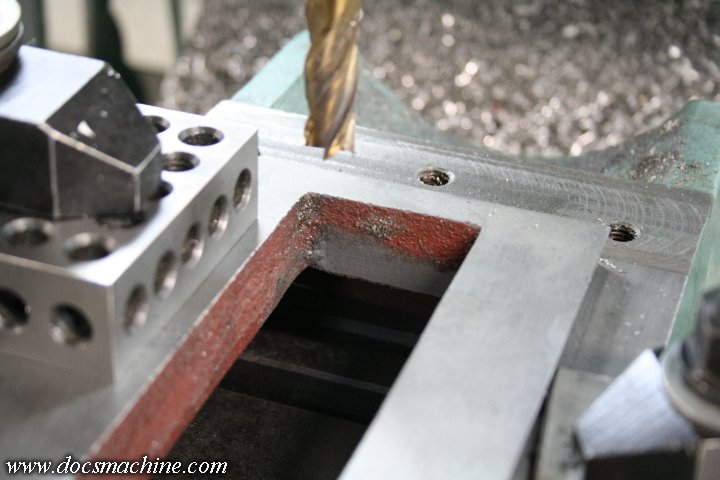
One of the first things I did was lightly mill the ends of the Y-axis screw opening in the base casting. This gained me
roughly a quarter of an inch of overall ballnut travel, and provided a flat face in case the nut 'crashes' against it.
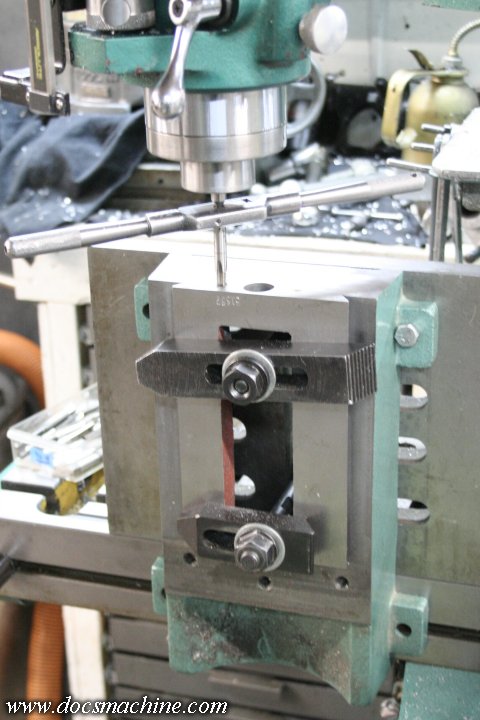
The mounting bolts at the front of the casting also needed minor tweaking-
one had been tapped crooked, and badly enough that I wanted to fix it.
I set the casting up on an angle plate and rebored both holes from
1/4"-20 (yep, they were imperial) to 5/16"-18.
While it was set up like that, I was able to use the DRO to 'measure'
the bolt
center-to-center, as well as locate where the ballscrew would
go- to clear
the bearing, I had to lower it 160 thou over the stock
location.
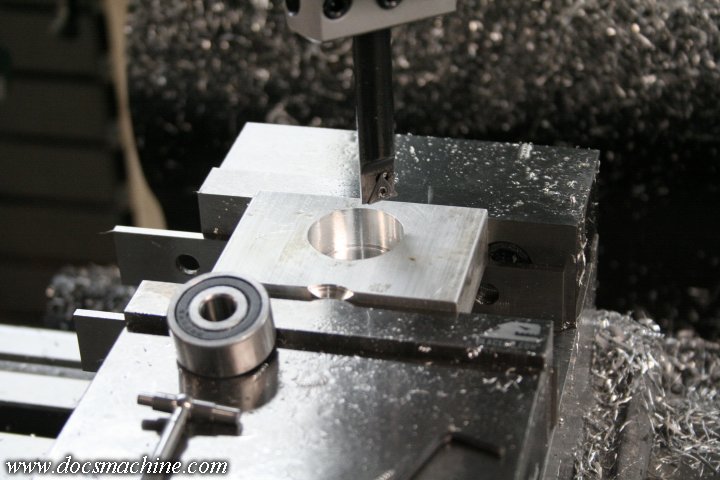
I then found a suitable block of 'looneymum, bandsawed off a likely
piece, and bored a seat for a double-row, angular contact bearing.
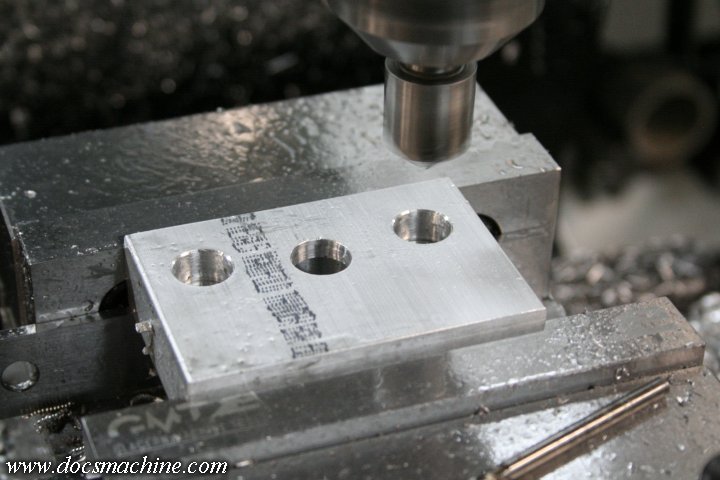
Using the previously-generated spacing data, I flipped it and drilled and countersunk the two bolt holes.

That bolts on about like so, and the screw still clears the casting.
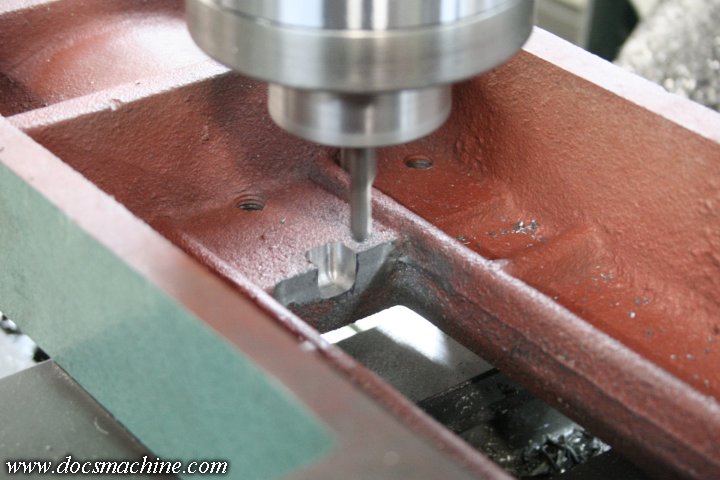
Now, I was going to want the ballnut to travel pretty much as far as
possible, to the point of nearly crashing into the
back wall of the
slot. (Which is why I flattened it a bit.) I didn't want the nut trying
to run off the end of the screw,
so I milled a small notch like so...

So I could cut the screw slightly long- now the nut will stop on the casting some 3/8" before it reaches the end of the screw.
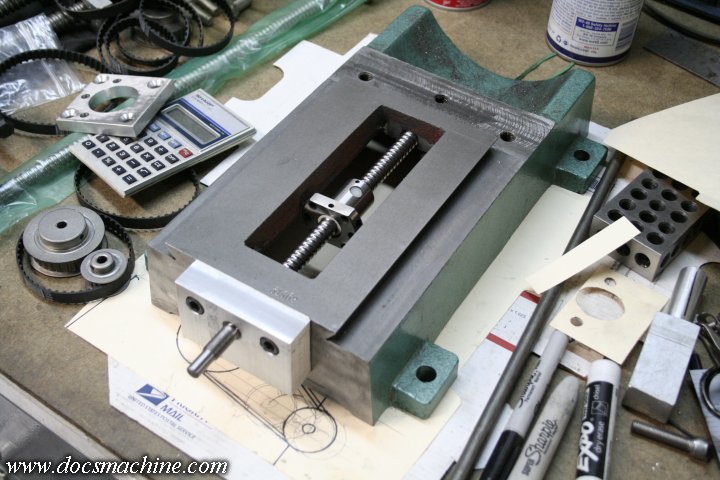
With the front block and bearing in place, it looks like this.
All text, photos and graphics
Copyright 1998- 2019, Doc's Machine & Airsmith Services. All Rights
Reserved.
Information contained in
these pages is for reference and entertainment
purposes only. Our methods are not always the best,
quickest, safest, or even the correct ones. It's up to you to know how
to use your own machines and tools.
Keep your fingers away from the spinny blades o' death and you should
be all right.


