[
Return to Main Page ] [
Return to Projects Index
] [
Doc's Machine & TWB Store] [
Contact Us ]
[
The Whiteboard Webcomic
]
Converting a Logan 11" x 32" Lathe over to full CNC, Part 3:
With the new cross slide made, now we needed a gib.
As much as I'd have liked to try to fit a proper tapered gib, that was a little outside my skillset at the moment.
The original Logan cross slide, however, used a simple flat-stock, setscrew-adjusted gib, which while still a
bit tricky to machine, was still going to be considerably easier than the tapered gib.
I started with a strip of 10-ga mild steel sheared from sheet, and finagled a crude but
workable jig in order to hold it and mill the tapers. I could have simply tilted the mill head
over to mill the taper, but I had a 60-degree taper mill that worked just as well.
The only truly tricky part being keeping things squared so the gib didn't taper from end to end.
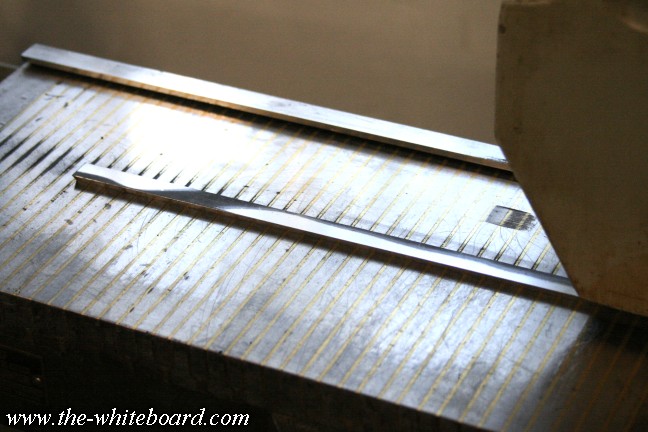
After the angle cuts, I made sure it was as straight as I could get it, and surface ground one face to bright and shiny.
With a little care, I was able to make it a nice, snug fit
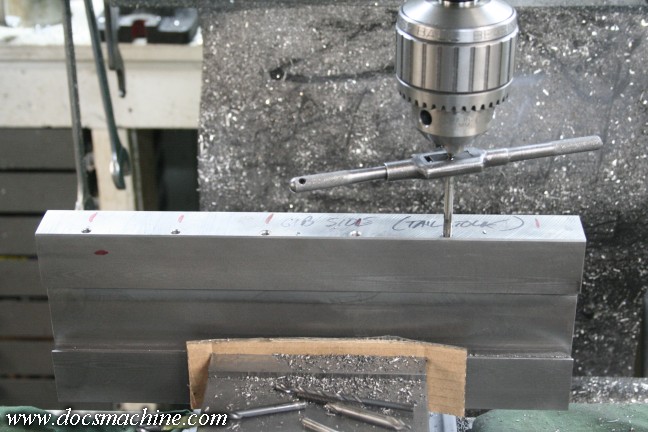
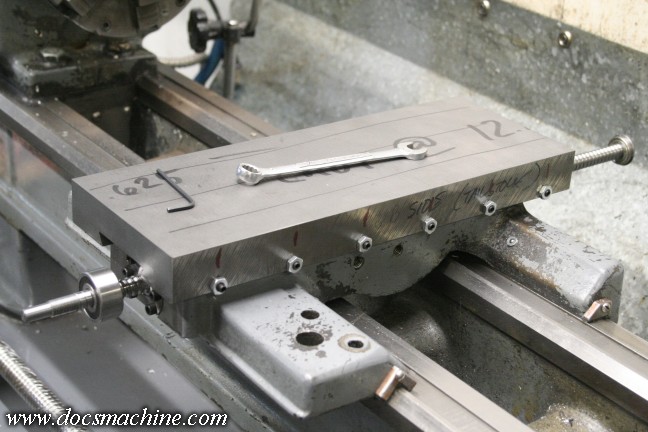
However, snug or no, it still needed adjusting screws, so I picked up a box of 1-1/4" dog-point setscrews,
then drilled and tapped the new cross slide for a reasonable number of them. I didn't have a long enough tap
for the full length of the screw, so each hole had to be lightly counterbored for clearance.
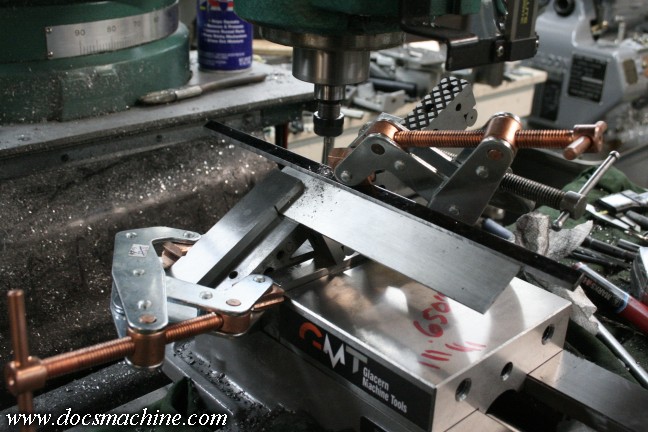
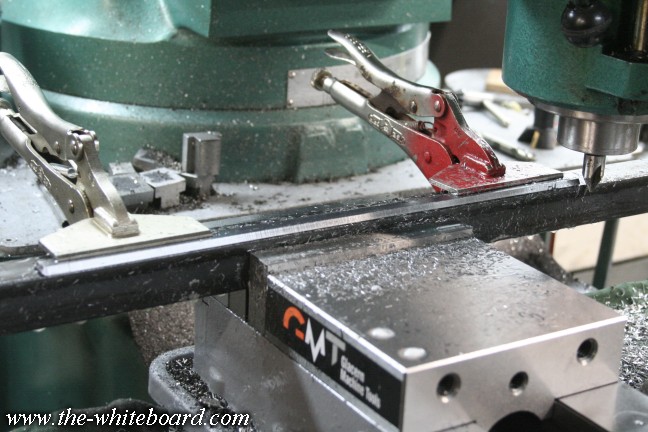
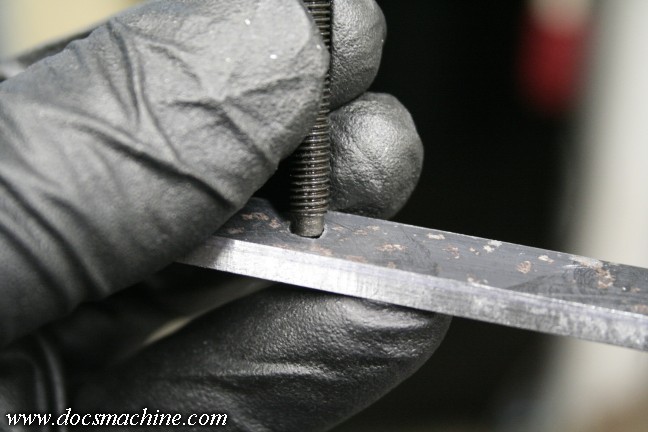
Using the new holes and a locating punch, I marked the gib. After some pondering, I slapped together this
conglomeration in order to hold the gib for spot-facing. That's a 30-degree triangle on parallels in the vise, with
a Kant-Twist clamp holding a Starrett 6" square. Behind it is a 5" sine bar C-clamped to the triangle to give
a bit more width to the working face. The gib is then aligned to the arm of the square, and clamped with
another Kant-Twist to the sine bar. Clear as mud, right?
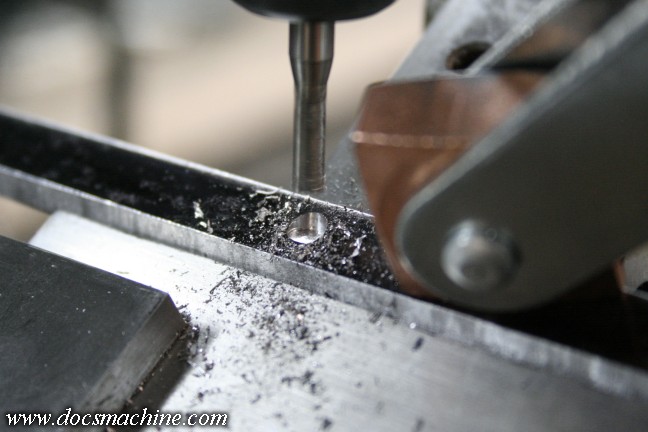
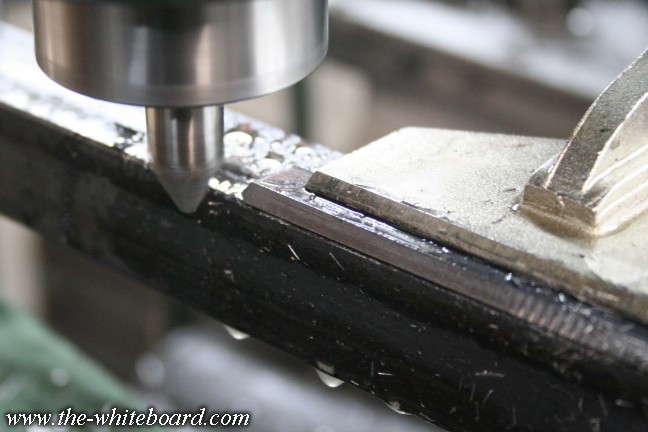
The upshot of all that was, I was able to mill slight, flat pockets into the gib, to give the dog-point
setscrews a nice flat face to push against.
Like so.
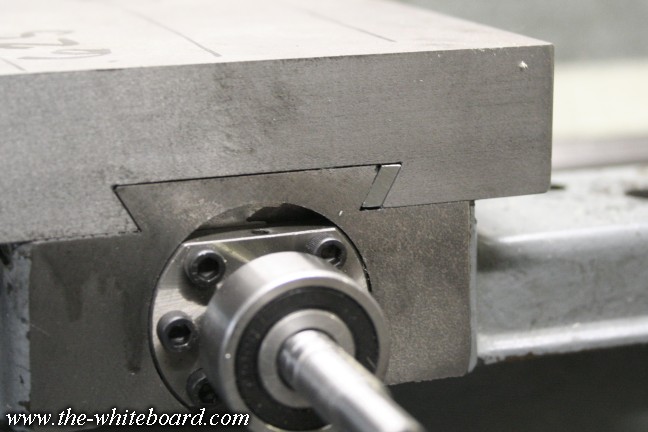
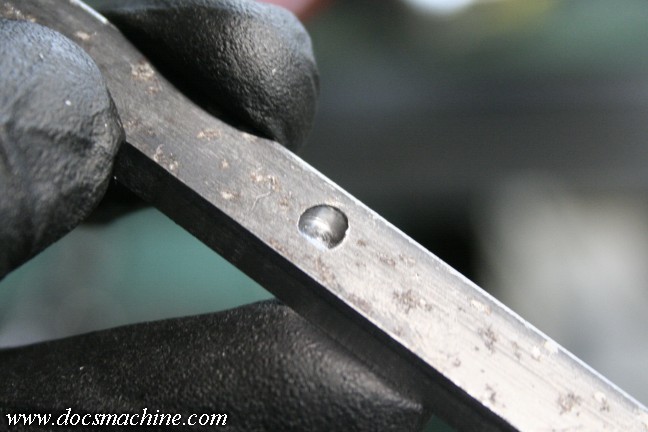
The dog-points set into each pocket like so. both providing a good face to push on, but also helping "lock" the gib
into place, so it won't get slid out of one end or the other of the cross slide as it cycles.
A handful of 10-32 nuts, and a few moments carefully adjusting each one in turn (I worked from the center outward)
and I ended up with a very nice, tight, and smooth-sliding cross slide.
All text, photos and graphics
Copyright 1998- 2016, Doc's Machine & Airsmith Services. All Rights
Reserved.
Information contained in
these pages is for reference and entertainment
purposes only. Our methods are not always the best,
quickest, safest, or even the correct ones. It's up to you to know how
to use your own machines and tools.
Keep your fingers away from the spinny blades o' death and you should
be all right.


