[
Return to Main Page ] [
Return to Projects Index
] [
Doc's Machine & TWB Store] [
Contact Us ]
[
The Whiteboard Webcomic
]
Converting a Logan 11" x 32" Lathe over to full CNC, Part 21:
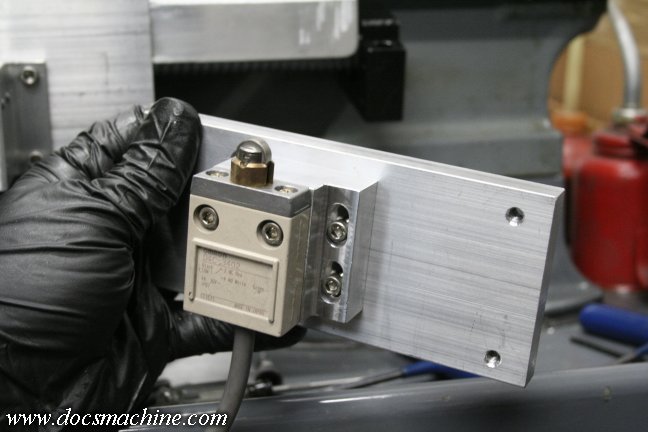
For the Z-axis limit switch, I milled up this 1" thick block, and drilled and tapped the
right-hand-end leadscrew support plate for a pair of mounting screws. Pay no
attention to the fact that in this photo, I'd screwed it onto the plate backwards. :)
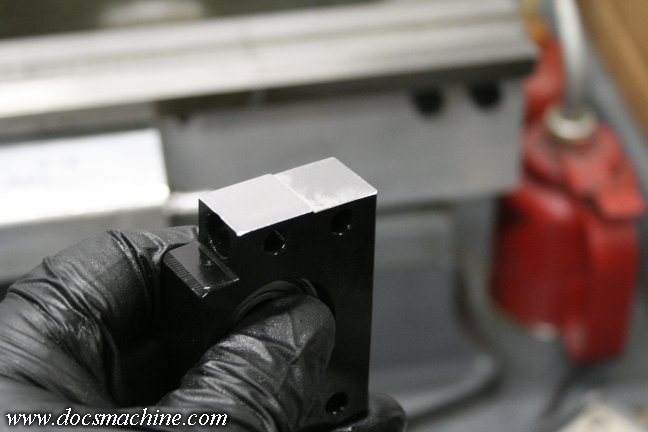
While fitting the block and switch, I discovered that the front-saddle gib made contact with the right leadscrew
bearing block. I'd never run the carriage over that far, but to make the limit switch mounting simple and
convenient, I needed that bit of extra travel, so I shaved about 80 thou off the top of the mount.
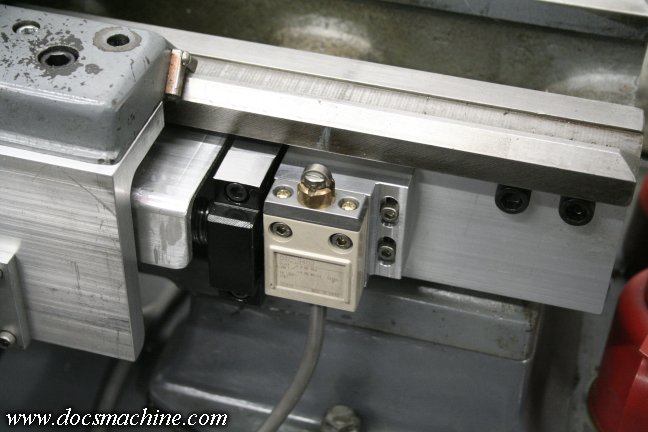
The block, mounting plate, the limit switch and it's mount, all go together like so. The switch mount
is of course slotted so I can, if necessary, adjust the trip point of the switch.
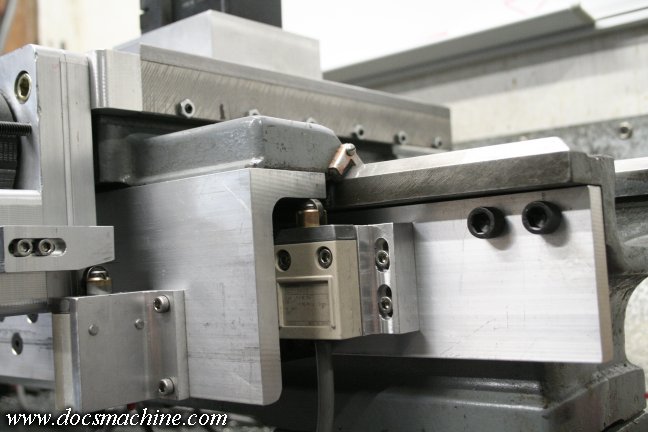
The switch roller simply contacts the underside of the aluminum "apron" like so.
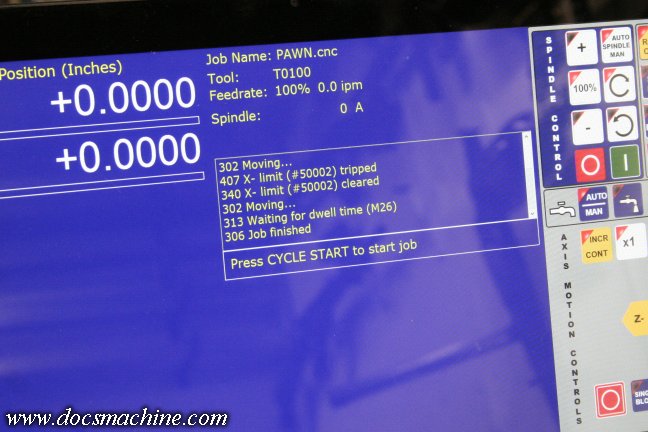
Once both switches were mounted, I reset the Wizard to "home to switch", told the Z to home first,
and in the positive direction (to the right) then set the X to home second, in the negative direction
(away from the operator.) Worked perfectly, first time.
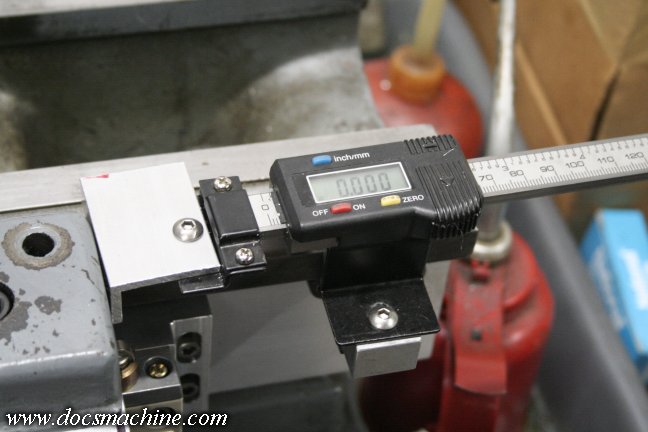
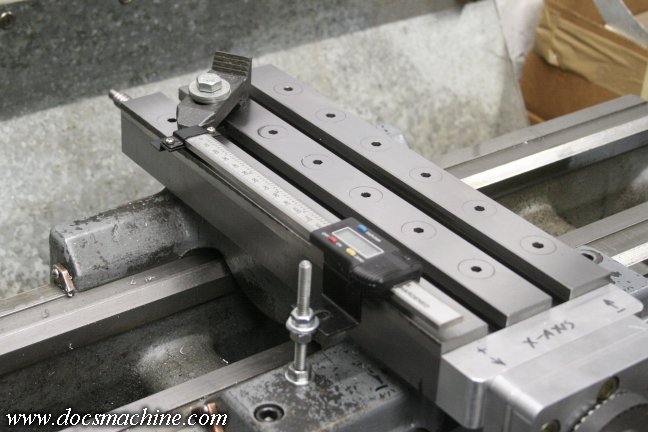
With that sorted, next on my impromptu list was to set the turns ratio, so that when the computer DRO reads
"1.000", the axis has, in fact, moved exactly one inch. The recommended method is a long-travel dial indicator,
but I don't have one, so I got out this 6" digital caliper-style slide I'd set up to use on the Sheldon carriage,
and modded the one mount slightly to attach it using the way-wiper screw. This way, I could have the
carriage make significant moves, like 4" and 5", magnifying any errors.
It took about a dozen ever-finer adjustments to eventually dial it in, but as I was doing that, I was happy
to note that every time I reset the software, and then sent the carriage back to "home", it repeated to the
exact same setting, each and every time.
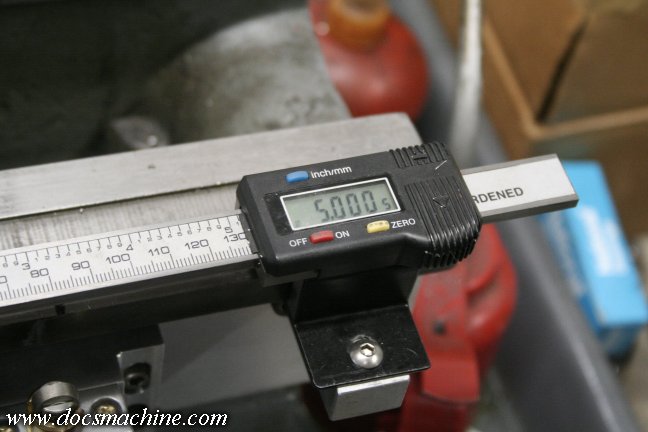
Eventually, with a little fine-tuning, I got it dialed to within 0.0005" in 5" of travel. That should be more
than sufficient for the moment, although of course I'll see if I can't tweak that even closer a little later.
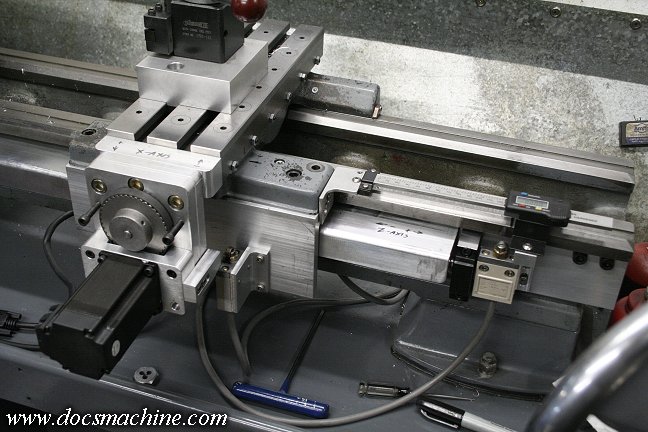
Doing the X axis took a little more thought, but I whipped this conglomeration up, and it proved to work
just as well. The chunk of all-thread is in place of the saddle gib bolt, and the washers 'pinch' the mount.
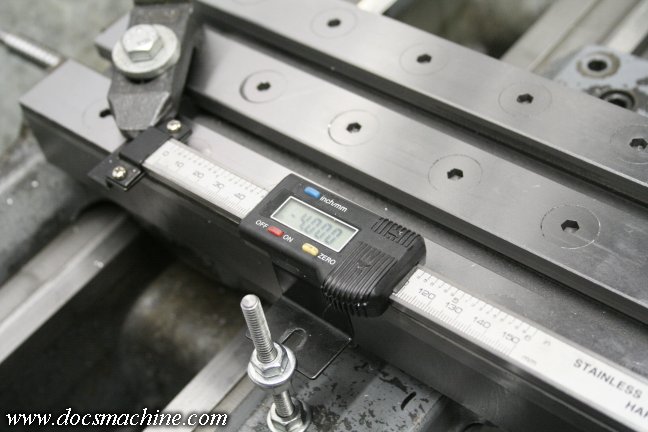
This time, after about the same number of tweaks, I got it spot-on, or at least as close as this no-name import
digital caliper readout bar thing can measure. But hey, 0.0000" (nominal :) ) in 4" is close enough for now.
Now if I can just figure out how to set the tool offsets...
All text, photos and graphics
Copyright 1998- 2018, Doc's Machine & Airsmith Services. All Rights
Reserved.
Information contained in
these pages is for reference and entertainment
purposes only. Our methods are not always the best,
quickest, safest, or even the correct ones. It's up to you to know how
to use your own machines and tools.
Keep your fingers away from the spinny blades o' death and you should
be all right.


