


|
|
|
|
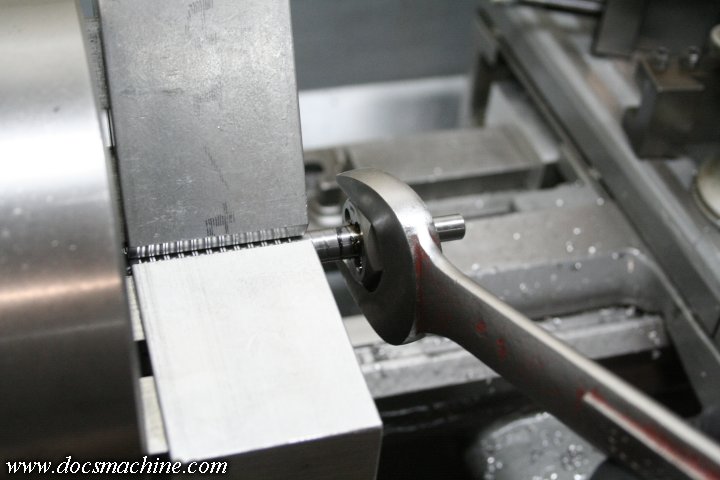
So the first thing I did... well, okay, the very first thing I did was whip up a fresh set
of deep soft jaws for my lathe chuck. I didn't want to go through the hassles of trying to
actually remove the ballnut, so I had to try and machine the screw and nut as a unit. The nut
has an OD close to 1.5", and the bore of my lathe headstock is only 1.375".
I was able to balance the amount sticking out of the nut and have enough to clamp to, with the
nut in the small gap between the back of the chuck jaws and the actual nose of the spindle.
The aluminum soft jaws allowed me to clamp right into the screw itself without damaging anything,
and as they were bored in place, the setup was more concentric than the plain chuck jaws.
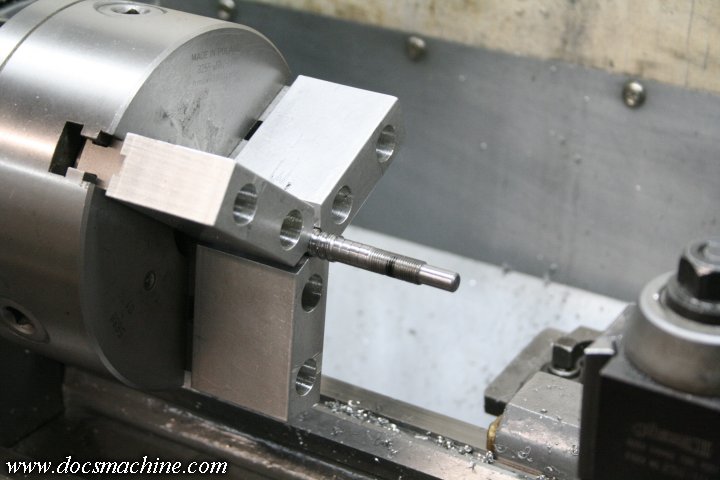
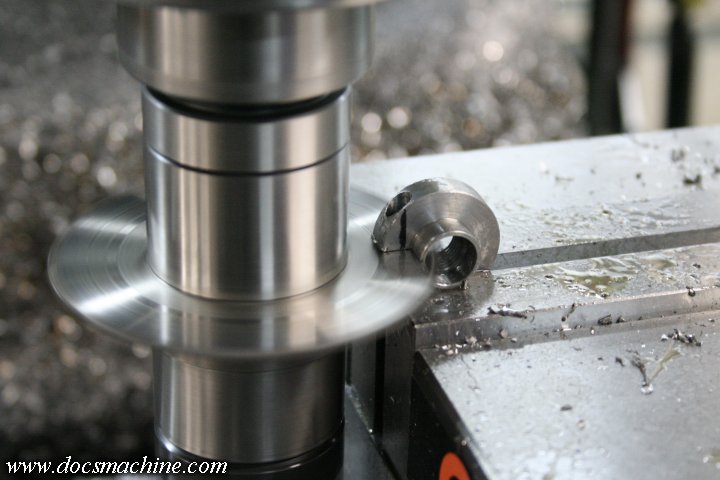
So after that setup (and wrapping the ballnut with paper towels to keep the swarf out) I was able to chuck up the first screw,
and use a nice sharp 10mm 1.0 die to extend the threads down the shaft by about another 5/16" or so.
That gave me a step just a touch wider than the bearing itself, but of course leaves a lot of now-unnecessary shaft threads.
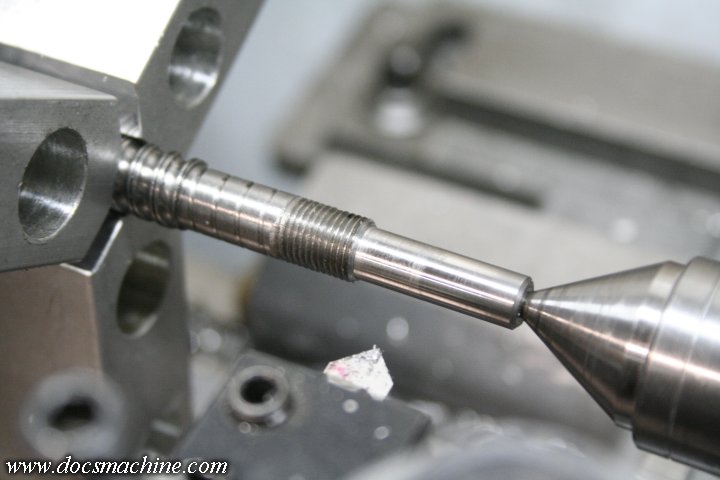
Those threads are turned down to leave about .300 to .320" worth, with a new diameter the same as the old shaft- .3145".
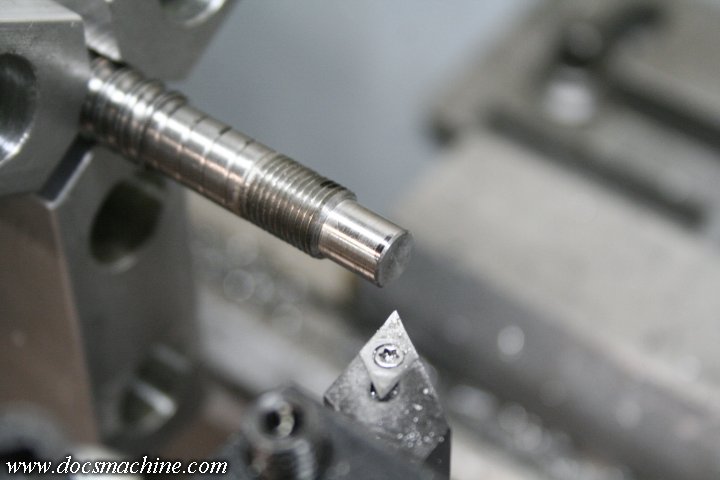
And finally, considering how much actually extends into the helical couplers I'm using, I cut off the excess to that length.
That all has the result of shortening the overall shaft roughly 3/4".
That may not sound like much, but I think it was worth it.
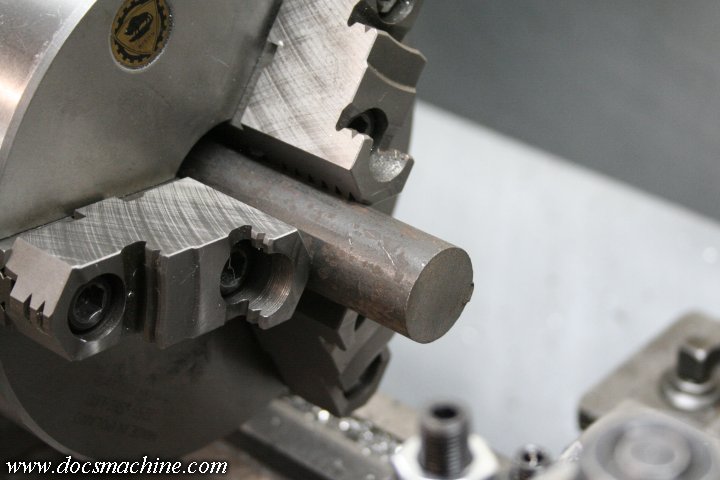
Now, with the freshly-modded screws back into place, I swapped back to the hard jaws,
and chucked up a chunk of 1" hot-rolled mild from the junk bin.
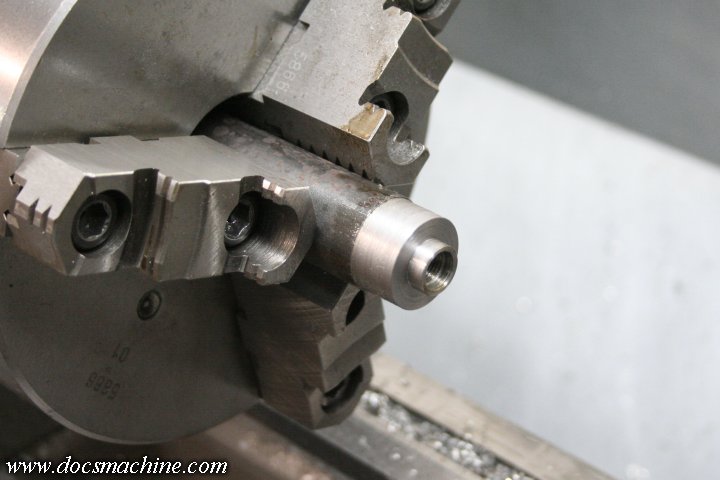
That gets turned, stepped, drilled, bored and tapped...
Then parted off and deburred.
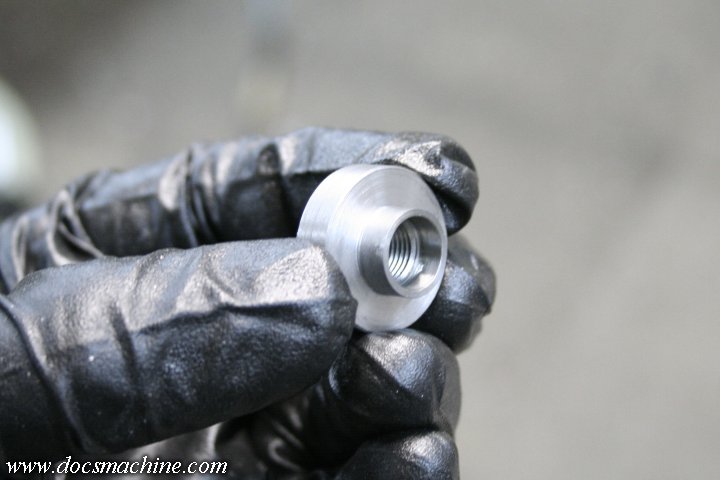
It's then marked, drilled, tapped, counterbored and cut with a slitting saw.
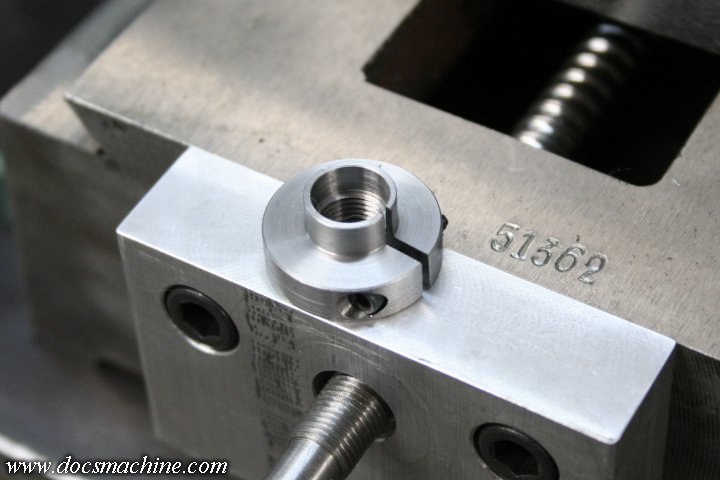
With the addition of a 4-40 capscrew, we now have a clamping nut with integral spacer!
That threads onto the end of the ballscrew and is snugged against the bearing- there's no "preload" in this case,
as the center race of the bearing is simply pinched between the end of the ballscrew step and the new nut.
So it's just snugged relatively firmly and the screw tightened to lock it into place.
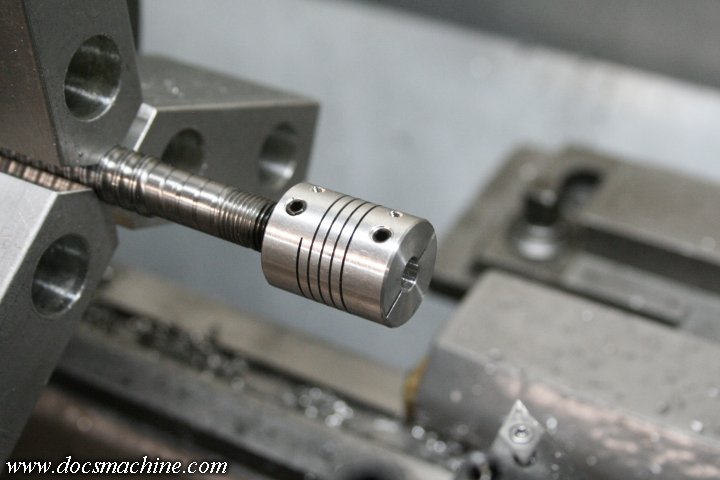
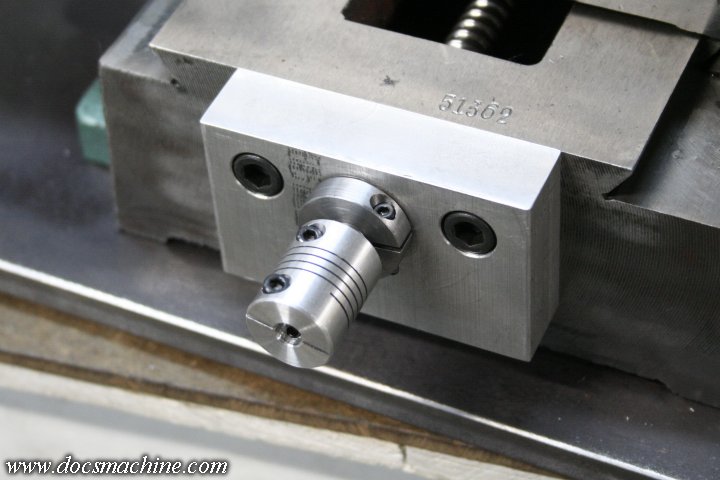
After that, the helical coupler can be slipped on and it, too, clamped into place. I'll need to add a small flat before
I also add the locking setscrew on the coupler, but this thing's going to be coming apart another couple times
before it's finish-assembled.
Now I just have to make a second nut, then move on to the actual stepper mounts.
 |
 |
 |