[
Return to Main Page ] [
Return to Projects Index
] [
Doc's Machine & TWB Store] [
Contact Us ]
[
The Whiteboard Webcomic
]
Converting a Grizzly G8689 Mini Mill to 3-axis CNC, Part 10:
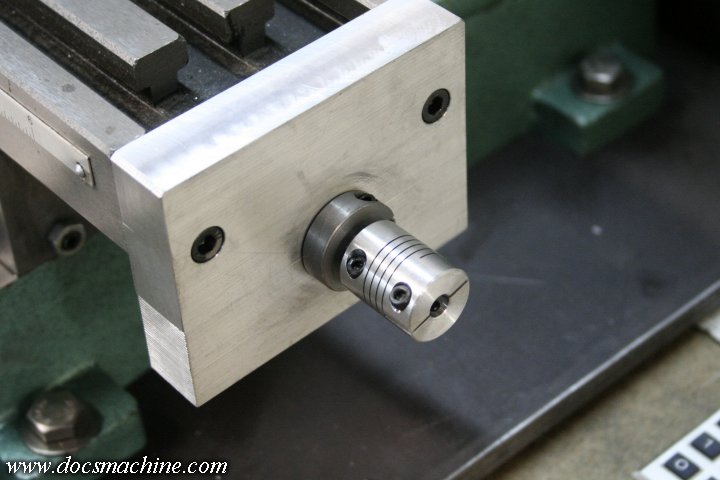
And for today's magic trick, I made another one!
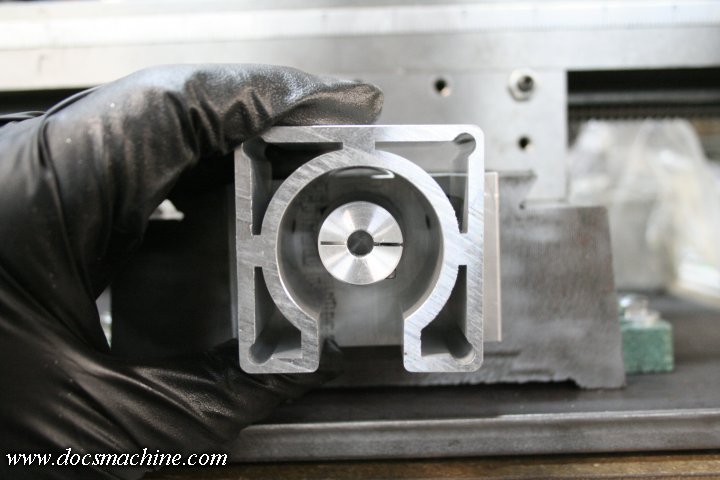
And so the stepper motor will mount about like yea.
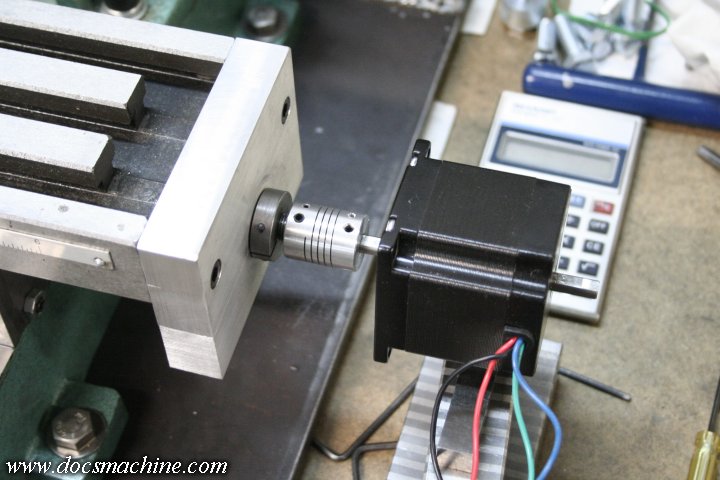
After noodling several possible options, I wound up just ordering come commerical premade extruded stepper mounts.
So, diving right back in, the first thing I wanted to do is shorten up the whole assembly as much as I could, and one place
I could shave a bit was in the output shaft of the stepper, which had about .300" of extraness that could go away.
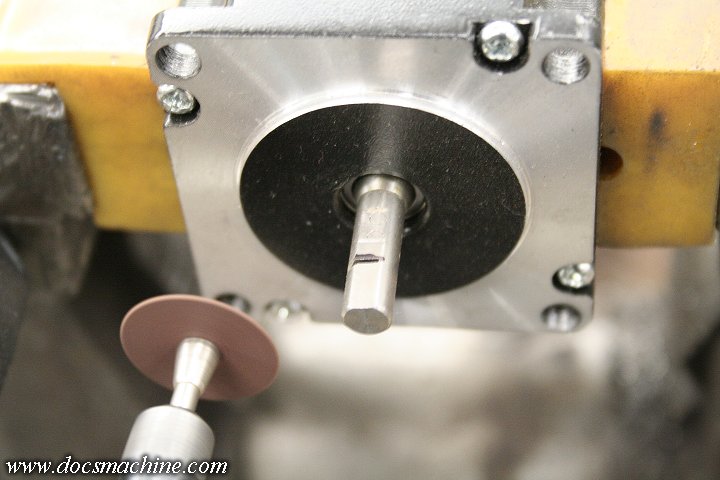
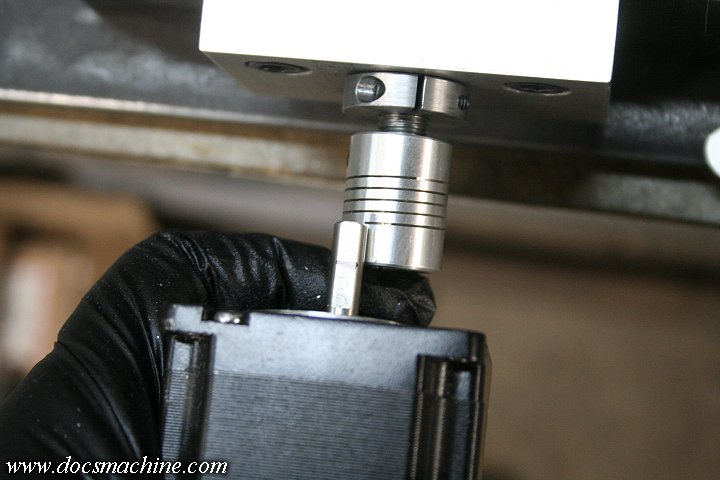
As it was going to be difficult to chuck it up in the lathe, I defaulted
back to that universal machine tool, a Dremel with a cut-off wheel.
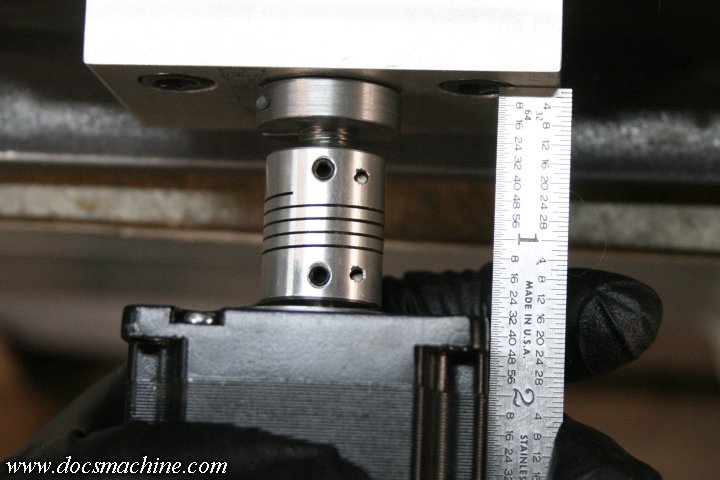
After that quick lop and a bit of filing to smooth things up a little, I was able to slip things together
and get a measurement of how much to mill down the stepper mount.
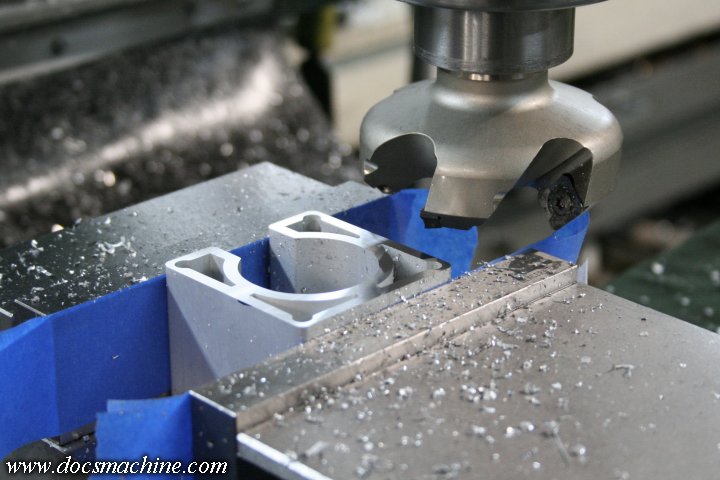
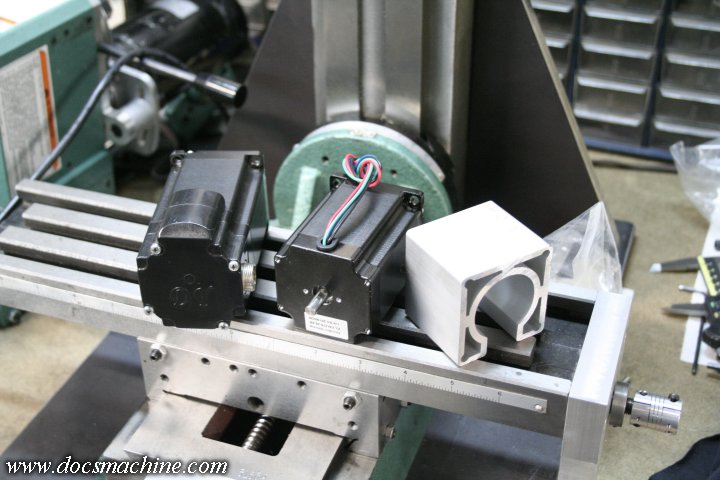
A few passes with a nice sharp face mill and she's ready to go. Sorta.
"Sorta" meaning "not really", at this point.
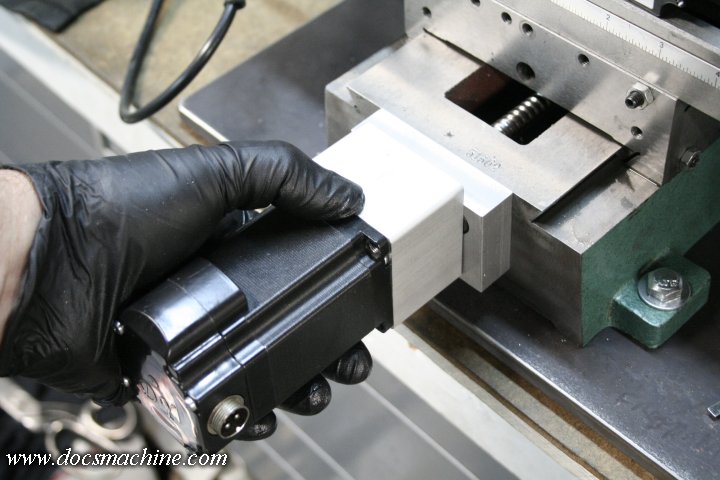
As it sits, two of the mounting screws are just hanging out in midair, which kind of weakens things a bit.
I'd been thinking about this for a while, and had a couple ideas. One
was to screw a block or bracket to the top of the
existing bearing
block, another was to drill and counterbore the two bosses inside the
extrusion at 3:00 and 9:00 for
some longer screws, and a third was to
counterbore for some screws in one of the 'points' of the corner voids.
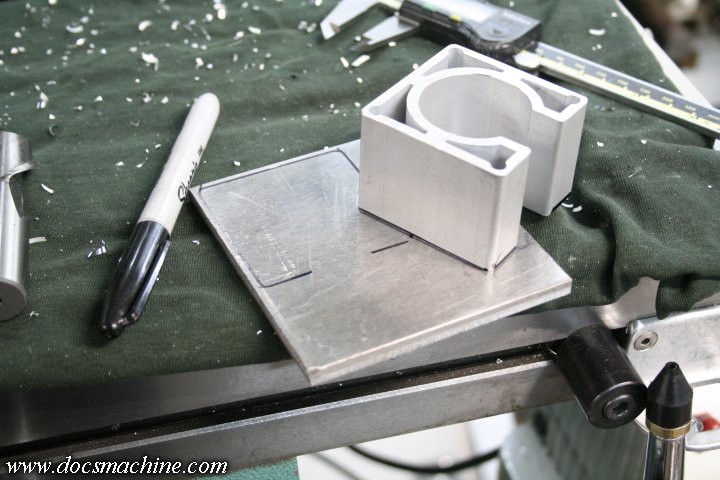
Wasn't real thrilled with any of those- and number two wouldn't work
anyway, as the screws would land right on top of the two
bolts that hold
the bearing block in place. So I went with Plan D, and scrounged a chunk of 1/4" plate from my junk bins.
All text, photos and graphics
Copyright 1998- 2019, Doc's Machine & Airsmith Services. All Rights
Reserved.
Information contained in
these pages is for reference and entertainment
purposes only. Our methods are not always the best,
quickest, safest, or even the correct ones. It's up to you to know how
to use your own machines and tools.
Keep your fingers away from the spinny blades o' death and you should
be all right.


