[
Return to Main Page ] [
Return to Projects Index
] [
Doc's Machine & TWB Store] [
Contact Us ]
[
The Whiteboard Webcomic
]
Anayak "Exacto" Vertical Mill Rebuild, part 18:
Now, while the head was functional, it turned out I'd misinstalled the bearings- the sharp eyed sorts might
have noticed that I put the angular contact bearings in so that the retaining nut was trying to force the
bearing cages
out of the races, rather than into. Stupid mistake, but one the previous owners had
done as well, since I copied how the old bearings came out.
The races were therefore out of place when I recut the collet taper, and after some odd actions
while trying a few test cuts, I realized what had happened. After some creative cursing, I extracted the
bearings, cleaned and reassembled them, and then reinstalled them properly.
Now, these are high-precision bearings, and I may have minutely damaged them, so I went ahead and
ordered a second set, to have on hand. But for the time being, I'll run these to see how they go.
Note the cut- on the misinstalled bearings- is pretty good, but there's clearly still
a bit of "noise" to the finish. The vertical lines are faint, but definite, indicating
the cutter isn't turning perfectly concentrically.
So, after removing, cleaning, regreasing and reinstalling the bearings- properly this time-
I once again took a very fine cut on the collet taper, and another .005" on the OD.
Now, it's finally perfect. Everything turns with a 0.000" TIR. Zero-point-zero wobble. :)
And finally, once again oiled and reinstalled.
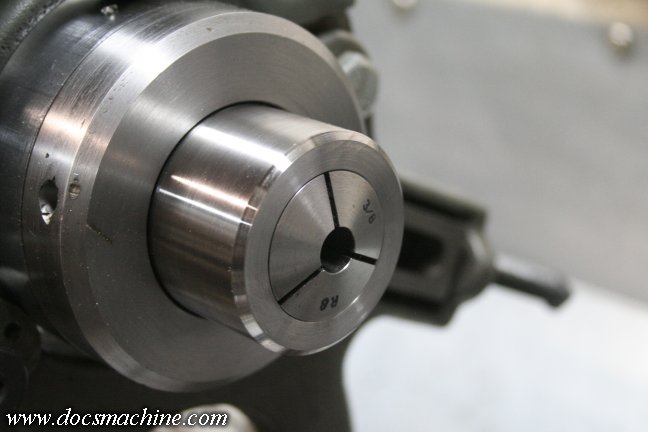
A quick check with the ground rod still shows 0.000" runout at the collet
face, and maybe 0.0005" at the bottom of the 6" of stickout.
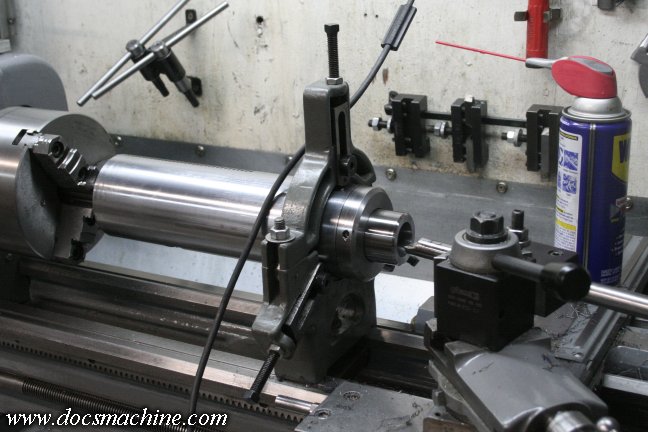
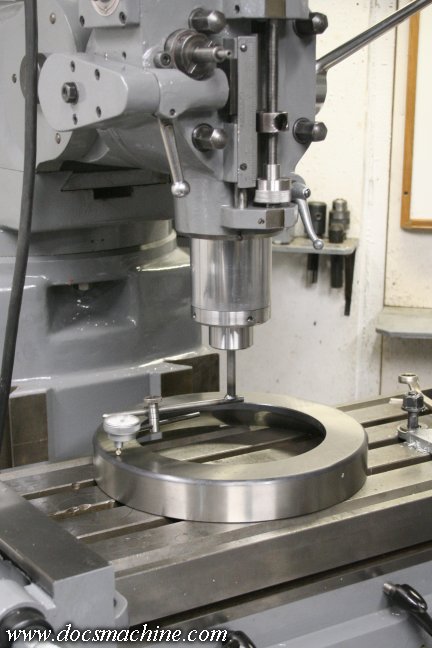
It is now, finally, time to properly tram the head for the first time
in this rebuild. I have a very large 12" bearing race that I
use as a "tram ring", usually handy just for the T-slots,
but almost a requirement here thanks to the extra
slots and divots cut into the table.
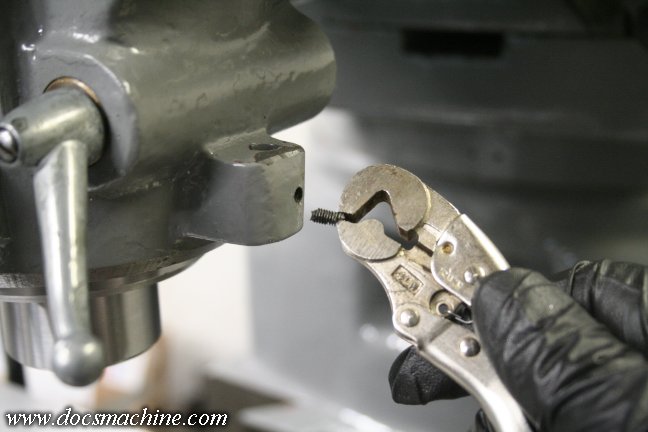
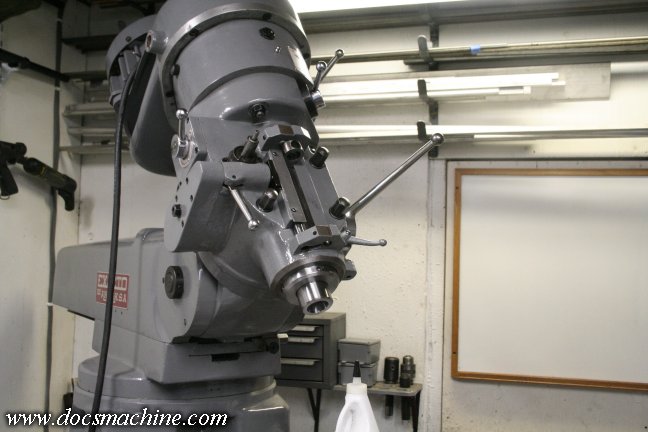
Now, like most Bridgeport-style turret mills, there's this boss on the side of the head, used to hold a
rod for mounting an indicator. In this case, however, the old screw had been broken off- so cleanly,
in fact, I'd overlooked it during the cleanup and repaint. So I had to gently extract the remnant
using a left-hand drill bit. I was only able to get it partway out, but that was enough to grab it
with these wrench-flats Vise-Grips, which in this case, had very sharp tips to the jaws,
allowing me to get a good bite on just the partial bit of thread sticking out.
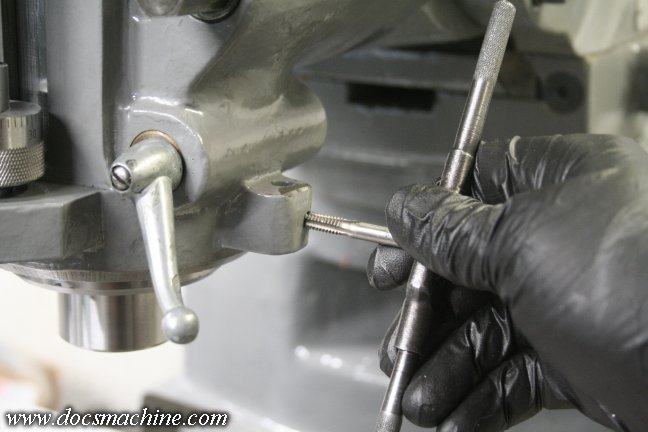
Not liking the undersized locking screw, I redrilled and retapped it to 1/4"-20.
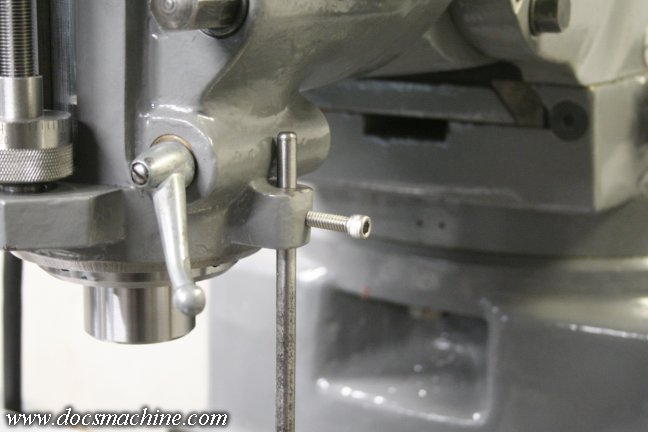
And then a spare bolt from the bins can be used to hold the rod in place.
I'll be making a proper thumb-nut for it later, but this gets me going.
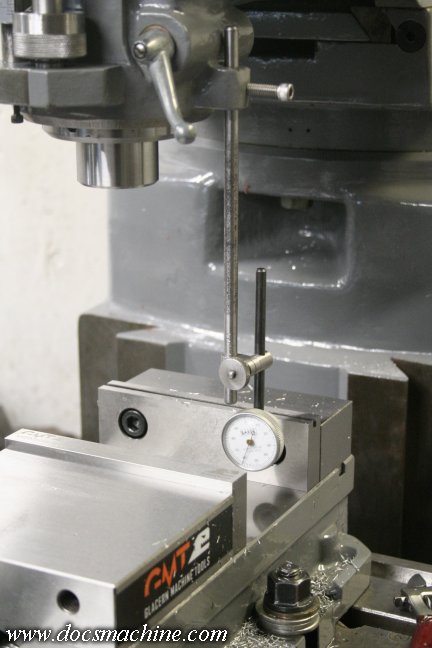
Using that, I was finally able to dial in the now-repainted-to-match
Glacern vise. 0.000" on the tram, and 0.000" on the vise.
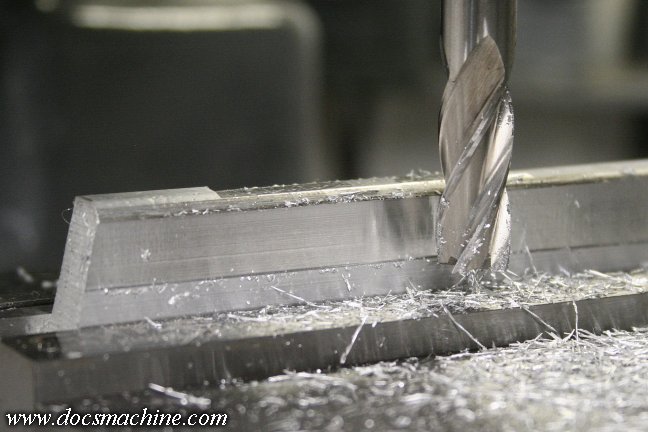
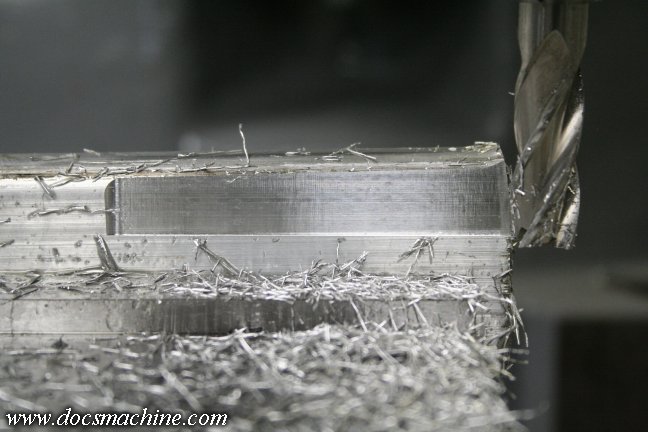
Et voilá! A much smoother cut and better finish. The bearings might not last as long as they otherwise might,
thanks to my mistreatment, but I'll run them 'til I start to see problems, then swap them as necessary.
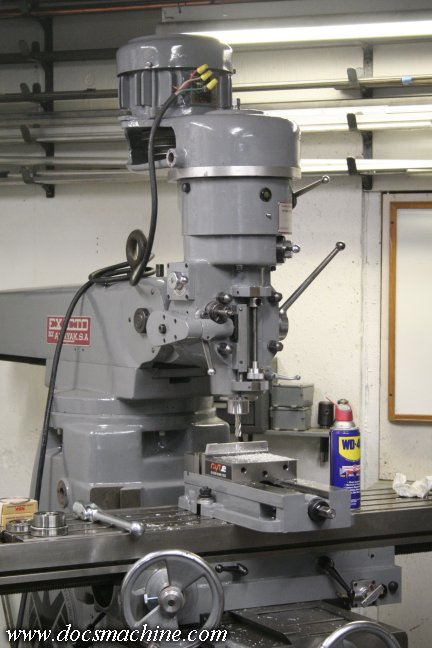
And finally! There's still some detail work to be done, and of course the
electricals, but as of this moment, she's up and running and ready to
do some actual work!
All text, photos and graphics
Copyright 1998- 2017, Doc's Machine & Airsmith Services. All Rights
Reserved.
Information contained in
these pages is for reference and entertainment
purposes only. Our methods are not always the best,
quickest, safest, or even the correct ones. It's up to you to know how
to use your own machines and tools.
Keep your fingers away from the spinny blades o' death and you should
be all right.


