[
Return to Main Page ] [
Return to Projects Index
] [
Doc's Machine & TWB Store] [
Contact Us ]
[
The Whiteboard Webcomic
]
Rebuilding an early Covel Type 15 Surface Grinder
Part 2
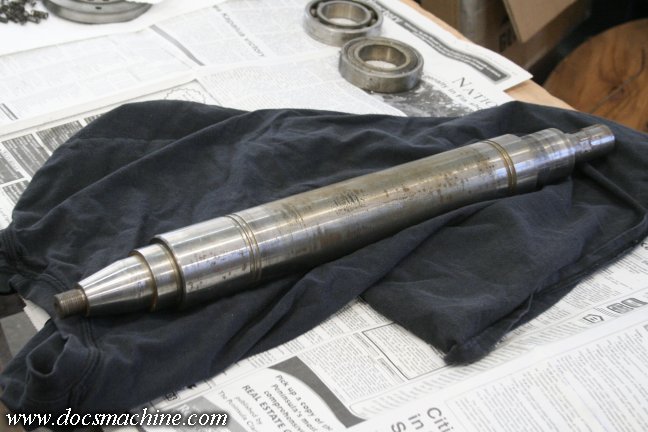
First up, the heart of a surface grinder, the spindle. The original bearings were a little worn, so I'd decided
to replace them. I seem to recall buying a set at some point in the intervening years, but if I had, I wasn't able
to find them- and thus was forced to purchase
another set of ABEC-7 "Super Precision" spindle bearings.
The spindle itself is a nearly two-foot-long bar of 2-1/2" OD steel, and fortunately was in excellent shape.
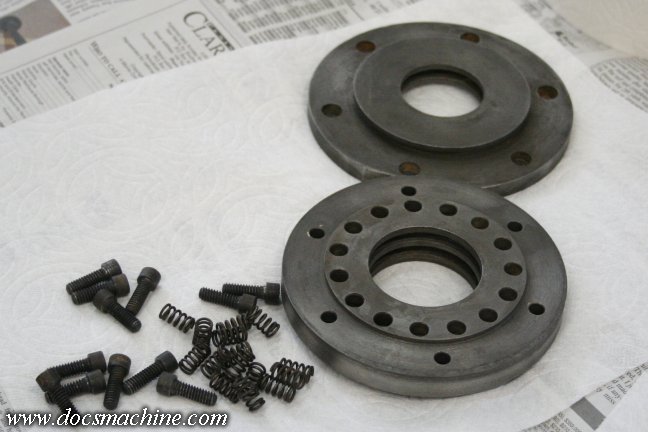
The spindle uses an interesting method of "spring loading" the bearing clearances- presumably since the spindle
is such a large piece, that it will "grow" several thou if and as everything warms up under use, so the rear plate
is fitted with 16 small but fairly stiff springs.
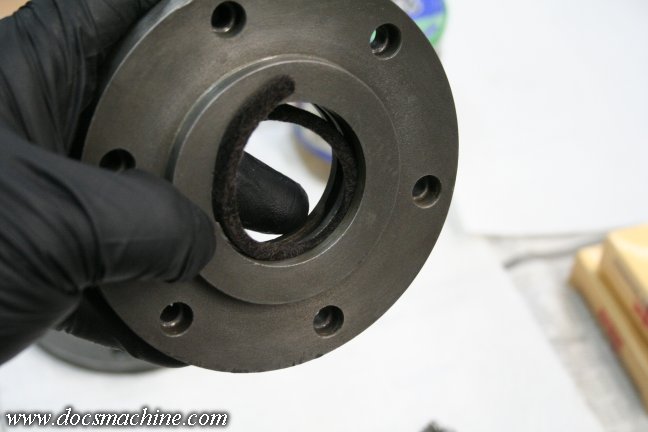
There are also no proper seals, as one might find in a modern machine. Instead, it has these felt "dust seals"
fitted to grooves in the two end plates. Two at the front, one at the rear.
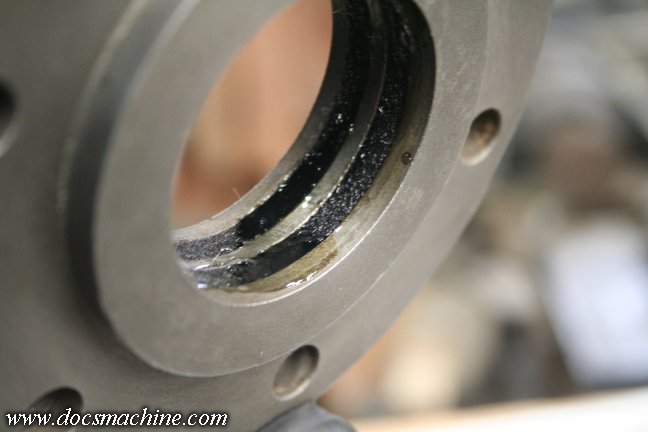
Prior to installation, the felts are rinsed out with fresh solvent, dried, reinstalled, and then reoiled.
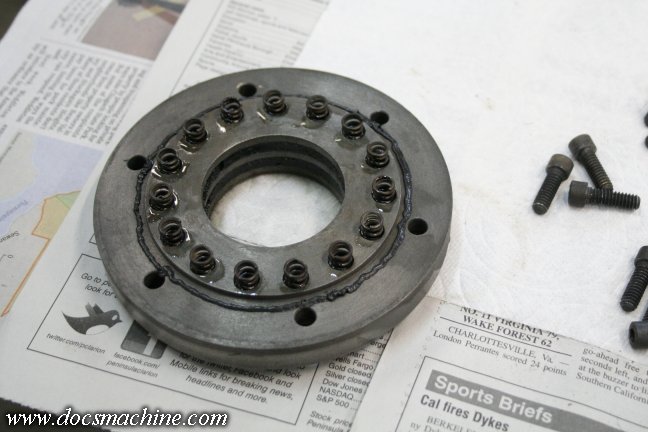
The springs are installed, and also given just a drop of oil each, and then, in liu of a paper gasket as
was on the machine originally, I applied a thin bead of an oil-resistant RTV.
The springs push against this hardened thrust washer.
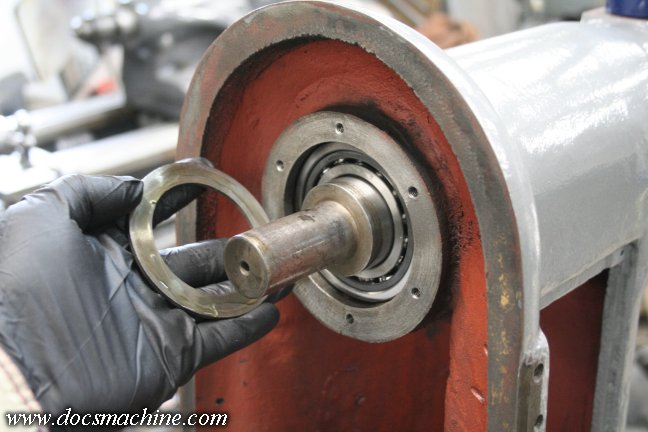
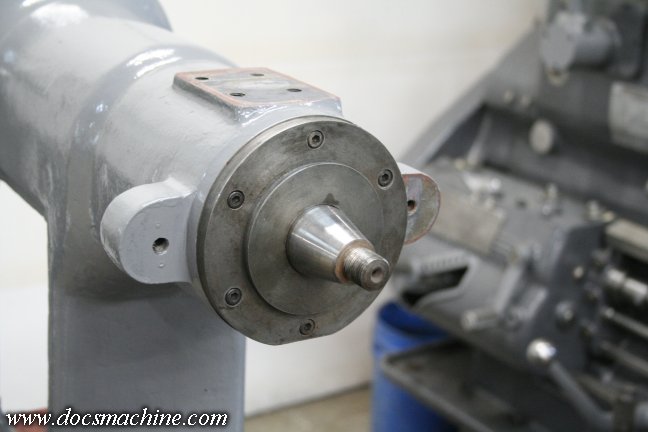
And the end plate with springs is installed and tightened into place. Once the front plate is installed,
the center of the spindle will be more or less flush with the back of the plate. (We're looking at the rear.)
The front bearing was a bit snug to easily fall into place on the spindle, and one does NOT "hammer"
$200 precision bearings into place. :) So I used a couple short pieces of 1/4"-20 allthread and a couple
of nuts to slowly and evenly seat the bearing and the plate against the body casting..
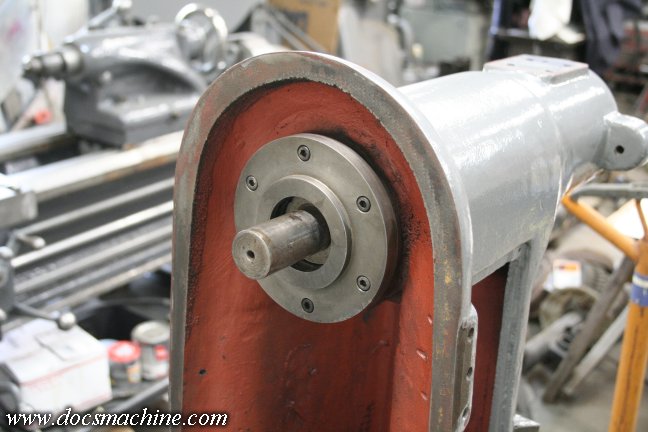
Four of the proper mounting screws were installed, the allthread removed, and then the last two tightened
into place. It's hard to see here, but for the front, I cut a paper gasket from .017" thick gasket paper,
on the assumption that since the original setup had paper gaskets, they were needed to maintain
proper preload against the bearings. The springs
probably were enough to compensate
for that, but this was a case of being safe, rather than sorry.
All text, photos and graphics
Copyright 1998- 2017, Doc's Machine & Airsmith Services. All Rights
Reserved.
Information contained in
these pages is for reference and entertainment
purposes only. Our methods are not always the best,
quickest, safest, or even the correct ones. It's up to you to know how
to use your own machines and tools.
Keep your fingers away from the spinny blades o' death and you should
be all right.


