[
Return to Main Page ] [
Return to Projects Index
] [
Doc's Machine & TWB Store] [
Contact Us ]
[
The Whiteboard Webcomic
]
Rebuilding an early Covel Type 15 Surface Grinder
Part 6
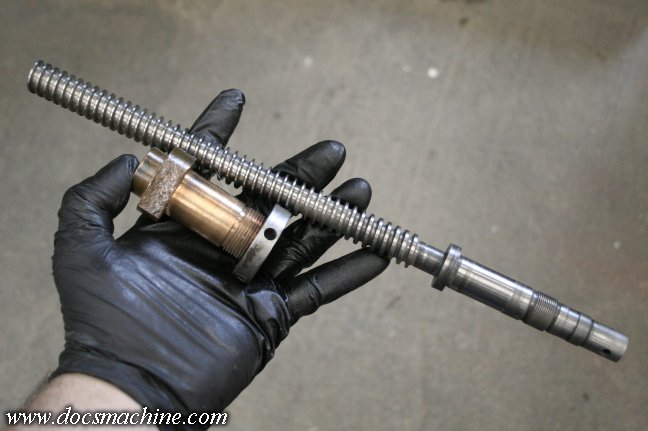
Next up is the cross-slide screw. The nut, thankfully, wasn't badly worn, and due to the odd shape,
I decided to reuse it. The screw, however, was very badly warn and would need to be replaced.
You can see the threads in the center are worn damn near to a razor's edge, compared to the ends
The nut just needed to be thoroughly scrubbed, lightly deburred, slid into place, and the locking nut tightened.
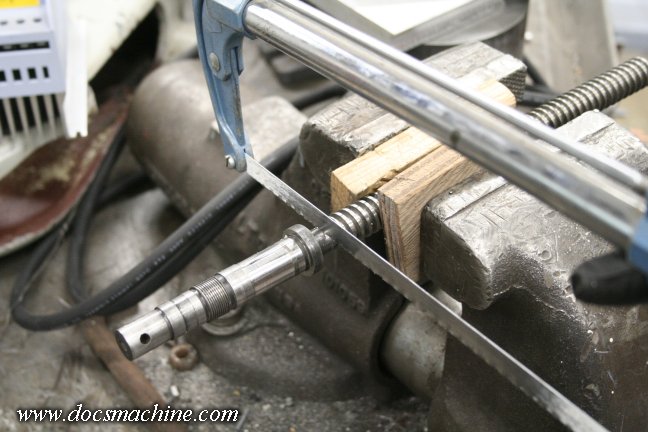
The screw require more drastic measures, starting with a drastic reduction in length via hacksaw.
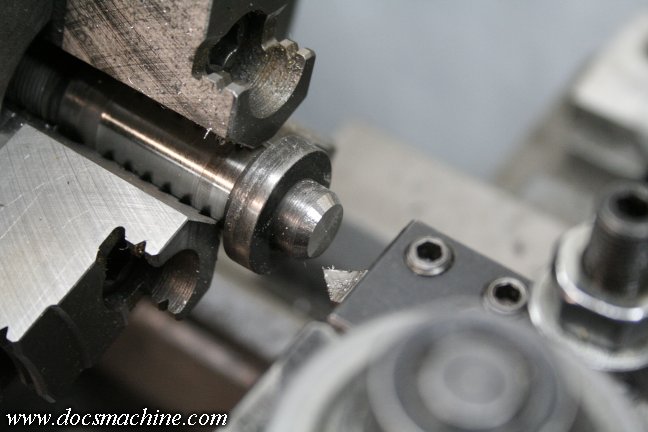
The stub end was squared up in the lathe, and chamfered slightly.

The replacement screw, which I'd bought years before, was similarly squared up and bevelled.
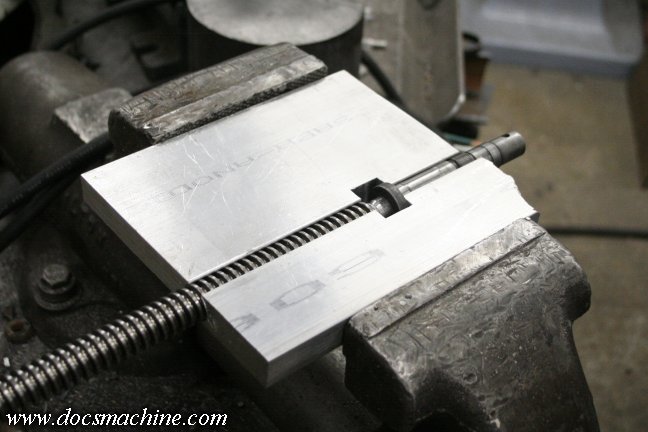
Now, since it was not possible to turn everything back to concentric after welding, it was crucial to make
sure it was concentric before welding, and held there until fully cool. To do this, I milled the edge of two
pieces of 3/4" aluminum plate with a 3/4" ball-end mill, and then notched them for clearance for the collar.
Clamped in the big vise, this kept everything true and well aligned while I TIG welded it.
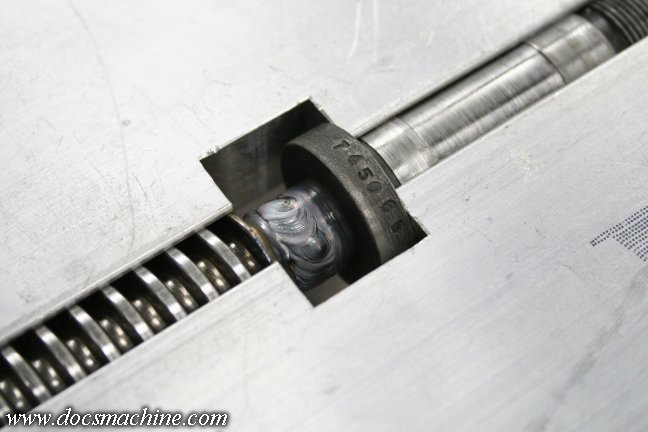
TIG a bit, loosen slightly and rotate, TIG a bit, loosen and rotate.
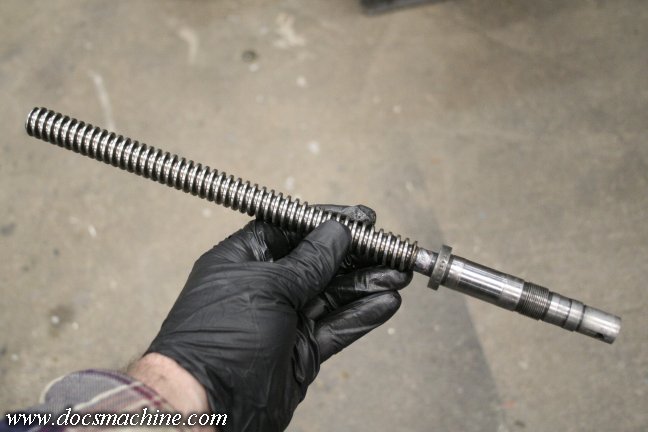
Once fully cooled, I sawed off the rest of the threaded rod to length, and faced the cut end in the lathe.
I also spun the screw in the lathe to see how "wobbly" the shank end was- turned out to be about .003"
eccentric, which isn't perfect but was well within acceptable.
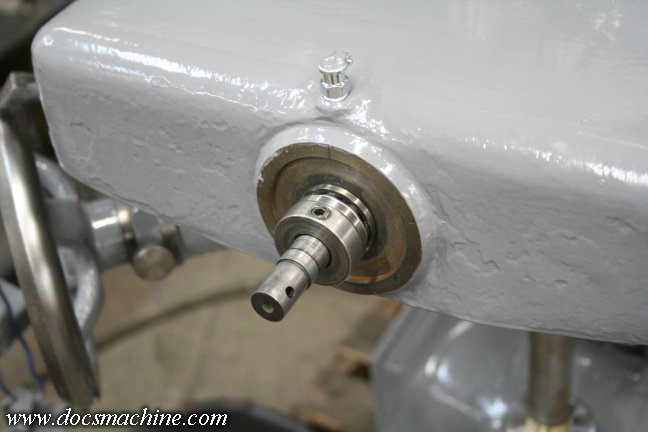
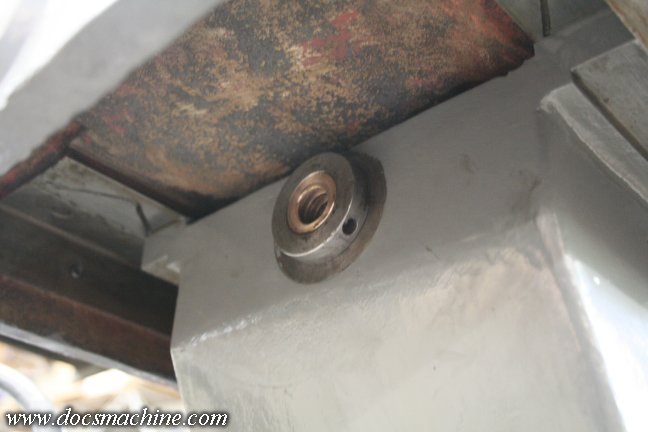
Installing it requires the saddle to be slid off far enough to allow the screw to be put in between, and threaded
into the nut. If I'd been paying more attention, I'd have installed the nut and screw at abouyt the same time as
I installed the knee handle assembly, but still, this worked fine. There's a large roller thrust bearing on the
inside, and a smaller one on the outside. Then a threaded collar that's snugged lightly and locked into place.
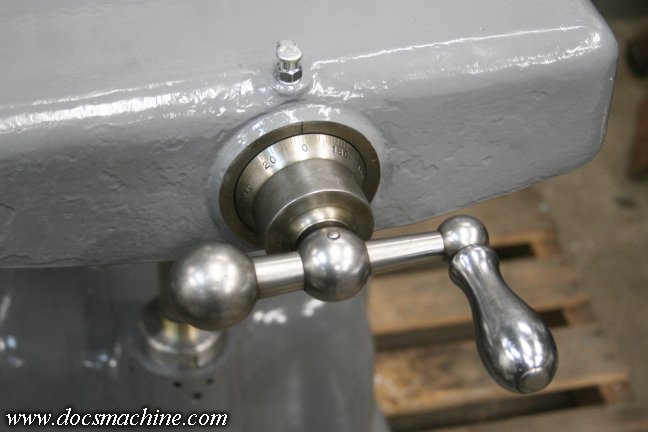
QAfter that, the micrometer dial slid on, the crank handle lightly tapped into place, and the taper pin reinstalled.
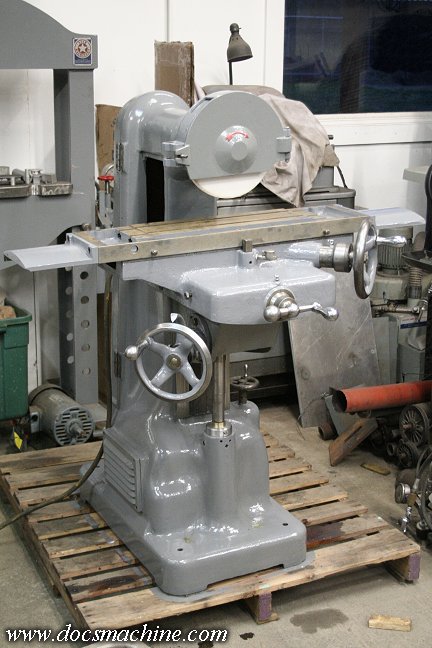
The grinder is now almost entirely mechanically complete.
A bit more minor detail work and it's off to the electricals!
All text, photos and graphics
Copyright 1998- 2017, Doc's Machine & Airsmith Services. All Rights
Reserved.
Information contained in
these pages is for reference and entertainment
purposes only. Our methods are not always the best,
quickest, safest, or even the correct ones. It's up to you to know how
to use your own machines and tools.
Keep your fingers away from the spinny blades o' death and you should
be all right.


