


|
|
|
|
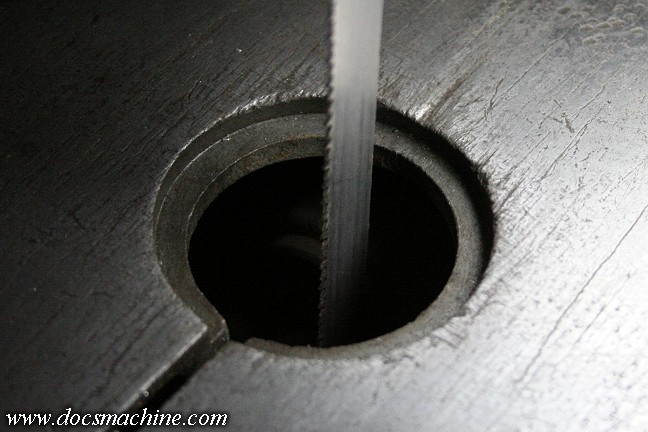
That allowed material and swarf to catch on the edge of the hole, and wear it somewhat rounded,
if not actually chipping the corner of it. It's not a huge issue, but I didn't like the
look of the chipped, rounded edge, and decided to fix it.
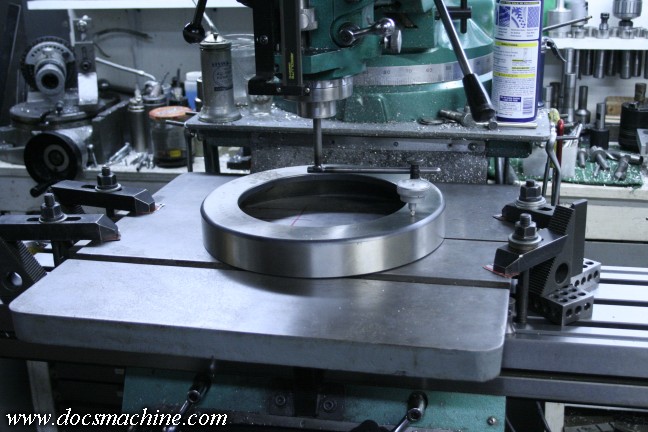
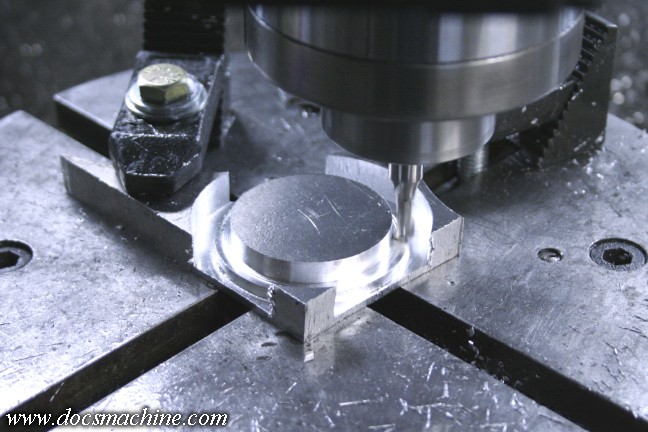
So I took the table off, and mounted it to my mill. It was kind of a trick to get it level
and mostly true, and because of some slight dents, I had to use my tram ring (actually a big
roller bearing race) to get an "approximate" level.
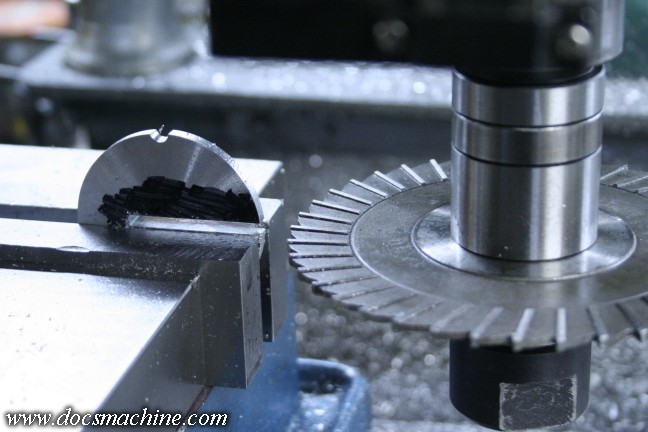
I'd wanted to try and mount it to my rotary table to mill the hole out, but that proved unfeasible.
So instead I just used the boring head, set with a hard depth stop. I got a little chatter
as it 'hit bottom', but it won't hurt anything.
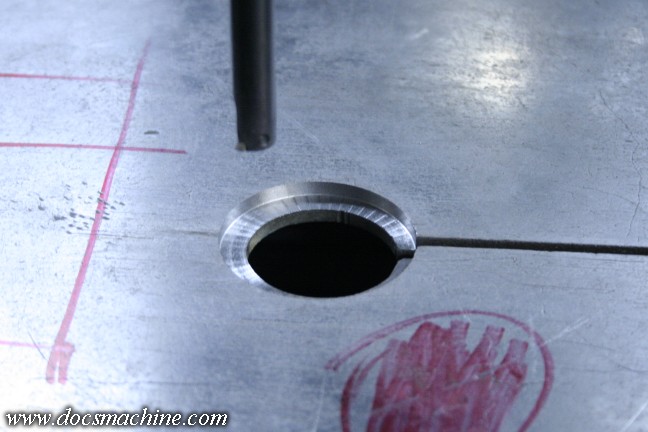
Note the newly-milled step is offset from the original hole. I didn't want to open up the recess
more than I absolutely had to, and the front (toward the operator) side was still reasonably good,
so I offset the new cuts toward the backside (away from the operator.) That put the bulk of the
removed material where it was most needed, on the area with the most wear and damage.
After that, I bored out the rest of the hole to match, so they're concentric.
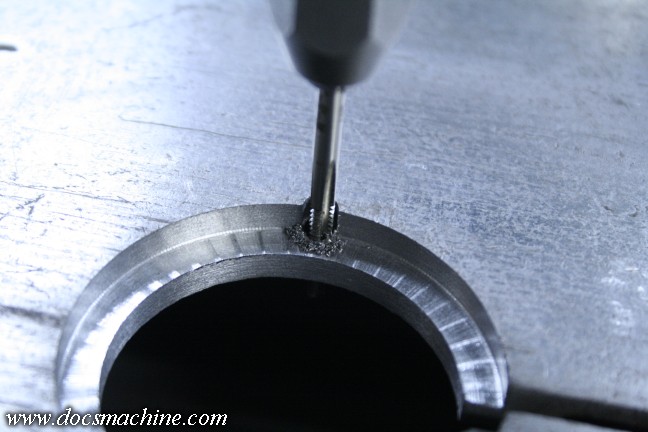
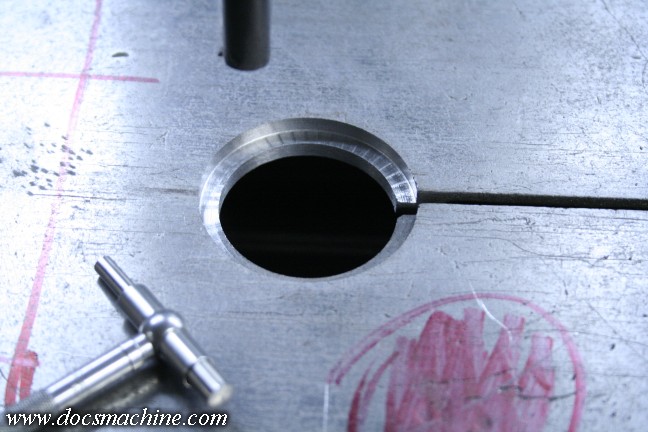
Now, one thing some bandsaws have, but this one didn't, was a sort of "key" to keep the
round insert from turning, and potentially hitting or even jamming the blade. The original
insert shows clear signs of having rotated into the blade at times. I could have pressed in a pin,
but instead I milled a half-recess with a 3/16" endmill, then drilled and tapped it for 6-32.
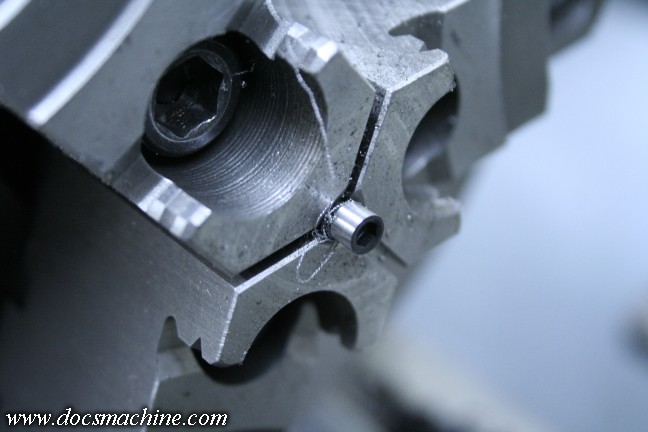
I then took a 6-32 capscrew, and gently turned the head down to 0.186".
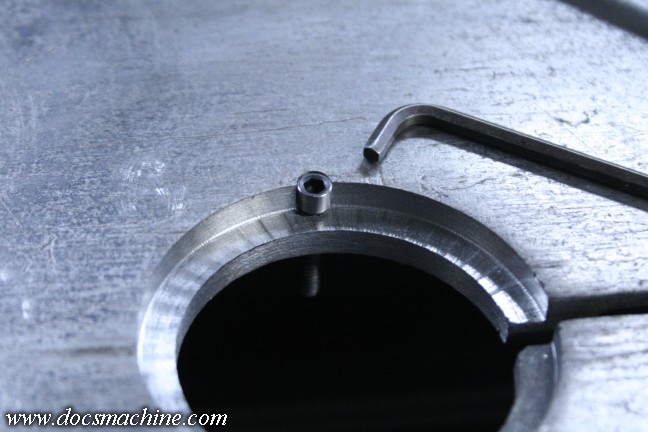
That fit into place like so.
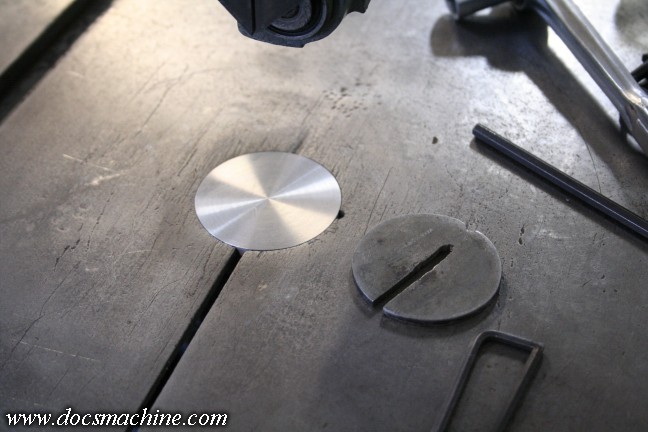
And now for the new insert. I could have made a single thin plate, and will likely make
several such plates from plastic or aluminum and saw them in place for a sort of "zero clearance"
insert in the eventuality I have to slice small, thin parts, but in this case, I wanted a nice
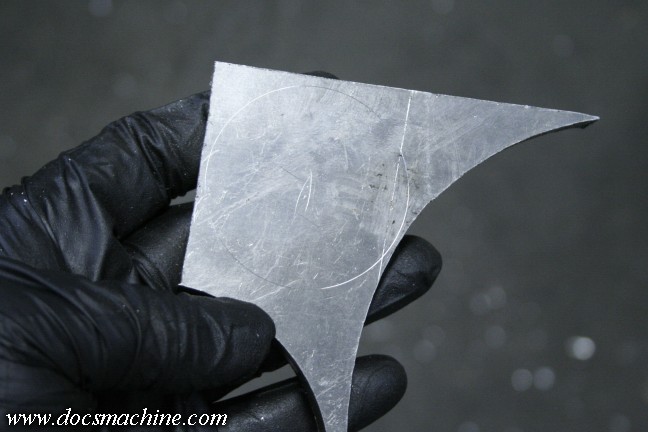
thick, relatively heavy insert that won't vibrate out or kick up. To start, I found a suitable bit
of scrap in my remnant bins, and scribed a circle just to make sure I'd have the room for the part.
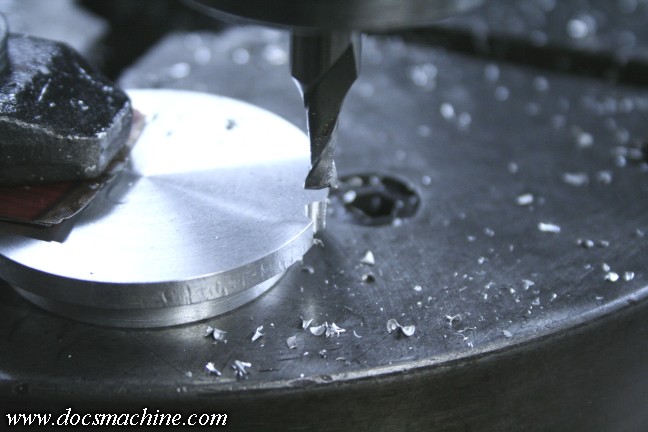
Centered and clamped to my rotary table, I milled it out in two steps,
one slightly over 2.125" for the top, and one at 1.750" for the lower.

With the excess trimmed off (I didn't have a sacrificial plate under it on the rotary)
I was able to grab the 1.750" step in an oversize soft-jaw 5C chuck...
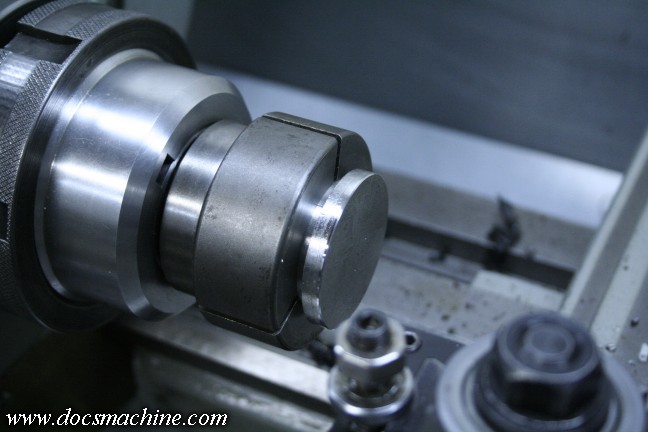
And lightly trim the top edge to size.

A quick test fit, and everything's looking good.

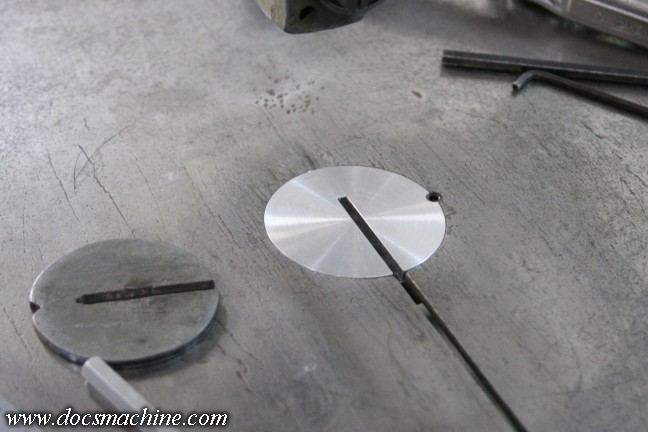
I dabbed one side with a marker, and used a razor blade to scribe
along the table surface to get a reference mark.
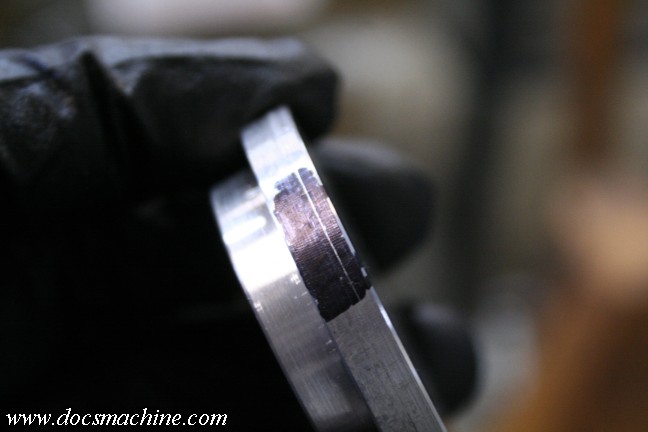
That let me know how much to take off to make it flush with the table. Technically
I should have measured it, but the table is worn somewhat unevenly,
so I opted to "cut to fit" rather than to a dimension.
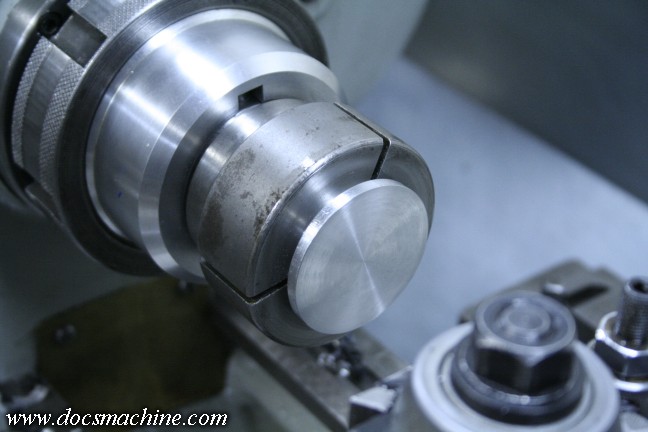
In the same collet, I snuck up on the finished dimension, making several "check and see"
trials, finally taking just 0.005" at a time to see how it blended with the table.
And finally, I was happy with it. I tried rubbing stuff over it, and nothing caught on any edge.
But we're not done yet! Since the rotary table was still on the mill, I just used one
of the leftover hold-down clamps to hold the disc in place, indicated to the center,
and milled the other half of that "key" notch in the edge.
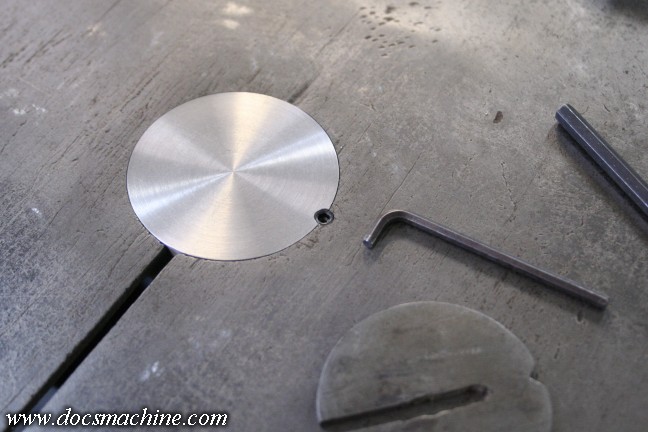
Which holds it nicely like so. It doesn't hold the disc in, or down, it's just an
anti-rotation key, so the disc can't jam itself into the blade.
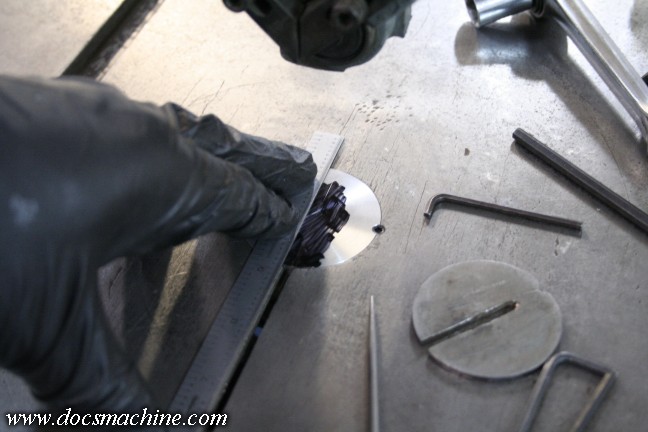
Next, another smear of marker and a straightedge, so that the blade clearance slot
will line up with the blade slot in the table.
I slapped the vise back down, and milled the slot out with a cutter wheel.
And done! All that cleaned up the bulk of the wear and chipped edges, and got me
a nice, solid insert, so that little annoyance is taken care of.
 |
 |
 |