Rebuilding and Upgrading a Jet JMD-20VS Mill-Drill, Part 4:
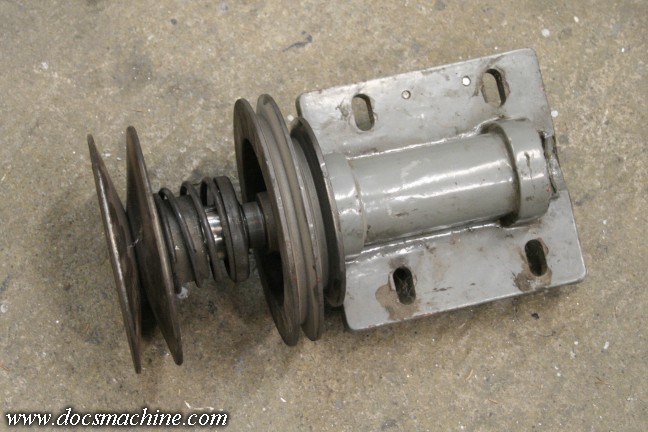
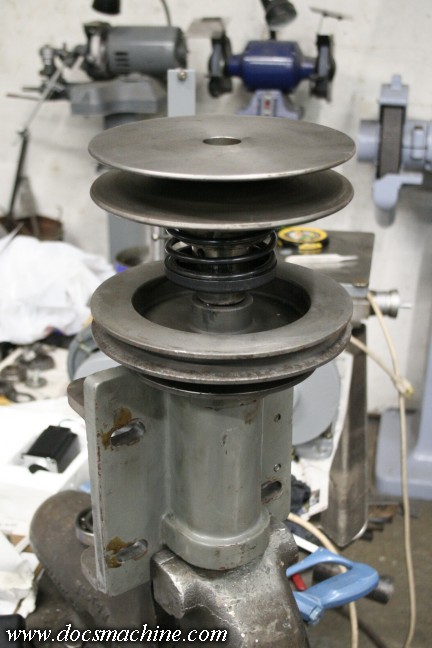
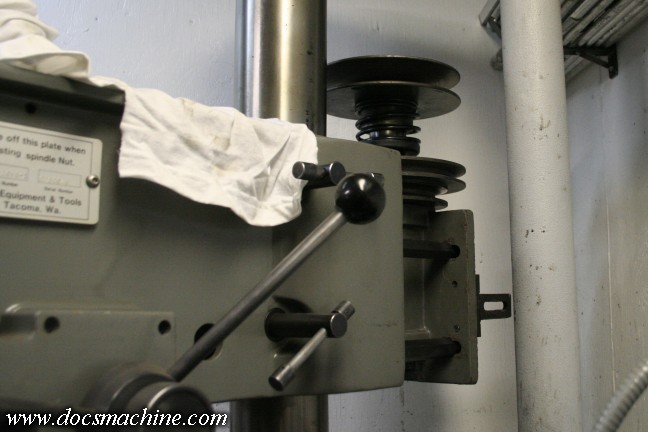
Next up is this: It's part of the variable speed drive, a spring-loaded variator pulley. As the tension on the
belt increases, it moves further toward the center of the pulley. Release some of the tension on the belt,
and it moves outward. This was one of the problems with the old setup, as both shaft bearings were worn
(not badly, but definitely noisy) and the drive pulley from the motor was loose on it's shaft, so it'd "rattle" as
the mill ran. (I actually started wearing earmuffs while running this thing for the last year or so I used it.)
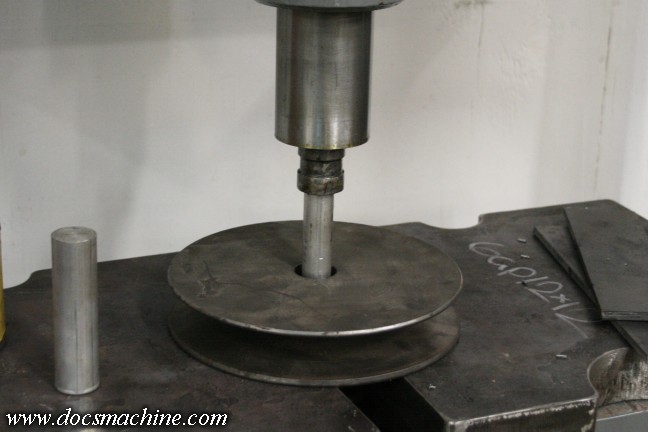
My press got quite a workout on this unit- I had to first press off the variable pulleys.
And part of the reason I had to press them off was that they'd apparently used a sealant or adhesive of some
kind, to help hold the pulley in place. That brown stuff isn't rust, it's some kind of unidentifiable gunk,
possibly some sort of LocTite type product, that had been applied to the shaft.
Thankfully, though, it came right off in the solvent bath.
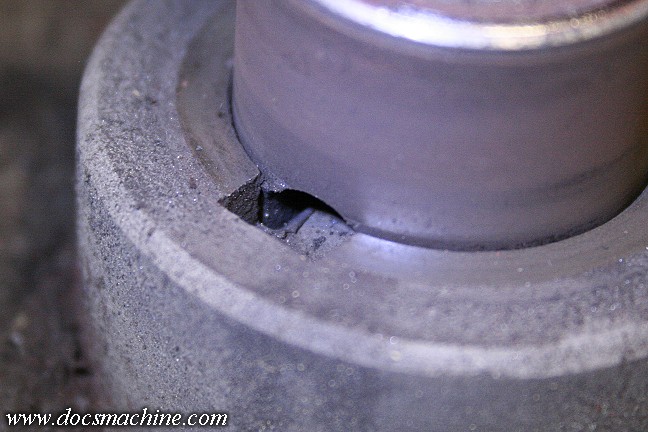
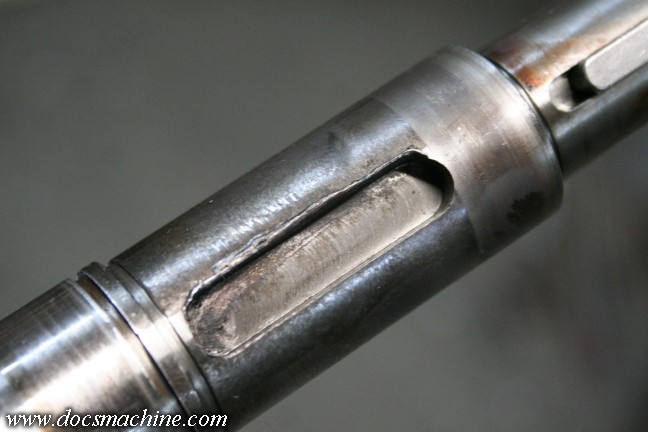
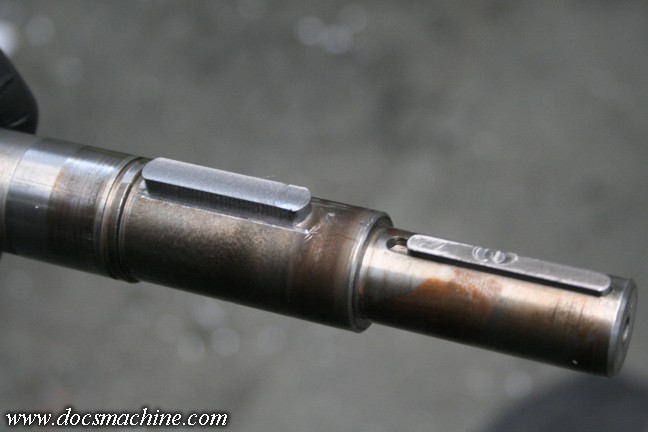
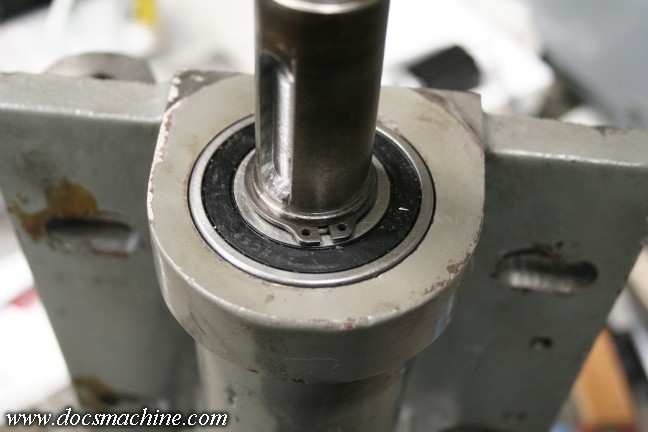
Under that, was this: Interestingly enough, the key is tight in the pulley, but had come loose on the shaft,
so the pulley- key and all- could rotate a few degrees. This had bashed the keyway out rather badly.
The key fit tightly enough in the pulley I had to press it out, too.
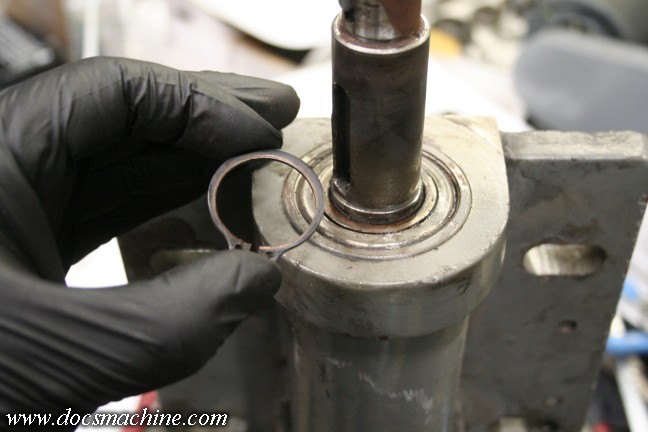
Pop a snap ring out (that's one of those photos I took more to remind myself what goes where,
rather than to make a good Guild post. Pay it no mind. :) )
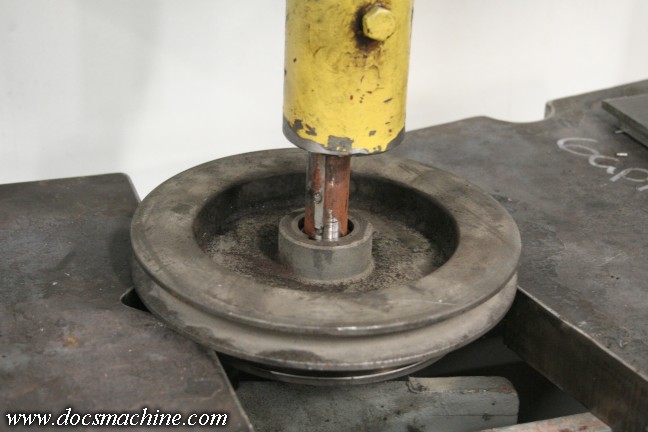
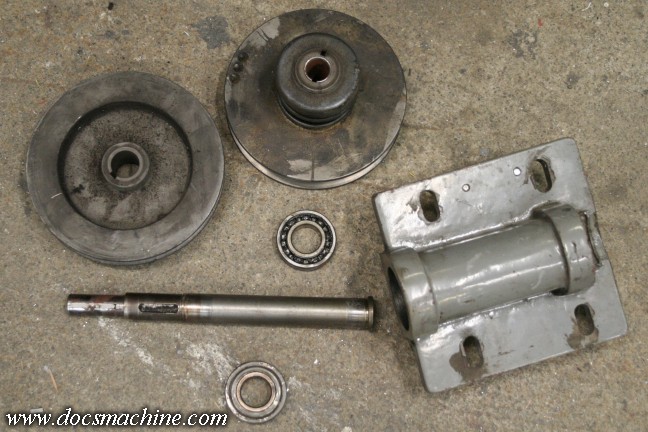
And then the shaft gets pressed out of the housing, and the bearings pressed off the shaft. Thankfully, the
variable pulley is in fine shape- filthy dirty, but with far less wear than I'd originally thought. The only
damage is the key and the bearings, and the bearings were common and easily found locally.
The keyway needed attention though. It started out a 5/16" key, and now was worn almost to 3/8".
I could have welded it up and recut the slot, or even done as some places do and just cut a new keyway on
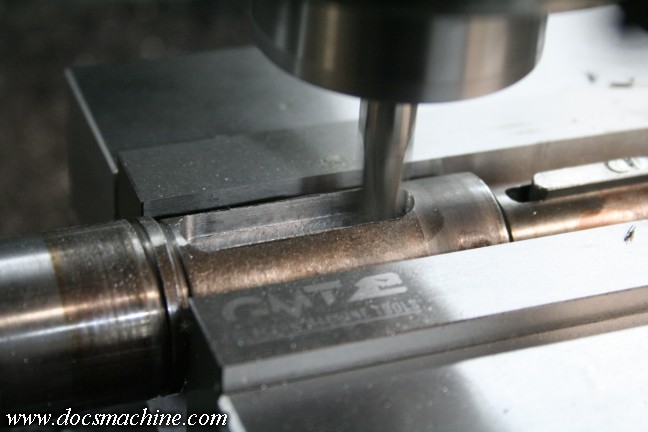
the opposite side of the shaft. I decided the simplest thing would be to simply recut the slot out to 3/8".
That's not absurdly large for the shaft (almost 1-1/8" OD at that point)
and I wouldn't have to worry about welding warping it.
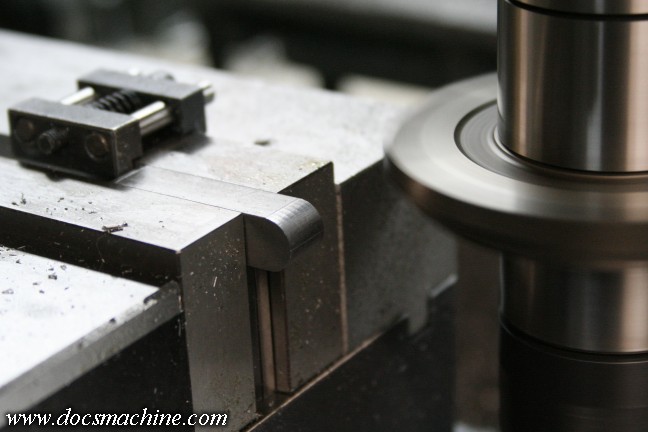
So I chucked 'er up, centered, and lightly recut the slot.
I took conventional key stock and milled the ends round...
And made it a tight enough fit it had to be pressed into place.
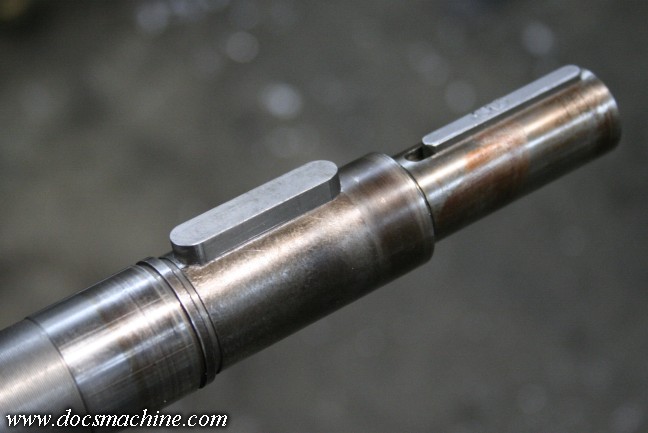
I'd thought about re-broaching the pulley to the same 3/8", but I didn't have a 1.100" bushing. So instead,
I lightly milled the side of the pressed-in key back to 5/16", again leaving it a bit large so that I'd need
to lightly press it into place, as there's no setscrew or retainer to hold the pulley.
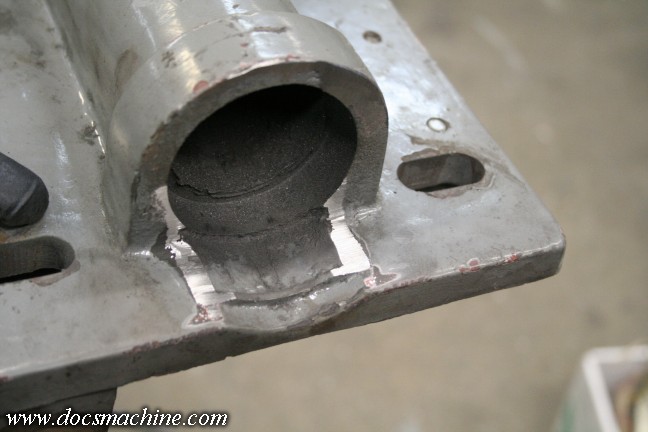
The bearing carrier casting didn't need much but a good cleaning,
though I did buzz off a little casting leftover that was bugging me.
Then, with the new bearings in hand, the whole assembly gets pressed back together.
Don't forget that snap ring!
Then the motor pulley and variable pulley both get pressed back on and tightened down, and she's done.
Now, this mill-drill is based off a copy of the old Clausing variable-speed industrial drill presses from back
in the sixties. Clausing made both a straight version, with just the motor and conventional cone pulleys,
and the vari-drive version with all of this extra nonsense.
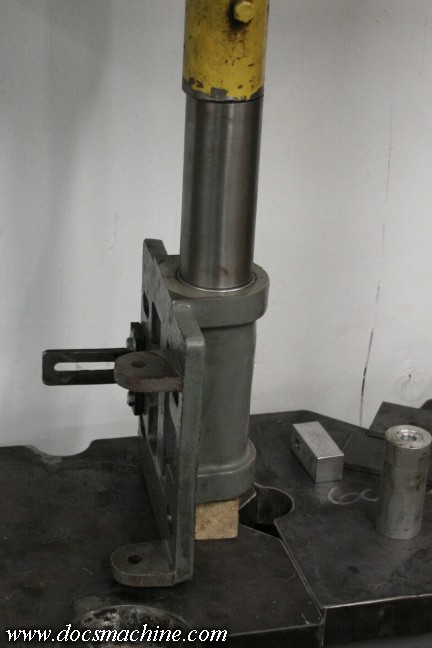
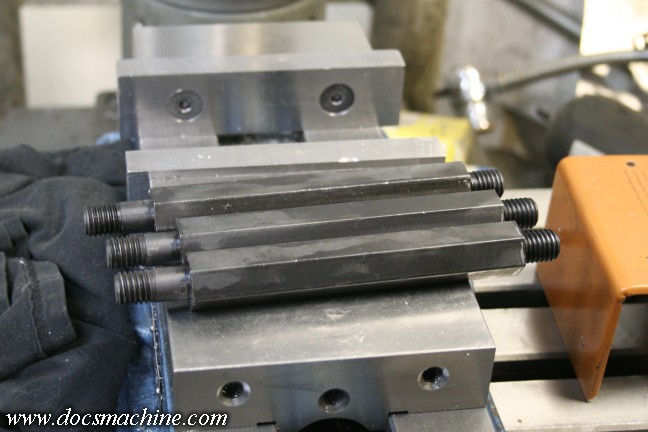
And so this variable pulley had to be "retrofitted"
to the original headstock casting, which also included spacing it back enough the large-diameter
pulley didn't hit the column. So it rides on these threaded spacers.
And it all bolts in place like so. Which completes one-third of the drive.
There's still a motor and the rest of the variable drive to go.
All text, photos and graphics
Copyright 1998- 2018, Doc's Machine & Airsmith Services. All Rights
Reserved.
Information contained in
these pages is for reference and entertainment
purposes only. Our methods are not always the best,
quickest, safest, or even the correct ones. It's up to you to know how
to use your own machines and tools.
Keep your fingers away from the spinny blades o' death and you should
be all right.