Rebuilding and Upgrading a Jet JMD-20VS Mill-Drill, Part 3:
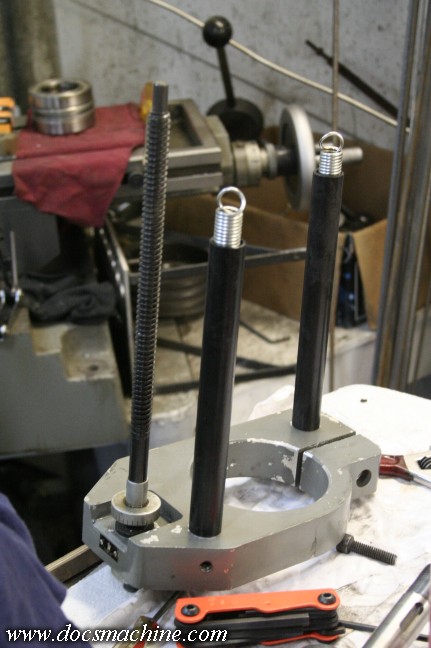
Now that the spindle was in place, it was time to install the springs and depth stop assembly.
Generally a drill press has a "watchspring" arrangement to hold the quill up, but this machine
had a pair of extension springs attached to an aluminum clamp, which in turn attached to the
quill. Not sure why they went that route, but it works, and it provides a place to mount
the depth-stop screw assembly.
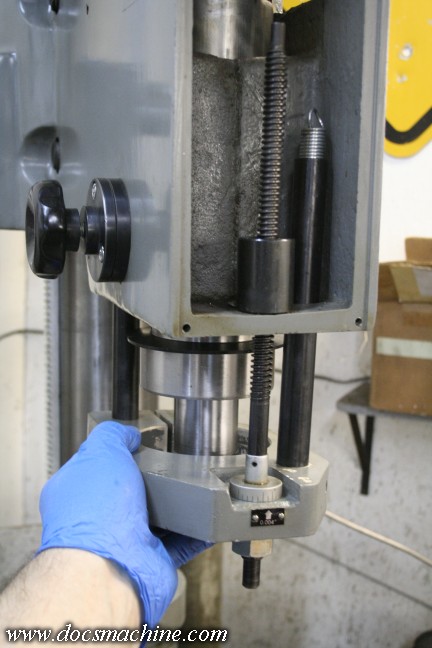
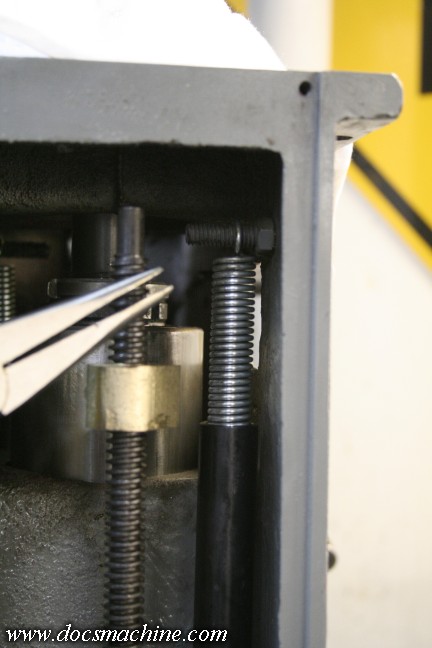
A rubber washer goes on as a "bump stop", and then the spring
assembly
just slides into place on the end of the quill.
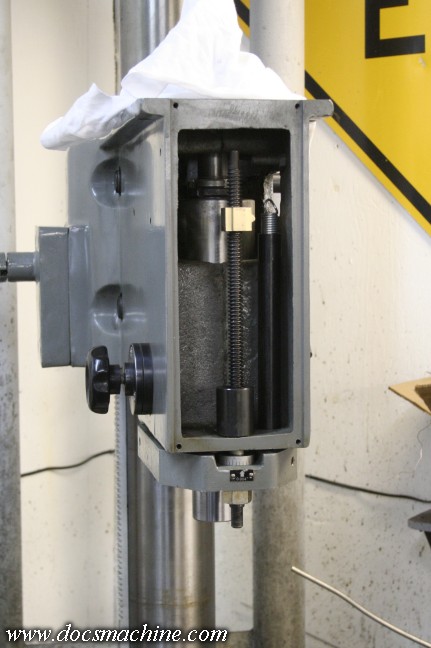
And just clamps in place using this screw at the back.
A brass or bronze nut then screws onto the dept stop, and acts as an indicator.
The springs, with a little difficulty, snap over these two studs to hold them in place.
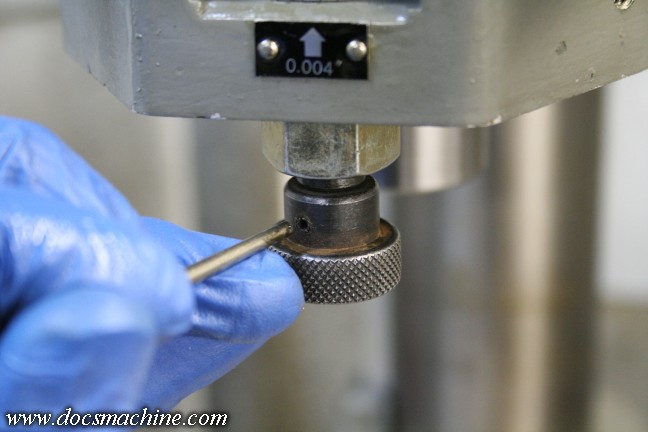
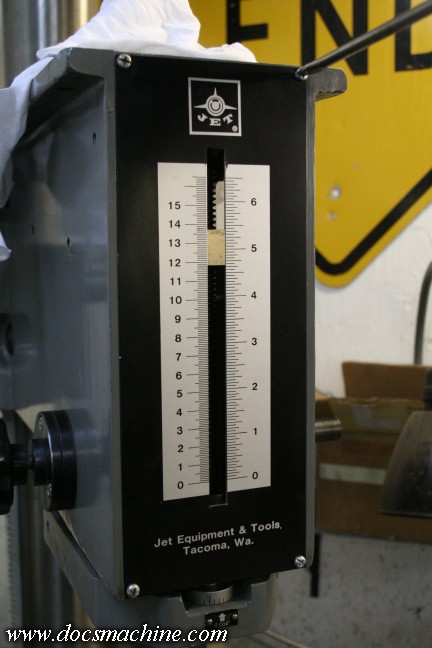
Then, the depth stop adjustment knob goes back on, and is pinned in place.
Note the arrow for the depth stop- the dial is marked in an odd .004" division,
made even less useful by the fact the arrow is some 3/8" away from the actual dial,
so no matter what, any adjustment is basically just a guess.
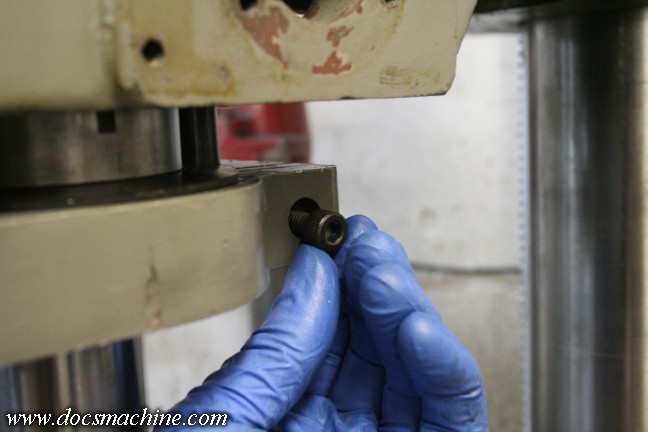
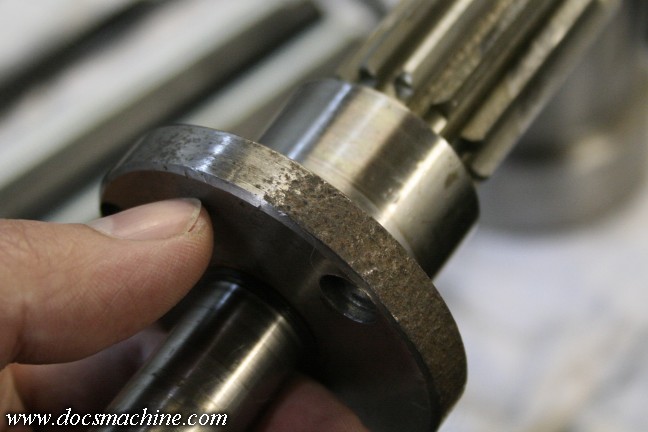
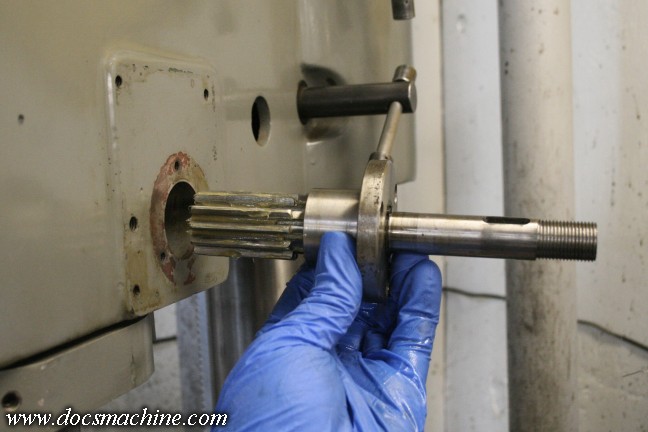
While the overall machine is pretty decent for a mill-drill, there are definitely features
that show it was
built to be cheap, by a factory that wasn't overly concerned
with fit and finish. For example, note here
on the downfeed shaft, how the
bushing was made from a rusty bar, and incompletely machined.
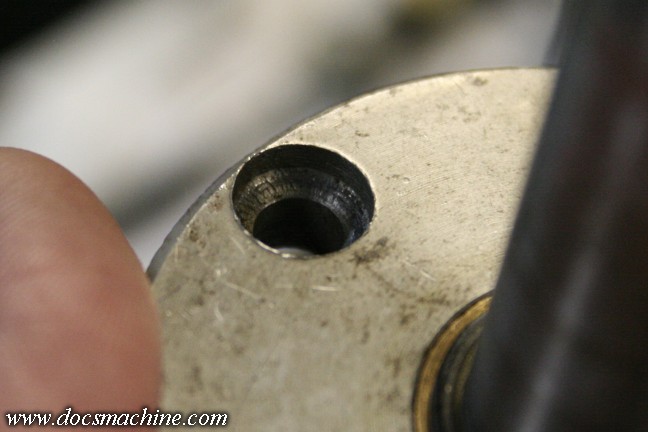
Note too, how the mounting screw holes were simply drilled, not counterbored.
The screws used are plain
1/4-20 machine screws with a flat-base head, and they're
seated in holes with a tapered bottom. It's not a
huge issue, but also not exactly
quality production work. Note also the holes weren't even deburred.
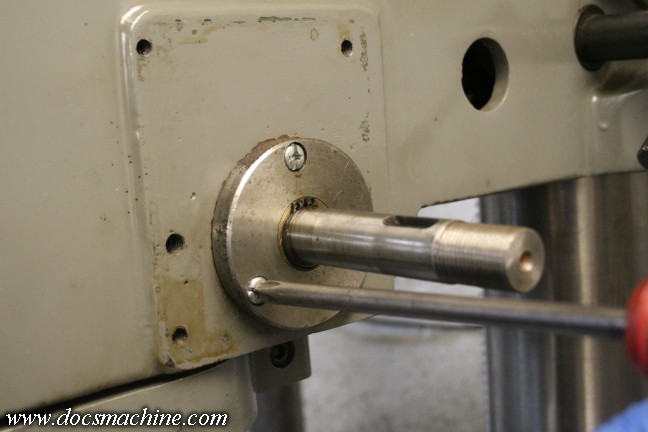
With some fresh grease the shaft slides into the headstock like so.
And then we see how the three holes don't even line up. They were probably drilled "by eye"
rather than with a dividing head or rotary table, and chances are, the holes in the casting were
drilled using the collar iself as a template. (The holes line up if you turn the collar 120 degrees.)
And just screwed in place.
WThen the front cover goes on, with it's metric and imperical scales for the depth stop.
All text, photos and graphics
Copyright 1998- 2017, Doc's Machine & Airsmith Services. All Rights
Reserved.
Information contained in
these pages is for reference and entertainment
purposes only. Our methods are not always the best,
quickest, safest, or even the correct ones. It's up to you to know how
to use your own machines and tools.
Keep your fingers away from the spinny blades o' death and you should
be all right.