Rebuilding and Upgrading a Jet JMD-20VS Mill-Drill, Part 6:
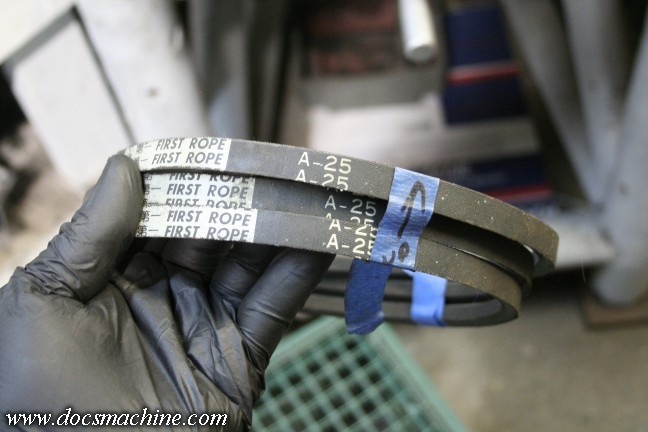
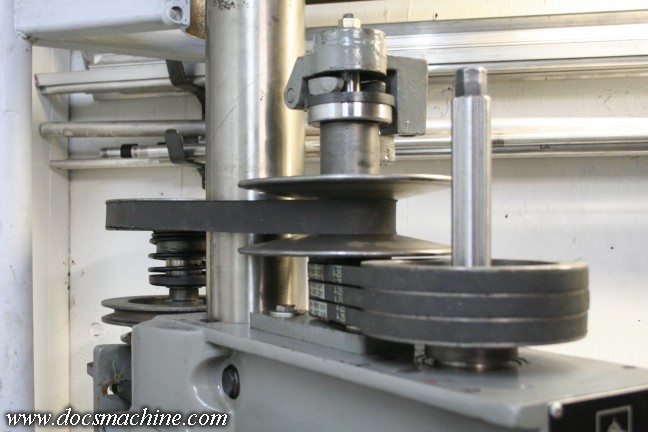
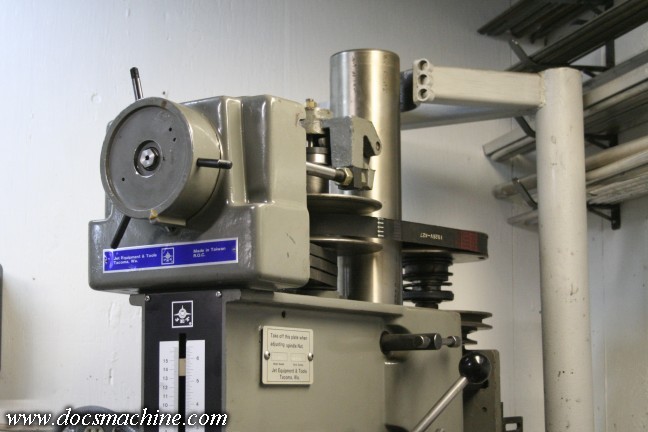
Now that the vari-drive assemblies are up and ready, the next step is the spindle drive. Due to the torque
multiplication of the vari-drive, there's three belts from that to the spindle, and all those years ago,
I saved them marked and in order.
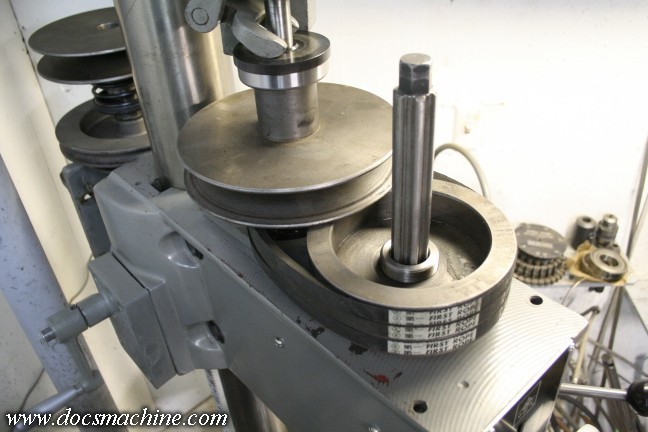
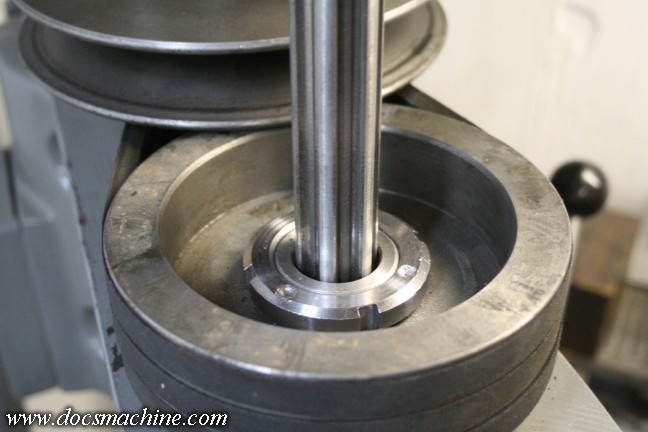
The cast iron drive pulley sits over the tapered-seat spline drive assembly and the three belts stacked in
place. It's kind of a circus getting all three parts (both pulleys and the belts) all in order, but it worked.
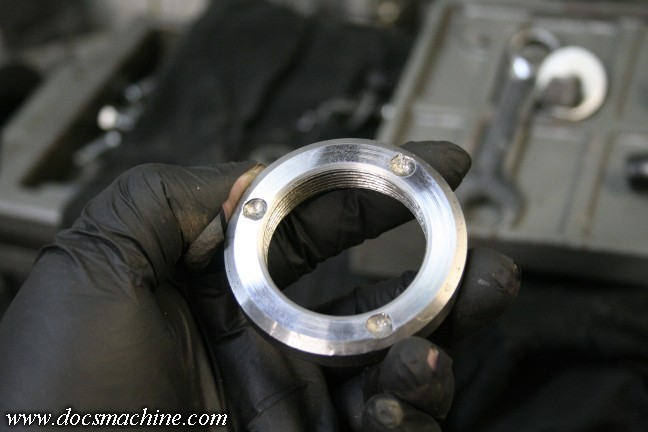
Now, also referring back to an earlier entry, one of the somewhat-less-than-quality aspects to the machine
is this nut, used to retain the drive pulley. No wrench flats, no spanner notches, just three unequally-spaced
shallow drill divots, so you can simply whack it into place with a hammer and drift punch.
Well, that won't do. Now, I don't have a socket big enough for that, and even if I did, because of the
length of the spindle drive splines, it wouldn't be deep enough. So I figured I'd make a spanner socket.
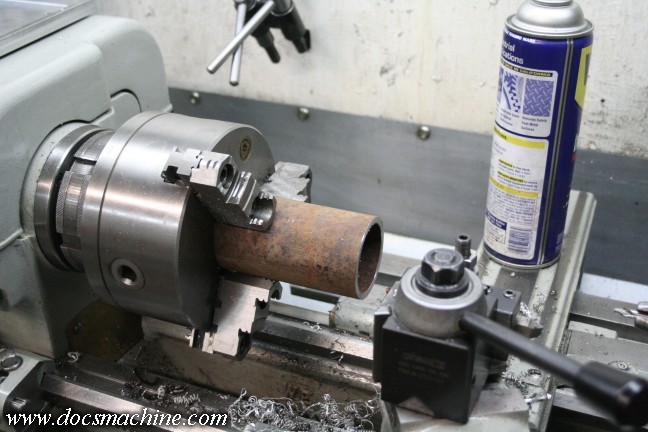
I didn't have a piece of tubing big enough to machine one directly, but that's okay. This chunk,
bandsawed from a scrap from the bin, gets faced square...
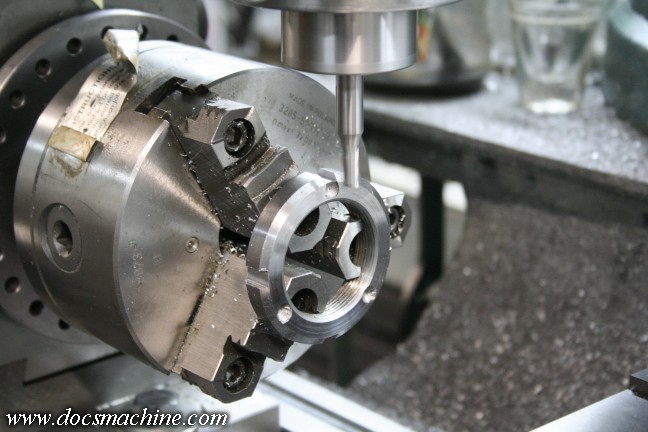
And then the nut gets (carefully) notched for four equal slots.
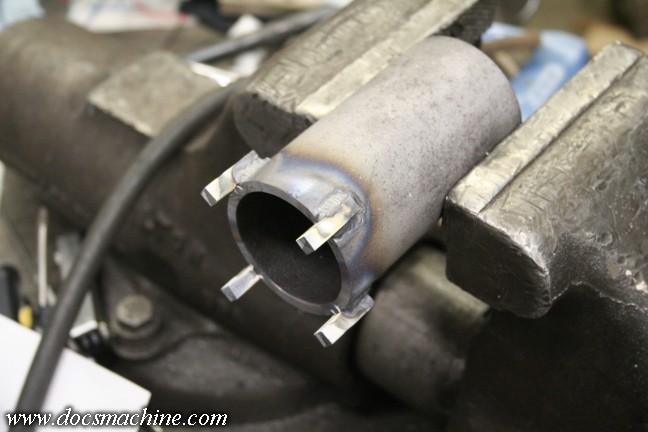
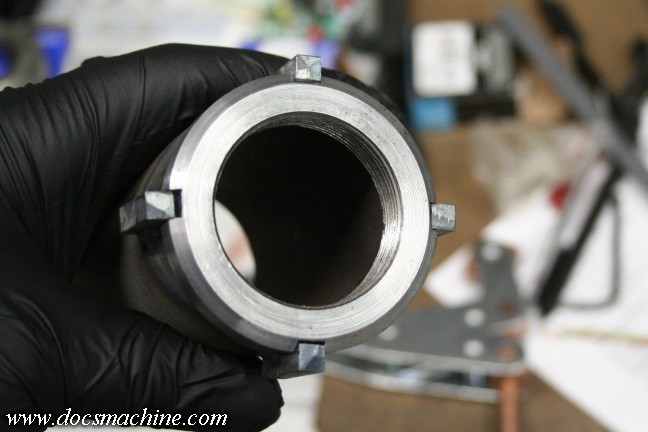
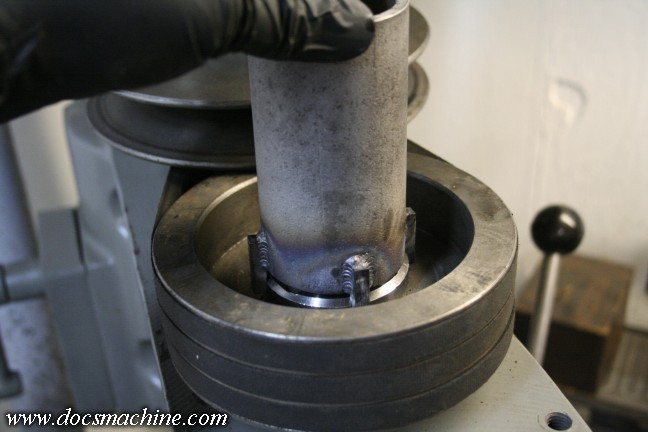
I sandblasted the tube, then welded on four short chunks of 1/4" key stock.
Which works like so.
Then I just used a pair of big-jaw Vise Grips as a wrench to tighten the nut into place.
Voila`! I'll probably cut the tube down and weld a bar on and keep it as a wrench for this machine.
I shouldn't really ever need it again, but no reason to scrap it.
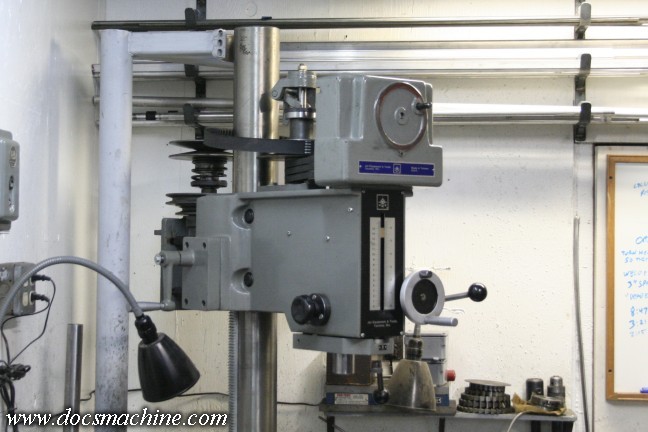
At this point I could tighten the three belts and cinch the vari-drive into place,
and add the (badly worn, but at least good for testing) drive belt itself.
Then it was time for the front adjuster casting. A quick cleaning and two bolts is all she needed.
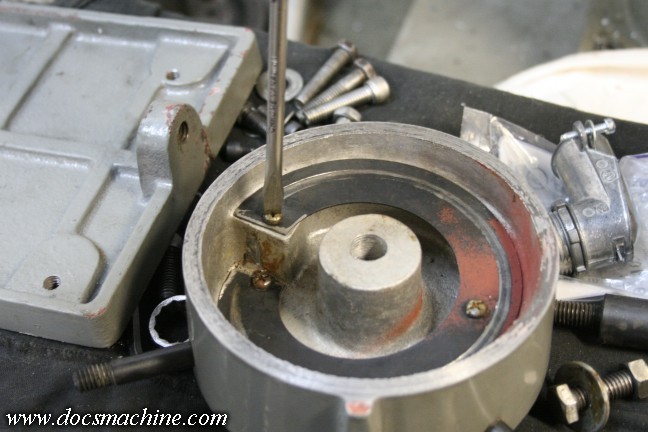
The adjuster dial got a good cleaning too, including this hardened steel wear strip inside.
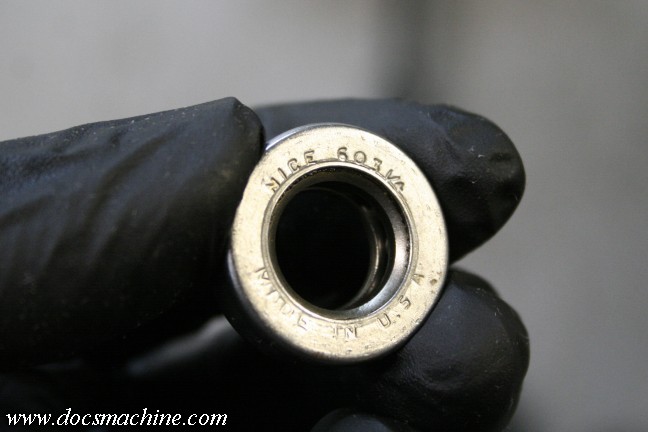
And, interestingly enough, this machine actually had a "Made in the USA" part in it- from the factory!
This is a little thrust bearing, for the axle the dial spins on. Also somewhat interestingly, a lot of the
fasteners are essentially "hybrids"; Imperial threads, but metric heads. The motor mount bolts are
5/16" coarse, but have 12mm heads. The bolts that hold the forward vari-drive pulley in place are
1/2" coarse, but have a 17mm head, and so on.
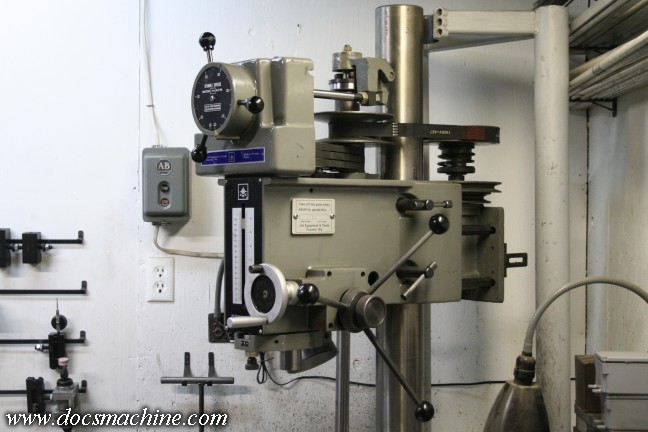
Anyway, the dial goes on with it's pivot bolt and a bit of grease. The spiral 'cam' inside pushes on a
roller-tipped rod, which in turn pushes on a "fork" arrangement that forces the variable pulley halves
together, and that effects the speed change. The drive assembly is now substantially complete.
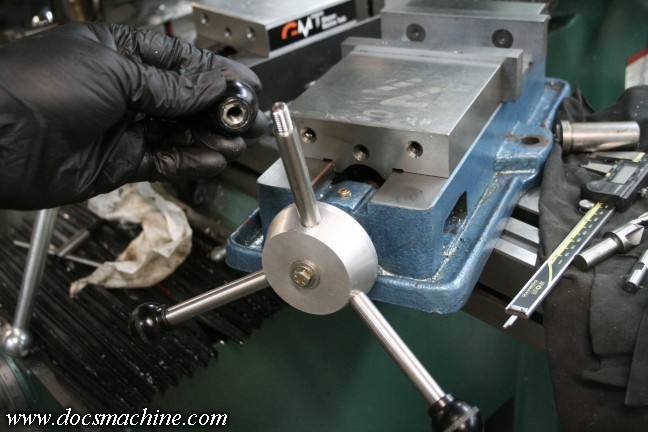
But, see those three rods on the adjuster? I snitched the knobs off those approximately a million years ago,
to put on my mull-vise "spider" handle. And now, after years of faithful service, it's time to return them home.
Then, to top it off, the speed dial bolts on the front of the adjuster wheeel, with a shiny new
stainless buttonhead bolt. And that's it! The drive is (almost) done! Next up, the motor!
All text, photos and graphics
Copyright 1998- 2018, Doc's Machine & Airsmith Services. All Rights
Reserved.
Information contained in
these pages is for reference and entertainment
purposes only. Our methods are not always the best,
quickest, safest, or even the correct ones. It's up to you to know how
to use your own machines and tools.
Keep your fingers away from the spinny blades o' death and you should
be all right.