


|
|
|
|
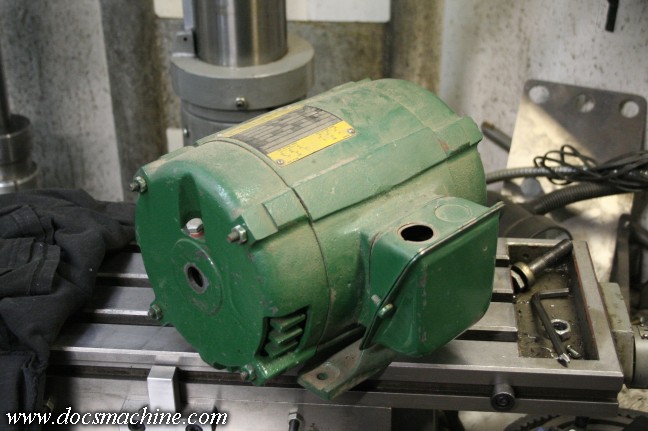
In this installment of the Jet mill-drill tomfoolery, we're down to the final piece of the drive puzzle, the motor!
The mill originally had a nice TEFC 1-1/2HP 110V single phase motor, which for the most part worked fine
for many years. However, towards the 'end' there, it started blowing a 20 amp breaker on occasion, when
I'd start it. Not every time, or even every other time, but just often enough to be a fair problem.
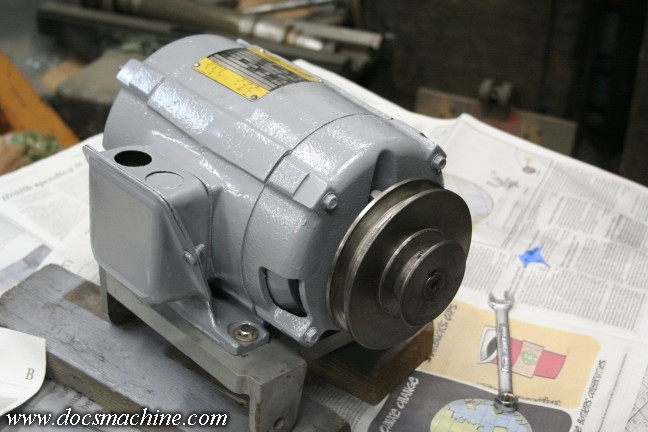
Rather than try and fix it, at least for the moment, I'll instead be using this Century 2HP 1725 RPM 3-phase
motor with a VFD. Yes, it's kind of redundant to be using an electronic speed control on a variable-speed
machine, but it's still worthwhile for the soft start, smoother operation, easy reversibility, and so on.
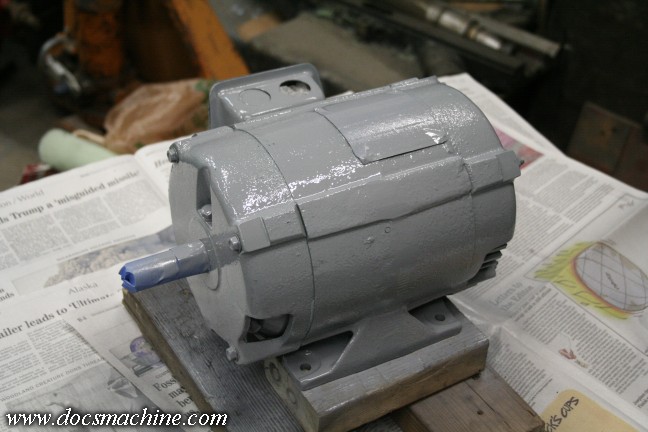
The only thing I didn't like about it was the color, so I gave it a cursory dust-off and degreaser
wipe-down, and zapped it with some Rust-O-Leum machine grey.
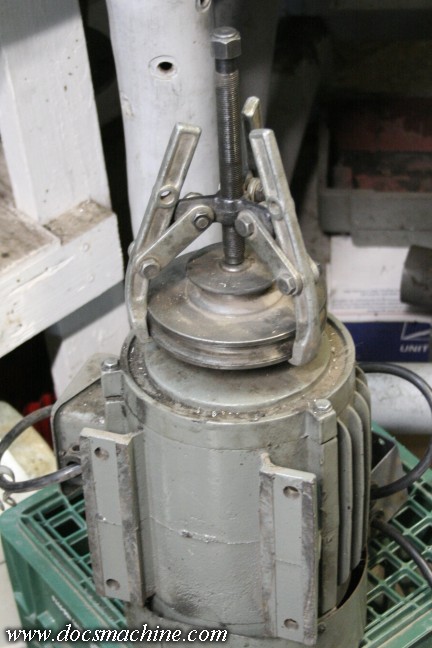
While that was drying, I popped the pulley off the old motor to transfer it over.
And ran into a minor problem. Earlier when I mentioned there were a few "hybrid" bolts on this thing?
With metric heads but imperial threads? Here's another odd bit- the motor shaft, and thus the
pulley bore, are nominally but not quite 7/8". Instead of a .874" shaft and .875" bore (or thereabouts)
the old motor had a shaft of .868", and the pulley bore was .869".
Basically instead of 7/8", they
made the shaft 22mm.
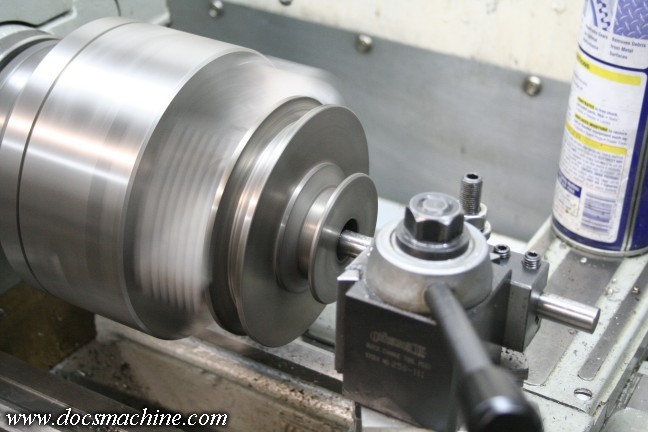
Fortunately it's easier to take metal off than put it back on, so it
was a simple job of boring the pulley out about .006" to match the new motor.
And the next day, when the paint was dry, I bolted it all together with the mounting plate.
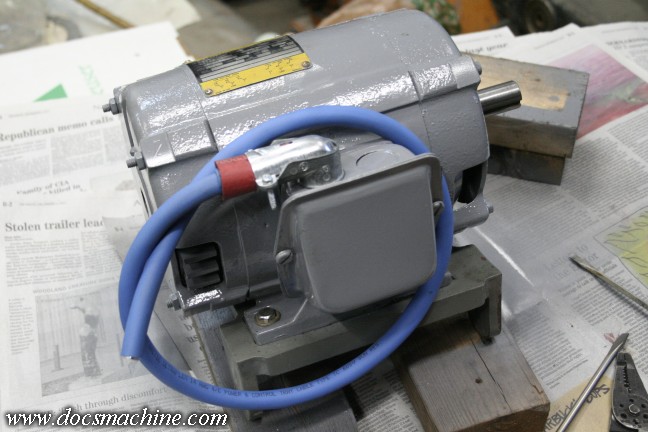
Then I picked up some more 4-conductor wire and a conduit elbow, which is not precisely correct for
this application, but works with a little extra cushioning for a strain relief, and wired it up.
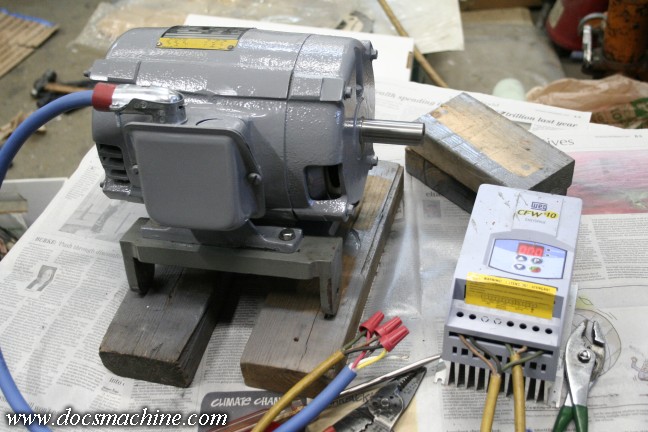
Of course, then I had this bright idea- I'd had the motor for four or five years, but had never actually,
you know, tested it. So I dragged out a spare VFD (that's a Variable Frequency Drive for those
of you coming in late) and gave 'er a quick trial. Worked like a champ.
Then, with a bit of effort (it's a heavy motor and an awkward location)
I got it hung up on the back of the mill, and bolted down.
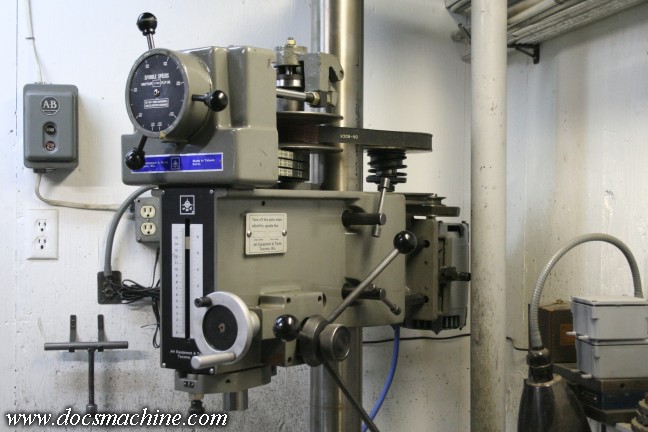
Slip the old belts into place, set the tension, and finally, after
thirteen years (!) it's time to give this poor thing its first test.
Partial success! It lives! It liiiiives! Partial success in that it's still really noisy- quieter than I remember it being
back in the day, but still louder than I think it should be, and by a lot.
But that's not necessarily a problem.
As I said, all the belts are worn, with the primary culprit being the big variable belt, which is worn unevenly.
It's thinner on one side than the other, which leads to a "rumble" created as the belt "wobbles"
past the pulleys.
Also, the three 'matched' belts driving the spindle are no longer matched.
I don't know if they really ever even were, or simply wore differently, or just age affected them differently.
I had the labels lined up when I tightened everything down, and it only took a couple of seconds before
they were significantly mixed up again.
So hopefully the new belts, which are already on the
way, will cure some of that, and make things run significantly smoother.
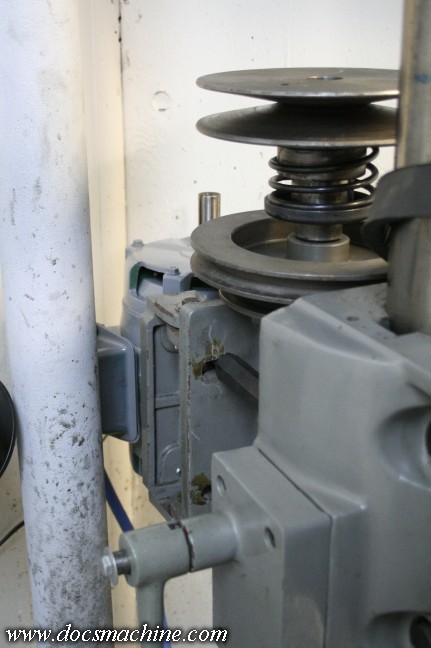
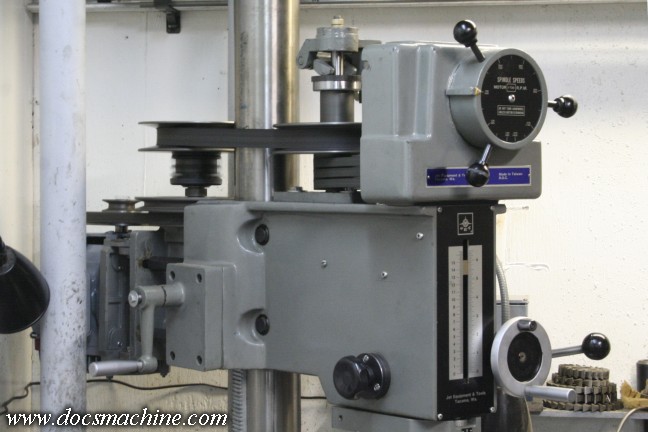
However, I also
discovered two other things: The driven pulley on the variable speed jackshaft,
wobbles significantly, like a coin dropped on a table.
It's not misinstalled, it's mismachined. The bore is not coaxial to the pulley grooves.
This won't be an easy fix.
While the motor pulley was easy in that I just had to bore it out a few thou, I can't bore this one
however much it'll take to straighten it out, without making it significantly loose on the shaft.
Sleeving isn't necessarily an easy cure, since it of course has a keyway- partial sleeves don't hold
very well- and I can't make a thick sleeve because the body of the pulley gets too thin.
So I'll probably just have to replace it. Fortunately I have other things to work on while I wait
for a replacement to arrive. The other thing I discovered is the upper movable section on the
front variable pulley is loose. It's "bushed" with something like teflon, to help it slide
up and down, and once it had a bit of "settling in" under power, it's a lot
looser than I'd originally thought. So it looks like I'll have to take that
out and rebush it, too- probably use Delrin, as I have plenty of it.
 |
 |
 |