[
Return to Main Page ] [
Return to Projects Index
] [
Doc's Machine & TWB Store] [
Contact Us ]
[
The Whiteboard Webcomic
]
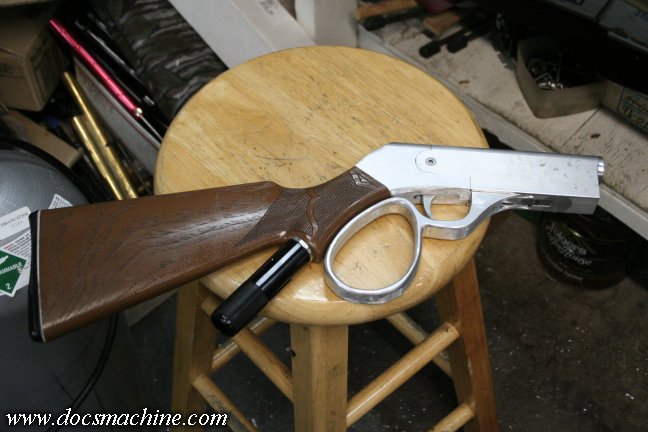
The Duke: Developing an all-new Lever-Action Paintball Gun
Part 4: Building a Functional Mark II Prototype
At this point we just need to add a feed mechanism in order to be able to properly fire paint. This, of course,
is a straightforward task, as there have been spring-fed markers since the very early days of the sport. There
was only one minor issue, in that we were feeding
up from below, not down from above. In a normal spring feed
mounted above the barrel and chamber, the last shot will still fall into place simply from gravity. Feeding up from
below means the follower has to both push the ball to the end of the tube,
and push it up the passage at the end.
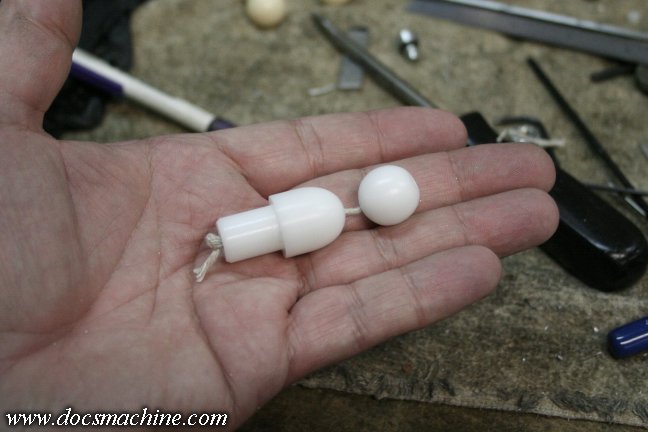
This, however, is easily enough accomplished by "tethering" a dummy ball to the follower. Here I hand-turned
a ball out of white Delrin, plus a rounded-nose follower, and tied the two together with plain cotton string.
(Keeping in mind this is just a prototype- that was just an expedient fix.)
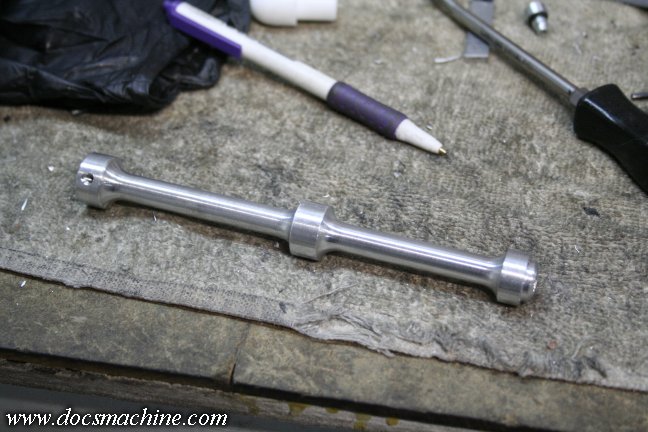
I only had some 10-round springs on hand, the last of a handful I bought from Sam Tussing back in- if the
box is to be believed-1998. Again, this is just a prototype, so I made an extended plug long enough to
put the proper tension on the spring. The finished marker should eventually hold 15 rounds.
The plug slides in snugly and is attached with a single 6-32 screw.
Now, the earlier air plug worked in that I was able to connect a bulk tank and remote hose to the gun, but
naturally I wanted to try "flip cocking" the gun, so I needed a self-contained system. The particular layout
on this marker does not lend itself well to a bulk tank or HPA tank of any reasonable capacity, at least not
without ruining the appareance of the gun, so it will most likely be a dedicated 12-gram-only marker.
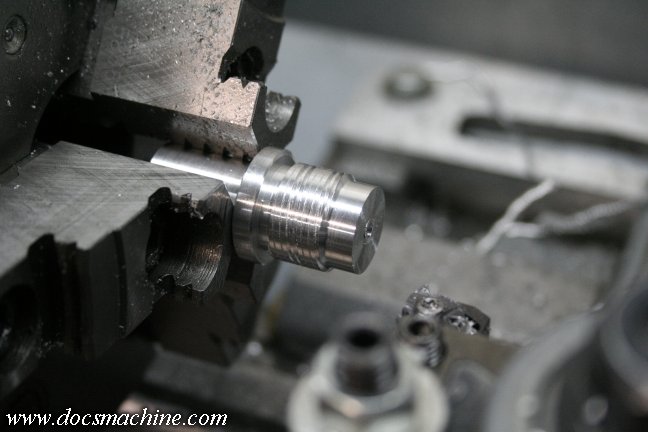
So for the sake of expedience, I took the big test plug, and turned it down into a new adapter to accept
a CCI Phantom quick-change "bucket". It was a bit tricky, as the changer uses a 14tpi 4-lead thread.
The 4-lead wasn't a problem, but the 14tpi was. In order to cut 14tpi, I have to set the lathe to 3.5tpi.
(3.5 x 4 = 14.) My main lathe could only go as low as 4 tpi.
But, just for the prototype, and because the threaded section was so short (about half an inch) I was able
to cut 16tpi 4-lead threads, and made them a little deeper- that is, looser- than normal. The 'bucket' then
threaded on just fine, and is still plenty safe and secure. (Again, just a prototype.) The part was finished
off by boring and tapping for a CCI piercing pin assembly, and cutting a hex on the end so that it
could be tightened into place with a wrench.
And there we go. It's actually not bad, from both an appearance and use standpoint. Doesn't get in the way
of using the lever, even while flip-cocking, and yet it's easy to access for fast changes. Any production version
of this marker will probably have a straight wrist on the stock, so the 12-gram changer will be hidden inside
the buttplate. But for the time being, this is actually a nice, workable solution.
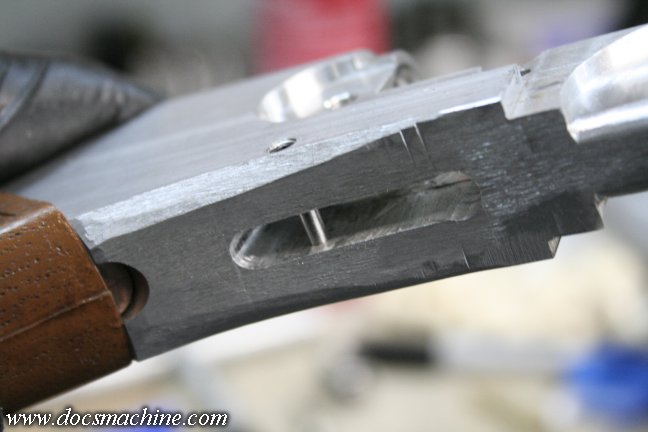
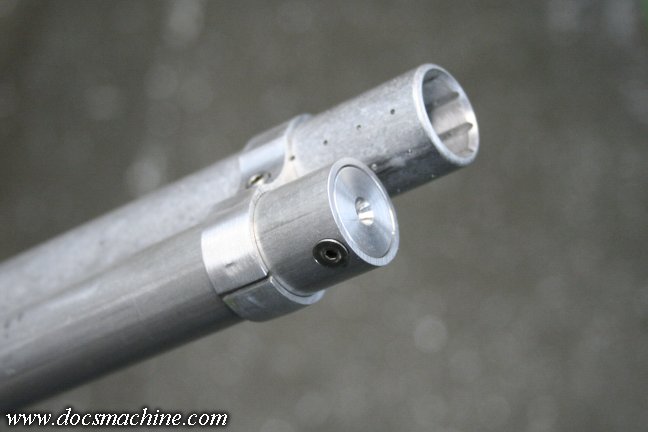
I also wasn't particularly happy with the trigger, which wasn't retained well. I'm already drawing up an
improved version for the MkIII, but for now, I decided to add a guide pin in order to stabilize it.
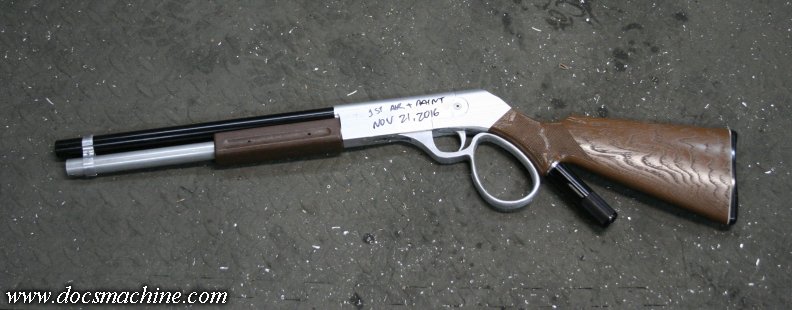
And, as of the 21st, some 22 days from starting with an empty workbench, I aired it up with the 12-grams
for the first time, and shot the first tubeful of paint through it. It worked like a champ, feeding and firing
perfectly even when flip-cocked. Accuracy and sound levels were about what you'd expect from a Phantom.
I even had my third-ever indoor accidental discharge with it. :)
The magazine-tube follower needs a little refining, in that my quick-and-dirty 'tether' was a touch too long,
allowing the dummy ball to rise up far enough to jam the bolt open. That happened on the second magazine,
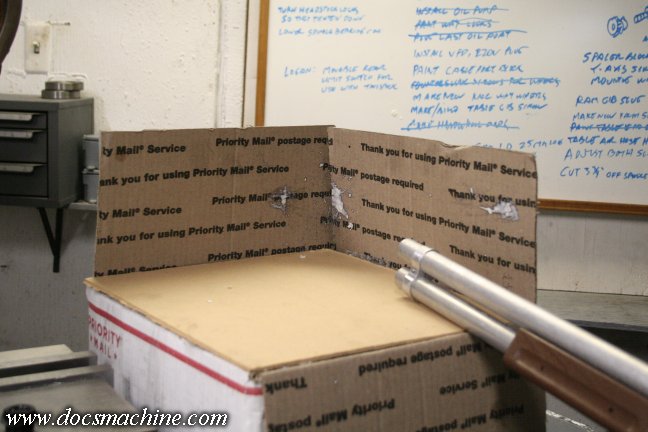
and so I brought it back inside, removed the feed plug, spring and follower, closed the action, aimed at the far
wall and pulled the trigger. The ball hit this box I had sitting on the table of one of the mills and splattered all
over the place. You can see a splot on the whiteboard in the background too. :)
The ultimate cause was the fact the gun does not yet have a ball detent. That's coming next, but at the time
I was too excited to try it to wait. The last ball rolled into the chamber, letting the dummy ball to rise
up far enough to stop the bolt. That ball stayed in the barrel even after I removed the feed parts. :)
Next up, the finishing touches....
All text, photos and graphics
Copyright 1998- 2017, Doc's Machine & Airsmith Services. All Rights
Reserved.
Information contained in
these pages is for reference and entertainment
purposes only. Our methods are not always the best,
quickest, safest, or even the correct ones. It's up to you to know how
to use your own machines and tools.
Keep your fingers away from the spinny blades o' death and you should
be all right.


