[
Return to Main Page ] [
Return to Projects Index
] [
Doc's Machine & TWB Store] [
Contact Us ]
[
The Whiteboard Webcomic
]
Cleaning up an old Wellsaw M1000 Horizontal Bandsaw, Part 3:
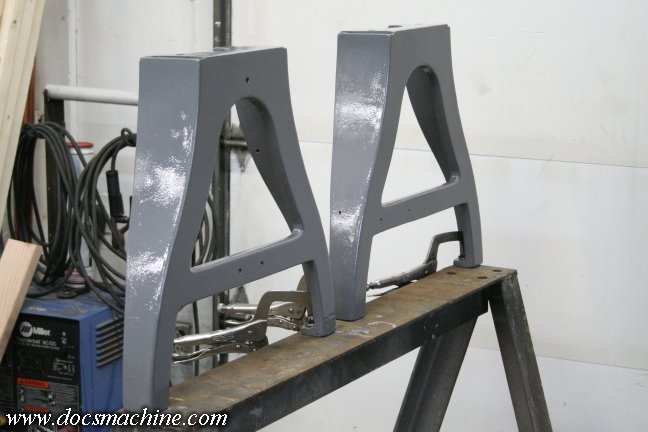
With the legs, saw table, and rolling base all painted, it was time to bolt them all back together.
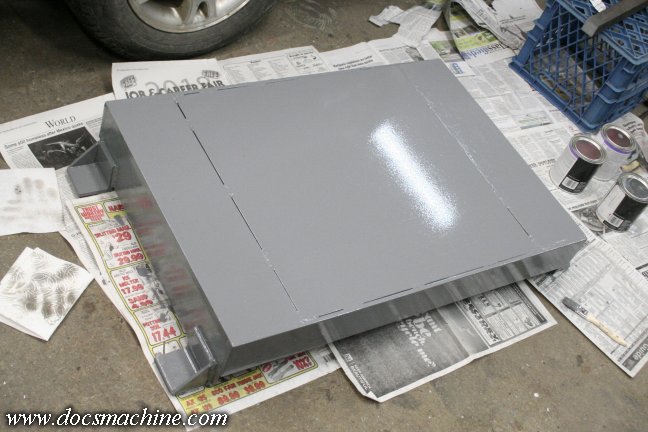
The rolling base (a shopmade item constructed by some previous owner) got one quick mod,
closing in the center opening so that shavings, cut-off parts and other leftovers wouldn't
collect under there and make it hard to roll about.
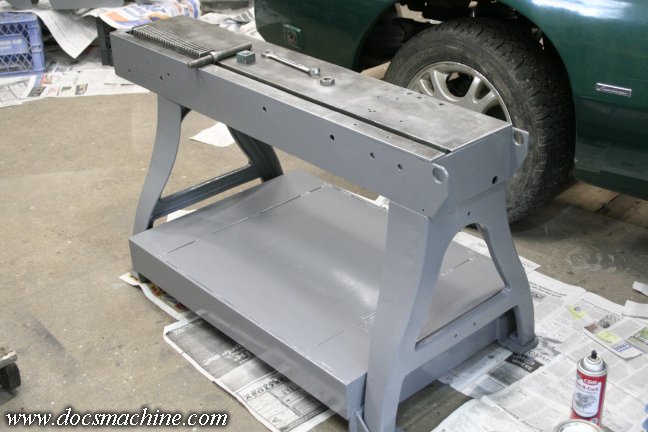
Then it was a simple matter to just set it all together and tighten the bolts down.
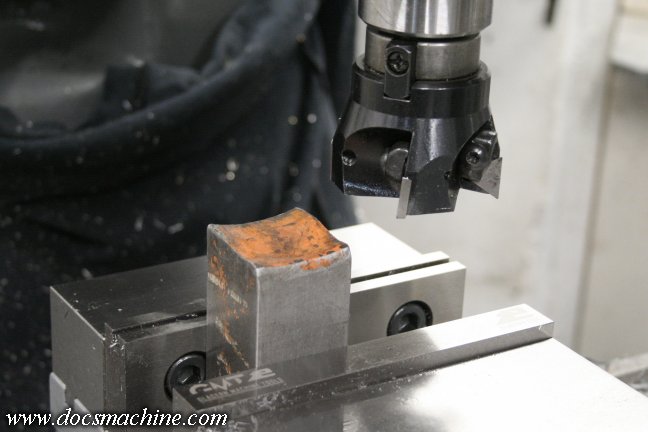
Now, one of the first real repairs is the vise adjuster was either missing it's slider, or the factory all those
years ago was relying on a simple bolt and washer loosely screwed into the rack. I figured I could do
better, and got out a chunk of 1-3/4" steel square bar... that had been badly sheared at the factory.
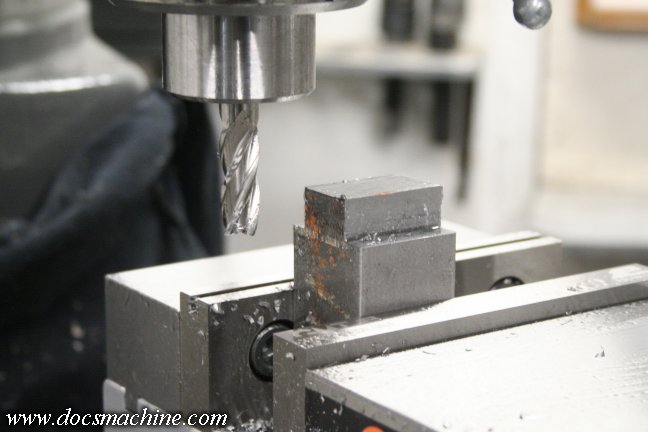
I squared that up and milled it into a large T-nut, similar to those used to hold things down to mill tables.
I eventually made two of these.
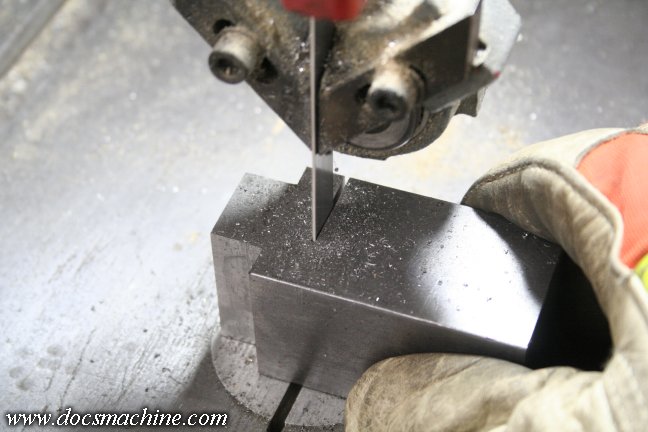
Ironically, I'd have sawed this off in the horizontal saw, but obviously that wasn't going to work in this case. :)
So I had to stand at my DoAll vertical bandsaw for, like, 45 seconds and push it through
by hand.
Like some kind of
caveman.
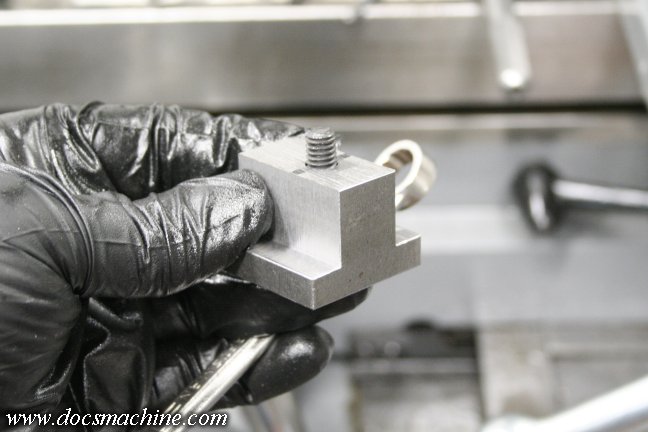
-The first one got a slightly-offset 5/16" hole drilled straight through....
And bolted to the bottom of the vise-adjuster rack like so... or rather, it will be when the rack is installed,
and it'll even be facing the correct direction too- it's supposed to be flush with the front edge of the rack. :)
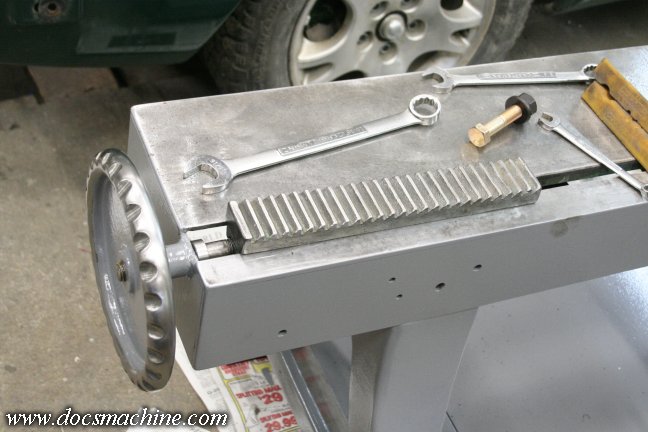
The newly cleaned, ground and painted handwheel, and the cleaned-and-regreased threaded axle and nut
are then installed, the rack slipped into place, and the T-nut bolted on. The slider keeps the rack in line,
keeps it from lifting, and generally holds everything in place as the rack is slid back and forth in use.

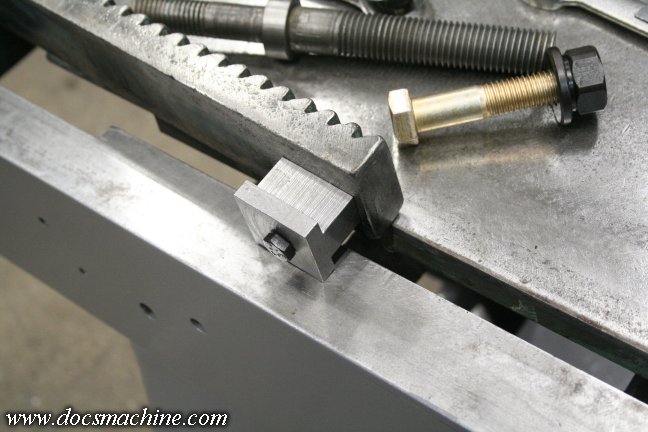
The second T-nut was drilled and tapped to 5/8"-11 and got a short section of threaded rod TIG welded in place.
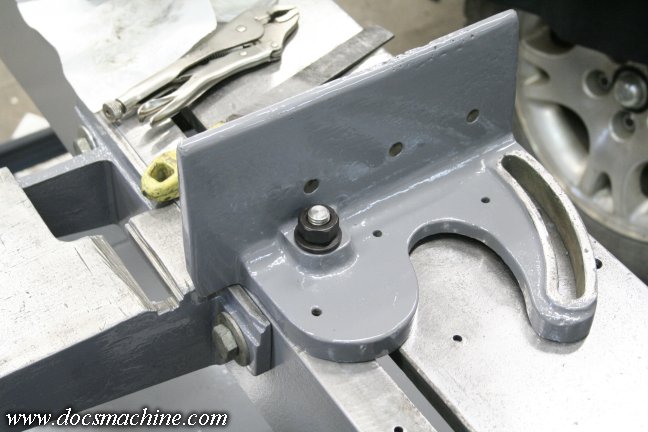
That rod and T-nut go here, on the fixed jaw. The T-nut keeps the stud from turning, so the nut can be
loosened with a single wrench, and from the top of the machine. I'll be adding a second stud for the
slotted side. (Note the porosity at the top of the jaw- at some point in history, a previous owner
had welded something to the jaw, then broken it off. I tried to dress it down smooth.)
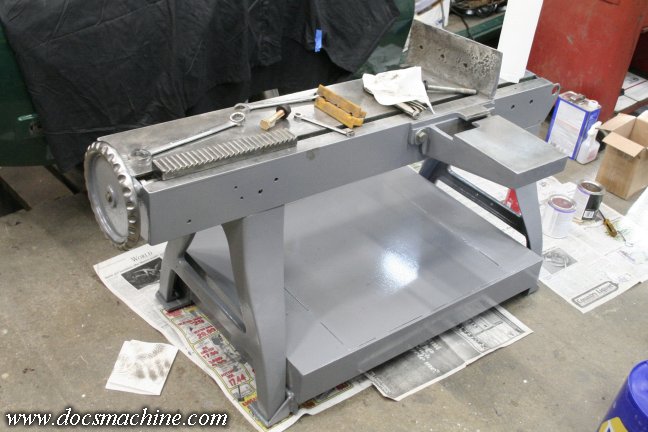
After that, the offcut table goes on, and we're ready for the next part.
All text, photos and graphics
Copyright 1998- 2018, Doc's Machine & Airsmith Services. All Rights
Reserved.
Information contained in
these pages is for reference and entertainment
purposes only. Our methods are not always the best,
quickest, safest, or even the correct ones. It's up to you to know how
to use your own machines and tools.
Keep your fingers away from the spinny blades o' death and you should
be all right.


