[
Return to Main Page ] [
Return to Projects Index
] [
Doc's Machine & TWB Store] [
Contact Us ]
[
The Whiteboard Webcomic
]
Rebuilding A Junker Cutlass Into A Kinda-Sorta Faux-Four-Two Musclecar, Part 2:
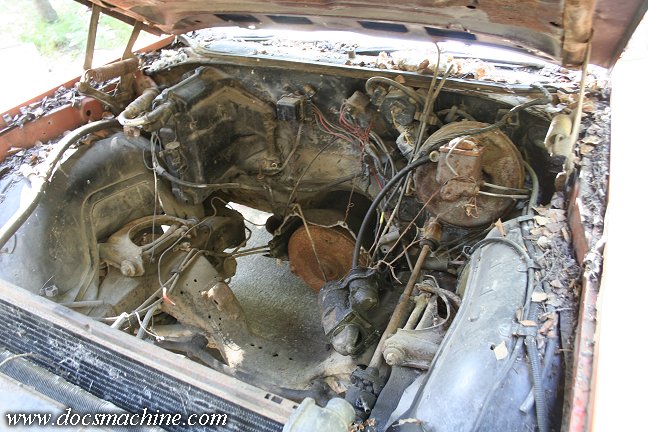
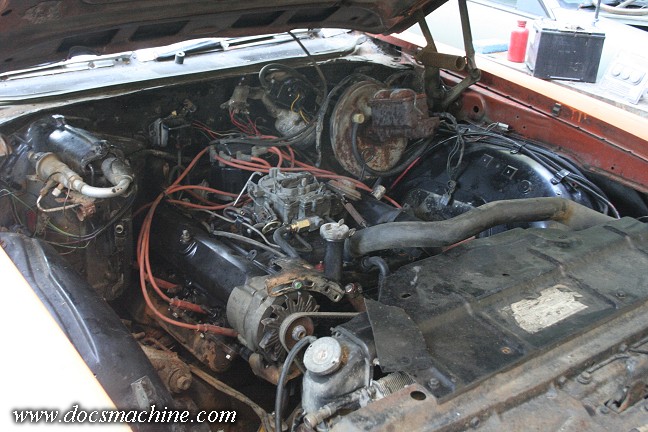
Now that I suddenly had a workable engine, I dragged the Cutlass carcass out of the back yard and
got ready for the install. First things first was to hose out the engine compartment and make
sure all the necessary parts were there.

The engine was similarly prepped. It is, of course, a wimp smog-era 307, rated at a whopping 140 HP from
the factory- and that was 120,000 miles ago. :) But, as I said, it was just something to get the car rolling,
and, of course, it was free. I rebuilt a spare non-computerized HEI, dropped it in and static-timed it,
replaced the oil pan gasket, replaced the spark plugs, and gave it a quick blast of factory black.
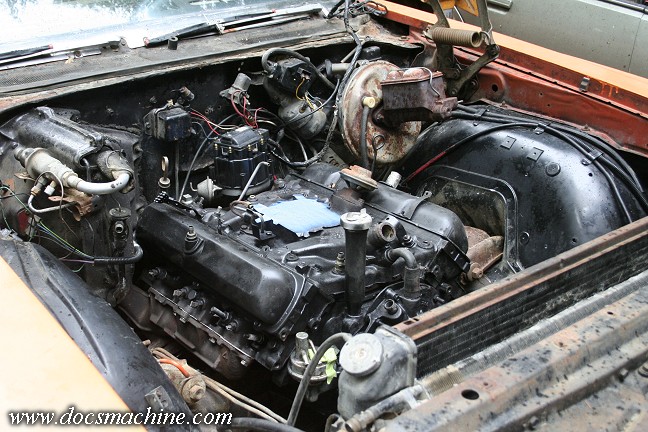
And, being an Oldsmobile small-block, it fell right in to the car's factory Oldsmobile small-block
motor mounts, and of course bolted right up to the BOPC-pattern transmission bellhousing.
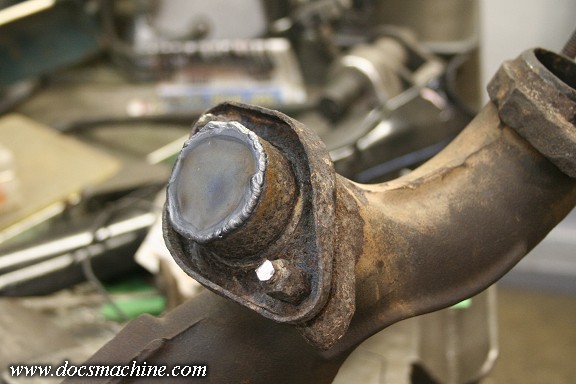
The previous owner of the Cutlass had apparently, shortely before abandoning it, had a fresh
dual exhaust installed, with a pair of typical Sonic Turbo mufflers. The system was still in very
good shape, and even lined right up to the '84 exhaust manifolds. Unlike the '72 manifolds,
however, the '84 had a crossover pipe, so I welded in a cap to block off that extra port.
After that, it was a simple matter of bolting everything together with some fresh gaskets.
Then it was just detail work installing the carb, plug wires, fuel lines, radiator, hoses, vacuum connections,
running a resistor-wire bypass to the ignition, bolting up the old alternator and throwing in a battery.
I put 5 gallons of fresh gas in the otherwise-empty fuel tank, primed the carb and fired it up.
Just as in the donor car, she started and settled right down into a smooth idle. As I was
trying to time it, however, I started to smell gas, and shut 'er off to find the leak.
The leak, as it turned out, was one of the rubber return lines to the fuel tank, which had long since dry-rotted.
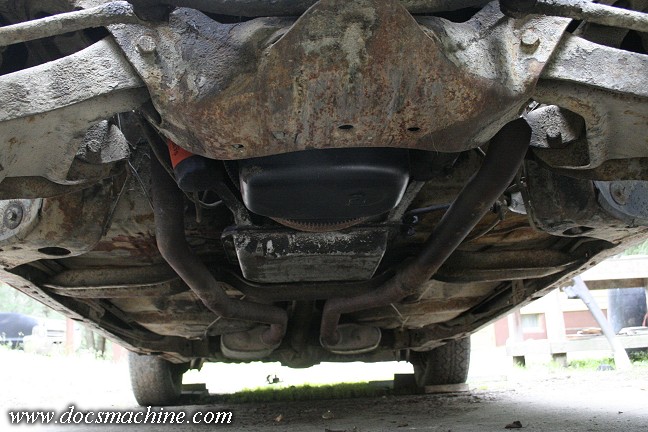
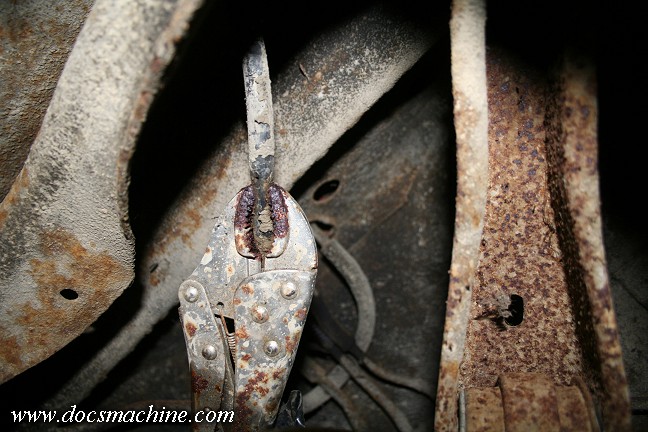
But while I was under there, I noticed this- a pair of pliers clamped- and taped!- to the rear brake line!
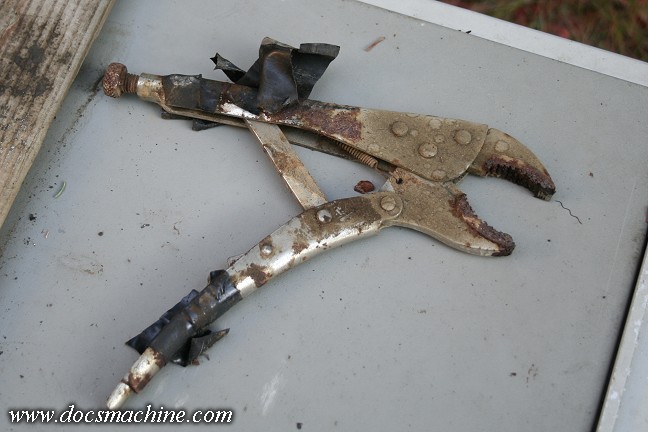
I cut the tape and popped 'em off- they're some off-brand Vise-Grip clone- and wondered what the hell they
were for. It wasn't a case of blocking off leaky rear brakes- the drums and backing plates were dry as a
bone, and once unplugged, worked perfectly. Only thing I can figure is the previous owner simply wanted
to do burnouts- the pliers disabled the rear brakes, so he could stand on the brake pedal,
stab the throttle and smoke the tires. (Or
one tire, anyway, it's an open diff. :)
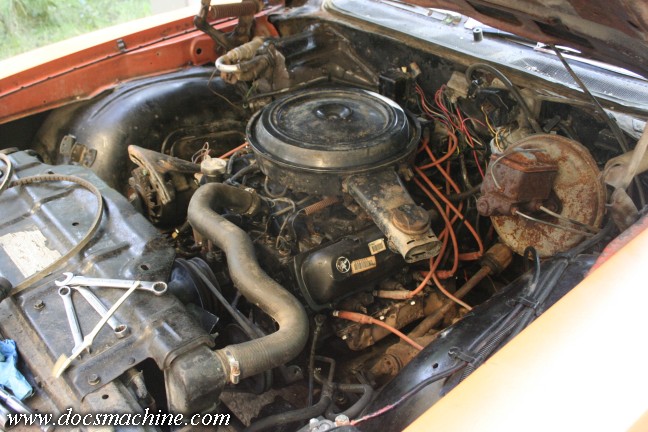
With the brakes in order and the fuel line taken care of, it just took a bit more tinkering to finish the timing,
check for other leaks, top op the radiator, check the oil and other fluids and generally finish off the engine
compartment. At that point I was able to try out the rest of the car- it drove! The transmission worked just
fine, the brakes were sightly spongy but stopped well, the steering was tight and even some of the gauges
worked. The back end, however, wallowed like a speared warthog, so that was the next thing to check.

The problem was obvious- although not so obvious I noticed it when I was under there fixing the fuel line. :)
One rear coil spring was broken entirely, and the other had sagged to be some 2" shorter than factory- the
spring on the far right is a normal, unsagged one. Fortunately I had access to spares, and simply replaced 'em.
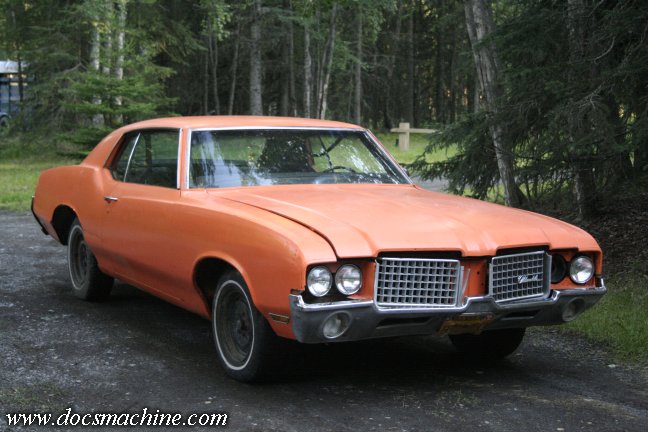
And there it is, For a grand net total of about $60 at this point- mainly a change of oil and the pan gasket-
I had a running, rolling, drivable 1972 Oldsmobile Cutlass S in moderately decent condition.
But, we're just getting started... :)
All text, photos and graphics
Copyright 1998- 2017, Doc's Machine & Airsmith Services. All Rights
Reserved.
Information contained in
these pages is for reference and entertainment
purposes only. Our methods are not always the best,
quickest, safest, or even the correct ones. It's up to you to know how
to use your own machines and tools.
Keep your fingers away from the spinny blades o' death and you should
be all right.


