[
Return to Main Page ] [
Return to Projects Index
] [
Doc's Machine & TWB Store] [
Contact Us ]
[
The Whiteboard Webcomic
]
Rebuilding A Junker Cutlass Into A Kinda-Sorta Faux-Four-Two Musclecar, Part 3:
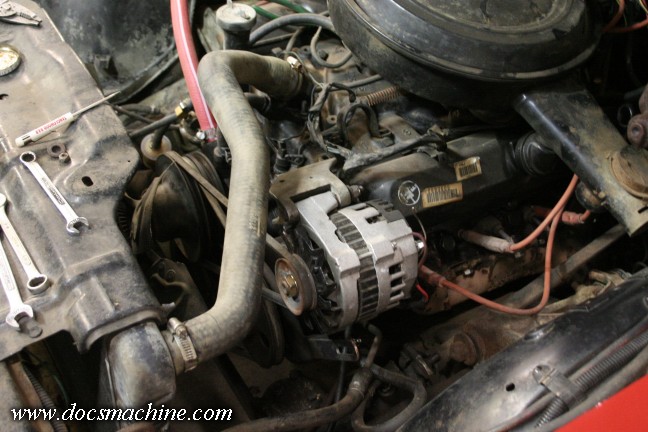
While the Cutlass was suddenly self-mobile, it was still a long way from being safe or street-legal. The brakes
and steering seemed okay, so next up was lights, and that meant some mods. The first thing to go was the
old 40-amp alternator and mechanical external voltage regulator. I replaced that with a 105-amp CS-130
Delcotron I'd salvaged from an early-90s GM car. I'd had it tested (14.5 volts on the nose) and originally
mounted it using the '84's smogmonster brackets. I had to do that because using the '72 mounts (which put
it on the passenger side) lined it up with the same pulley the power steering was using.
I would later juggle some other pulleys I had to get things better lined up, and moved the
alternator back over to the passenger side.
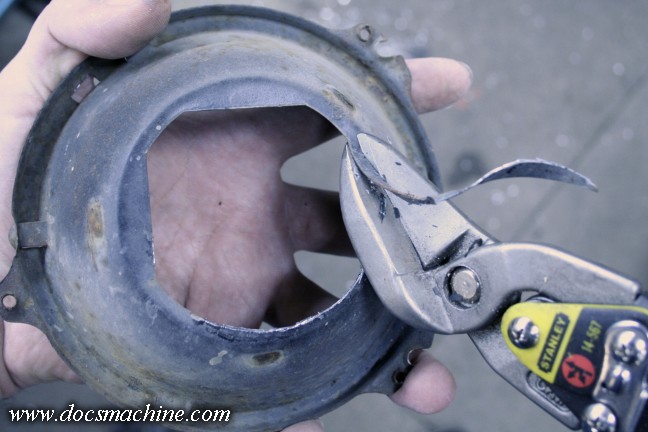
With the charging system sorted out, it was time to fix up the headlights. Rather than just swap bulbs, I
decided to run the headlights through relays, both to get more power to the lights themselves, but also
reduce the strain on the old headlight switch as well. Along with the relays, I also opted to upgrade the
high beams to some 55W H2 Hellas, which being... shall we say, not necessarily a 'drop in' :) required
a bit of surgery to the headlight buckets. First, the base needed to be opend up a bit...
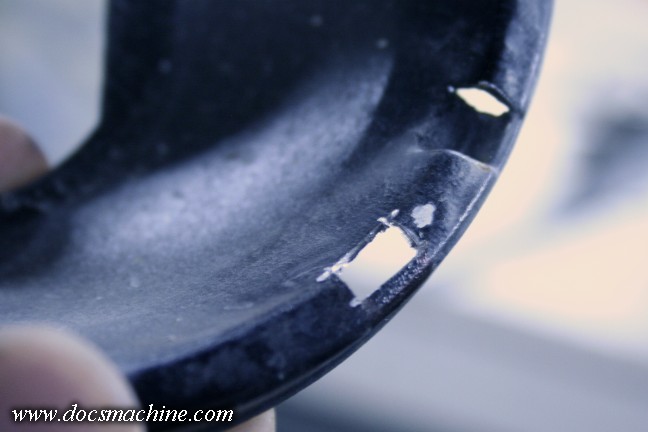
Then a slightly re-clocked alignment notch Dremmeled into the rim...
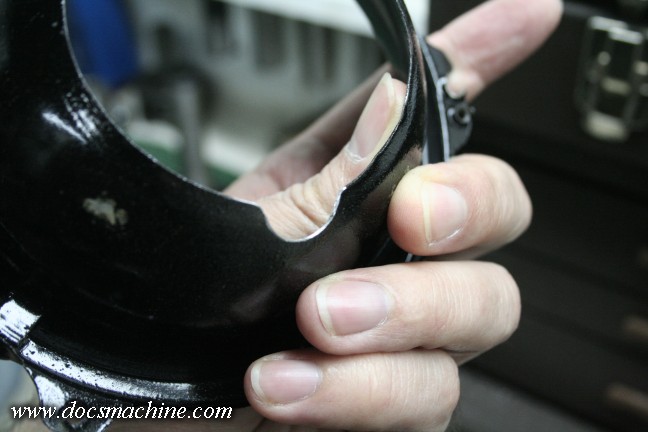
And finally a clearance notch for the plug and wires.
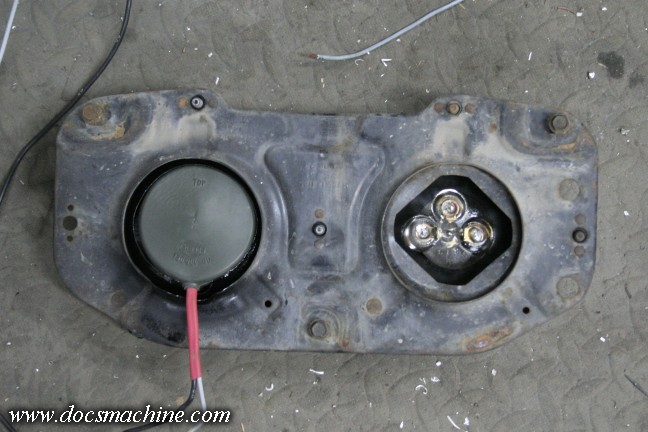
Assembled, the whole headlight mounting plate looks like this.
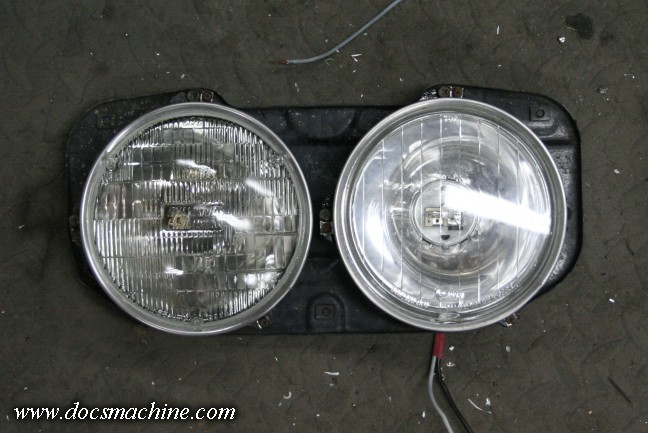
And the front. Standard Sylvania halogen high-low on the left, Hella 55W pencil-beam on the right.
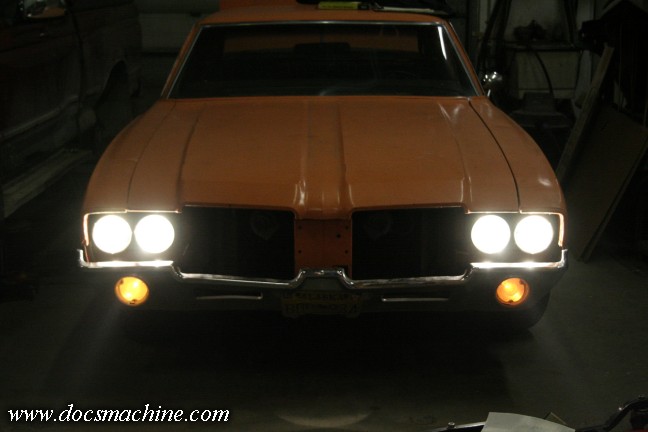
And, after a bit of careful wiring- plus repair of the running lights as well, we have light!
Also in this setup, the relays run all
six filaments on high beam. Normal GM high/low at the time was to switch
from the low beam filament
to the high beam filament. In this relay setup, the low beam filament stays on, and
switching to high beams
adds the HB filament. It's a small difference, but worth it on a dark Alaskan night.
All text, photos and graphics
Copyright 1998- 2017, Doc's Machine & Airsmith Services. All Rights
Reserved.
Information contained in
these pages is for reference and entertainment
purposes only. Our methods are not always the best,
quickest, safest, or even the correct ones. It's up to you to know how
to use your own machines and tools.
Keep your fingers away from the spinny blades o' death and you should
be all right.


