[
Return to Main Page ] [
Return to Projects Index
] [
Doc's Machine & TWB Store] [
Contact Us ]
[
The Whiteboard Webcomic
]
Rebuilding A Junker Cutlass Into A Kinda-Sorta Faux-Four-Two Musclecar, Part 9:
After driving it for a while, I tended to notice little things, like the steering wasn't crisp and
tight, the brakes were a little mushy, etc. Hey, it was forty years old by that point, and early 70s
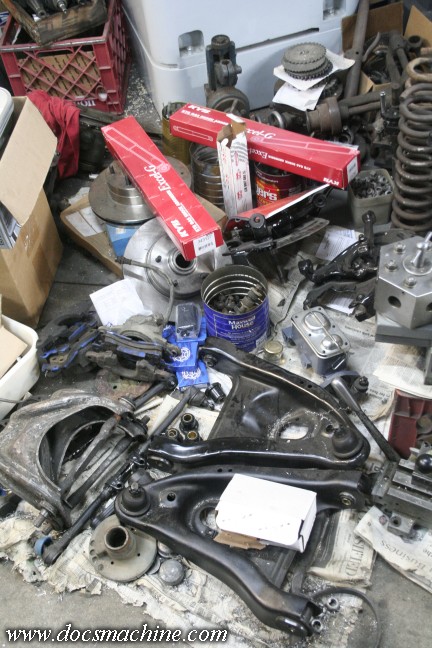
musclecar technology wasn't all that hot to begin with. :) So I started forming a plan for a full
front-end rebuild and brake upgrade- from drums to discs. And then started collecting parts.
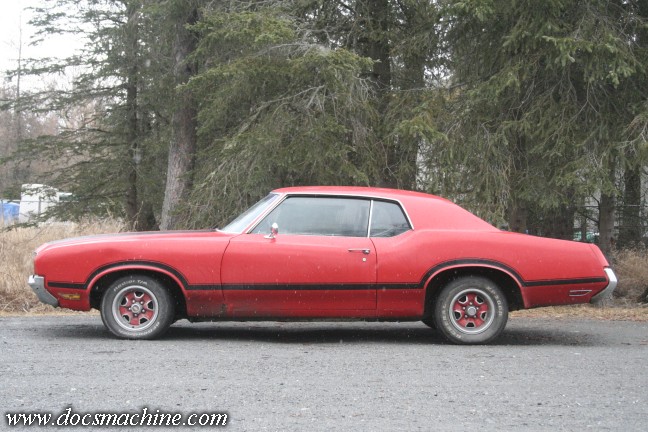
Stone stock suspension, original 14-inch (!) "Super Stock II" rims, with tires a bit
undersized by a series up front, and more or less factory sized in back.
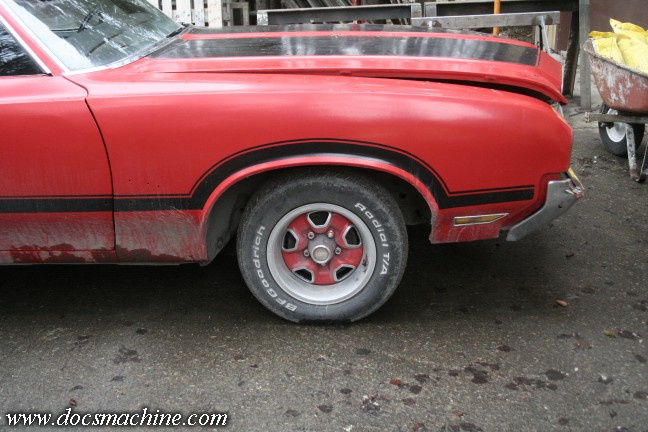
And here is the stock ride height. That's mostly for my own comparison later. One of the big
changes I decided to do is to also replace the spindles with some "tall" aftermarket versions.
The "tall" refers to the spacing between the upper and lower ball joint- the upper is 1-3/4" higher
in relation to the lower. That changes the geometery so the car gains positive camber as it corners,
rather than negative camber. That keeps the tire better planted on the road, naturally improving grip.
However, the only good aftermarket tall spindles are also drop spindles- the spindle nose is mounted 2"
higher on the body, which lowers the car by 2". Not as huge a fan of that- this is Alaska, with frost heaves,
potholes and speed bumps- but I don't have a lot of choice.
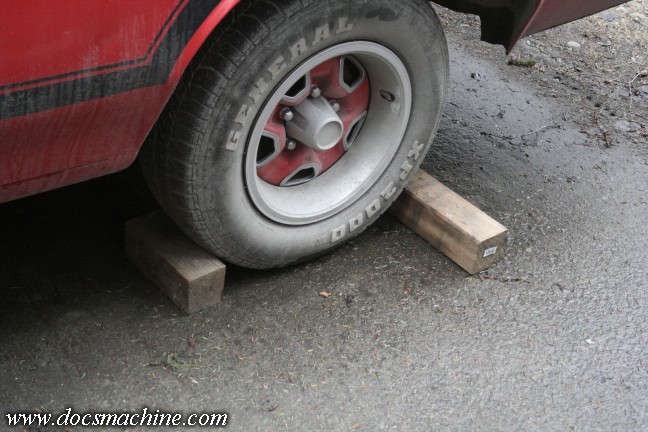
Now, the usual rites before one starts on a project of this caliber. Block the rear wheels...
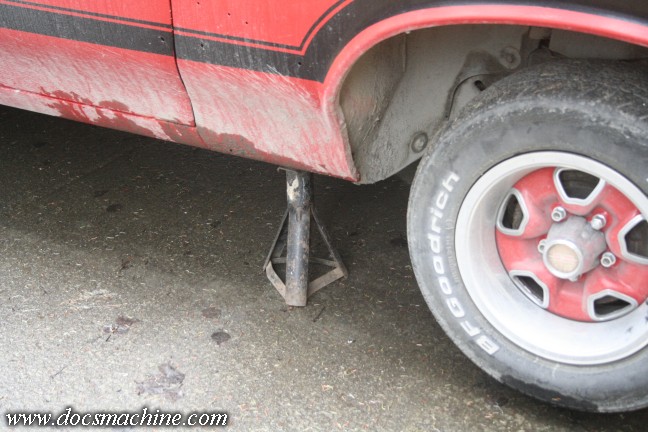
Jack 'er up and get 'er on a good solid jackstand- and of course, since this is
a whole-front-end job, the stands need to be on the frame behind the wheels.
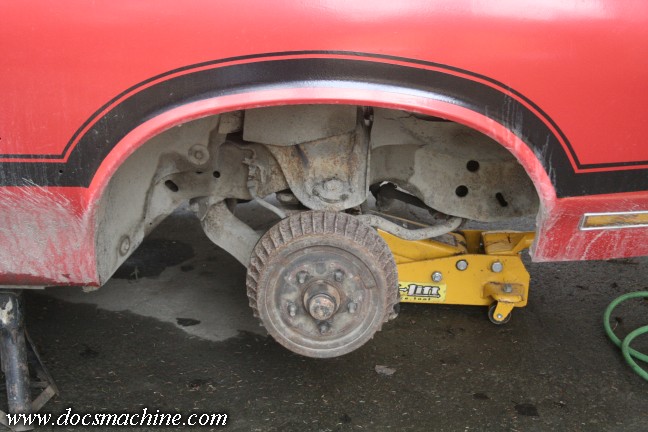
And once we pop the wheels off, we're ready to start. Admittedly, the drums worked,
quite well, giving a reasonably solid pedal and good, straight stopping. However,
I'd been under there a couple of times and there were a few things to worry about,
so I could never really bring myself to trust it.
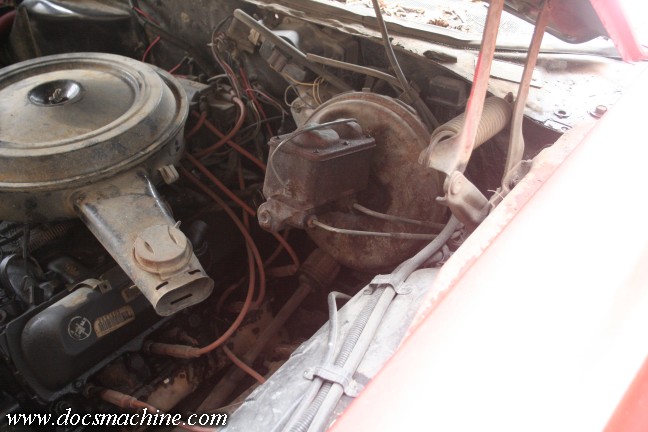
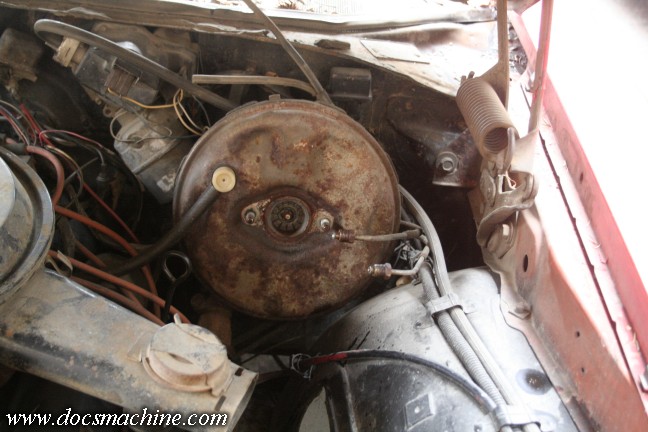
First thing we do is attend the master cylinder. Since we're going from drum/drum,
it has to be replaced with a correct disc/drum cylinder since the volumes of fluid
used per stroke is different.
And so, rather than letting everything dribble out all over the concrete, I pulled
as much of the old fluid as I could out of the master, using a MityVac pump.
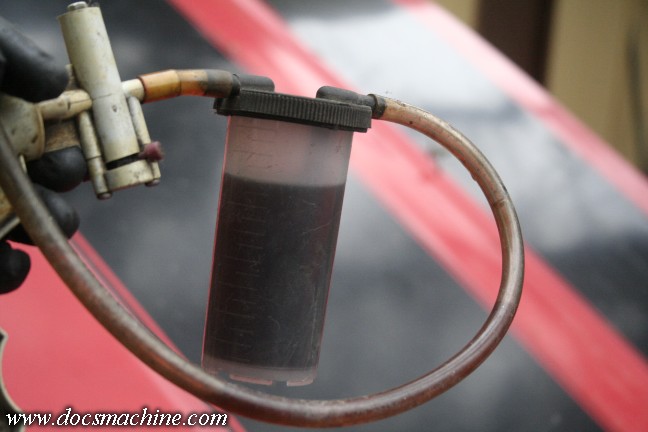
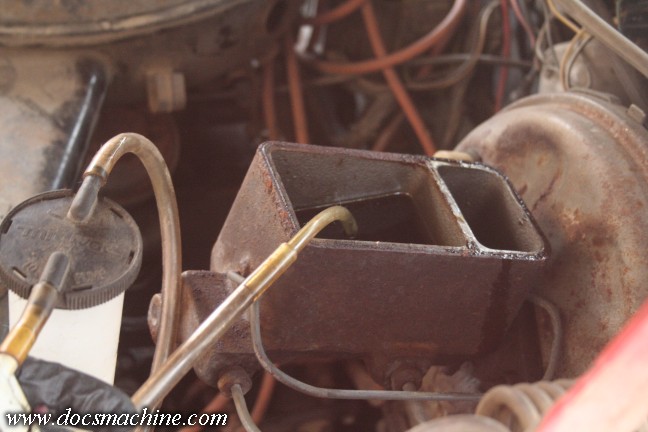
Quick tip: Brake fluid is
not supposed to be that color.
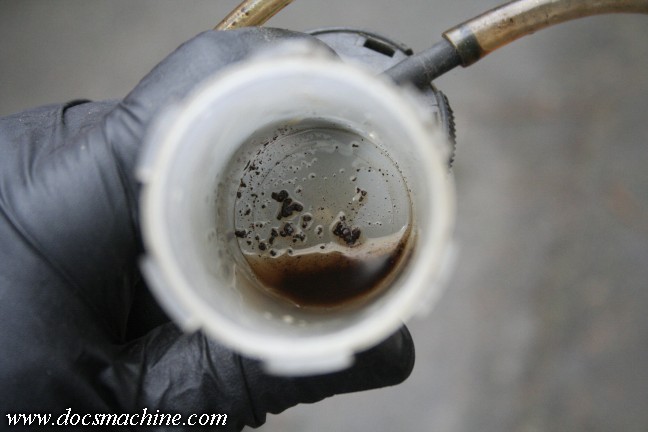
Nor is it supposed to contain this much rust and gunk.
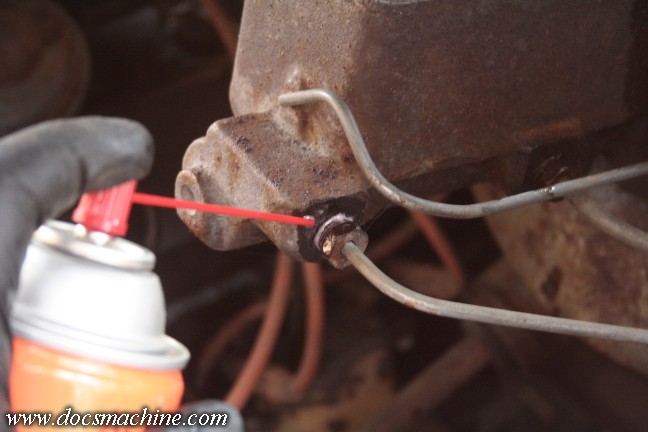
After that, a quick blast of Kroil- which will be a running theme- on the fittings...
And with surprisingly little effort, off and gone.

Now, getting underneath to start to attend the suspension proper, a few examples of
the worrying stuff. Like badly rusted fittings and fraying hoses...

In most brake jobs, this connection is the worst- the fitting between the frame
mounted hard line, and the spindle mounted flexible line. It gets the brunt of
the road spray, salt, dirt water, bits of errant moose, etc. In my experience,
I think they were generally installed prerusted, and just got worse from there.

Now, I'm going to be replacing every bit of this, hard and flex, so really, I could
just snap this stuff off with a boltcutter and it wouldn't make any difference. But
I figured I'd salvage what I could, if for no other reason than to use as a
pattern for the new lines. So, a bit more Kroil...

... Aaand nope. One came off with only minor rounding, the other snapped right off
with literally frighteningly little effort. (I've had a car's brake line rust through
before- thankfully it was a rear, and I was stopped at a stoplight at the time.)

After that, one just pulls this little clip which retains the end of the hose to the frame.

With that done, there's the sway bar connections.Okay, rusty, a little crumbly, but not that bad?

Think again. A sway bar- or more accurately an
anti-sway bar, or antiroll bar,
helps keep the car level as it corners. The softness or firmness- or, really, existence-
of the bushings that help connect it to the A-arm, have a big effect on the handling
of the car. Being that loose has a big effect- big, bad effect.

So, we pop those out too...

And discover that regardless of the condition of the bushings,
they really kinda needed to be replaced anyway.

Next, we remove the actual sway bar, as I'll be replacing it with a bigger one.

These rubber bushings were in surprisingly good shape, but I'll be
replacing them anyway with stiffer polyurethane.
All text, photos and graphics
Copyright 1998- 2025, Doc's Machine & Airsmith Services. All Rights
Reserved.
Information contained in
these pages is for reference and entertainment
purposes only. Our methods are not always the best,
quickest, safest, or even the correct ones. It's up to you to know how
to use your own machines and tools.
Keep your fingers away from the spinny blades o' death and you should
be all right.


