[
Return to Main Page ] [
Return to Projects Index
] [
Doc's Machine & TWB Store] [
Contact Us ]
[
The Whiteboard Webcomic
]
Rebuilding A Junker Cutlass Into A Kinda-Sorta Faux-Four-Two Musclecar, Part 10:

Moving on to the tie rods, one side was rusty, but in good condition...

But the passenger side had this interesting bit of baling wire holding the
dust cap on. The joint itself seems surprisingly clean inside, though a little
low on grease. But it's all gettin' replaced anyway.

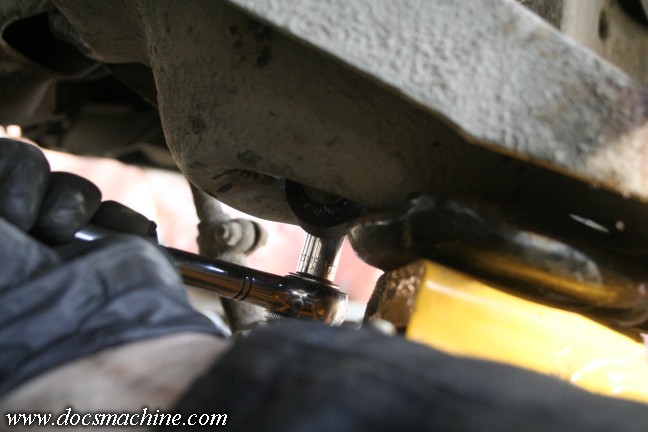
Get out the pickle fork (as I said, it's all getting replaced) and give 'er a few whacks.

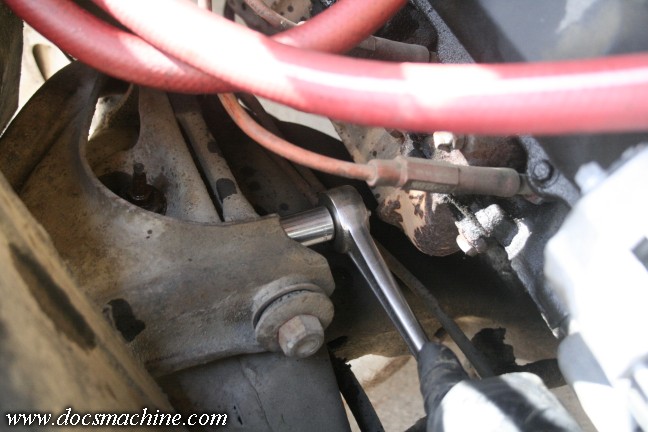
Now, the main ball joints. One could use the same pickle fork, but there's a better way.
Pop the cotter pins and break the nuts loose- then set the top one flush with the end
of the threads, like so.

Then take a big bolt and nut, and a chunk of heavy tubing like so...

And that "jack" goes in between the two ball joints like this...

In this case, instead of using a spring compressor, I've put some pressure on the lower
A-arm with the floor jack. So once the spindle pops loose, nothing comes flying out.
With the jack in place, one just holds the bolt still and turns the nut- it takes a
fair amount of force, but eventually she'll pop out, but with the nut holding
things together for a bit of safety.

With the top one broken loose, and the jack still supporting the lower arm, flip the
jack over, add a nut for spacing, and winch the bottom ball joint out.
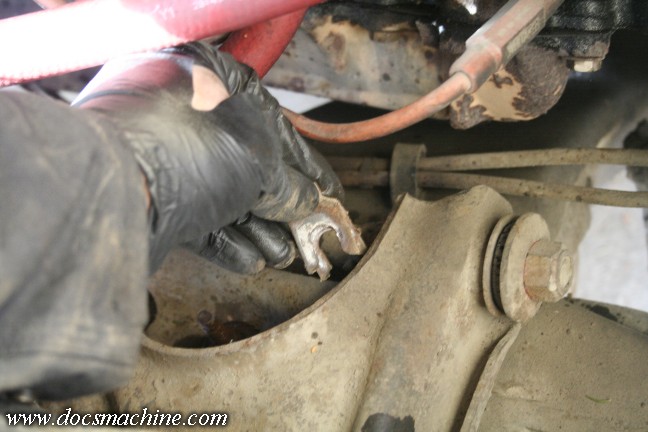
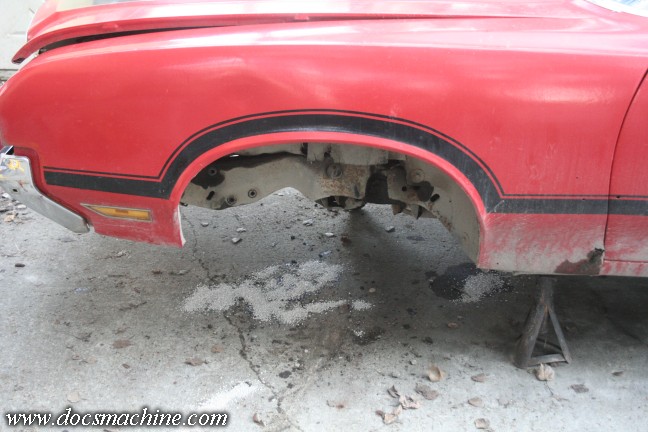
Remove the castle nuts, and lift out the entire spindle, drum and all,
and set it aside. Or heave it aside, we won't be needing it anymore.

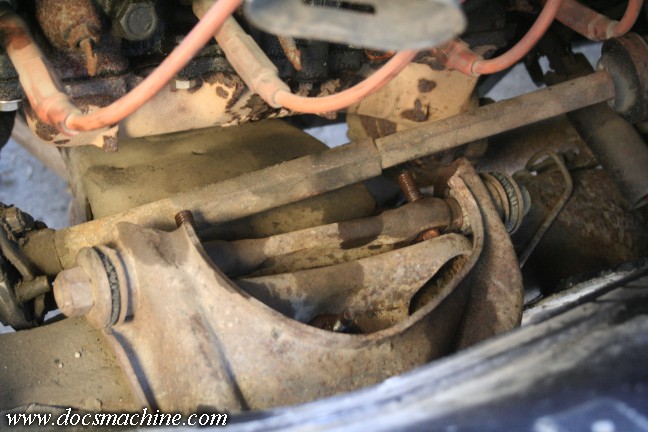
Now, technically I was supposed to remove the shock absorber first. But the upper
connection is a threaded stud, with a sort of a flat spot. With the mounting nut
essentially rusted in place, the whole rod wanted to turn. And being located
inside the A-arm, meant it was difficult, if not near impossible, to hold
the top of the rod, and still turn the nut below it.
There are specialty sockets just for exactly that, but I didn't have one,
so I just did it a little backwards. With the jack still sort of supporting
he lower A-arm (as in, there's still some fair pressure on the coil spring)
I removed the two bolts at the bottom of the arm.
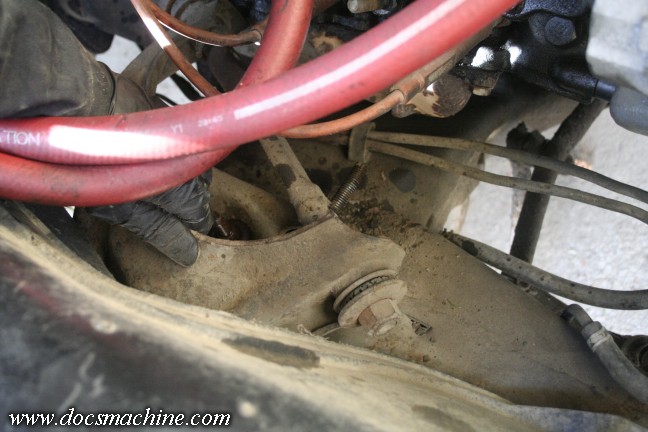
Then started to unbolt the upper A-arm. There's no tension at all on it at this point, so it's quite safe.
Before removing it completely, remember to collect and save the shims- we'll need those to align the car later.
Once loose, the A-arm and pivot shaft can be removed as a unit, and manhandled out of the way.
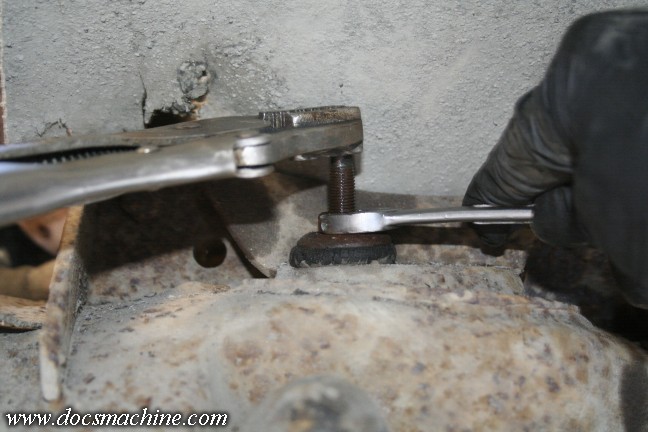
That leaves the top of the shock out in the open where it can be reached easily-
a Vise Grip at the top to hold the flat portion, a healthy dose of Kroil, and a 9/16"
open-end to worry the nut off over the course of the next twenty-seven minutes.
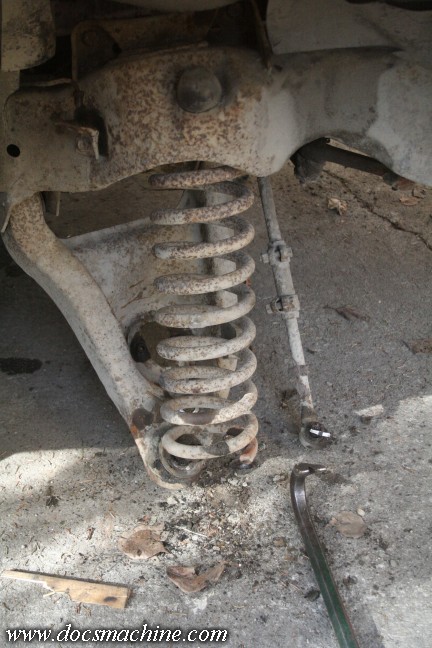
After that, the jack can be fully lowered, pulled out of the way, and the coil spring pried out of its seat.
Repeat on the driver's side, except the steering shaft is in the way of the A-arm removal...
While it would have to be removed anyway to get the A-arm out, as luck would
have it, I'll be replacing the steering box as well, so no better time than
the present to disconnect the "rag" joint...
Pry the steering shaft loose and swing it as much out of the way as possible,
And finish removing the A-arm and shock, just as before.
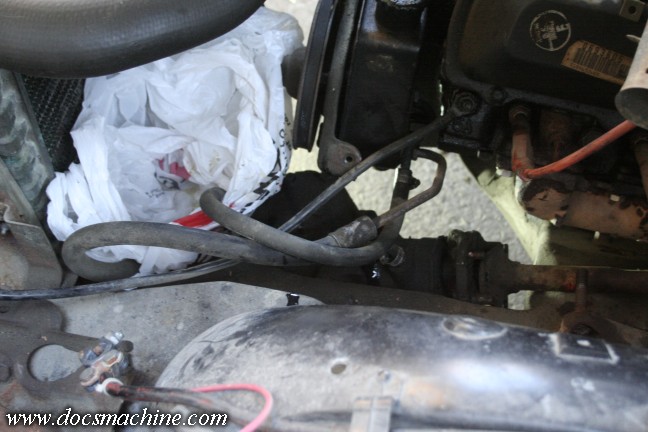
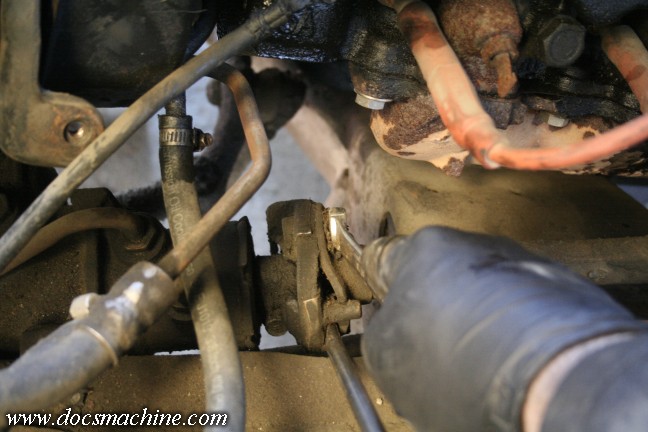
Finally, disconnect the hydraulic lines from the steering box, and stick 'em in a
bunch of grocery sacks to contain the fluid as best as we can.
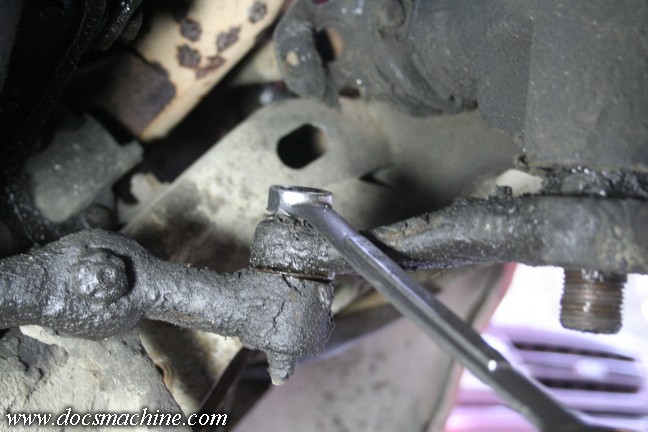
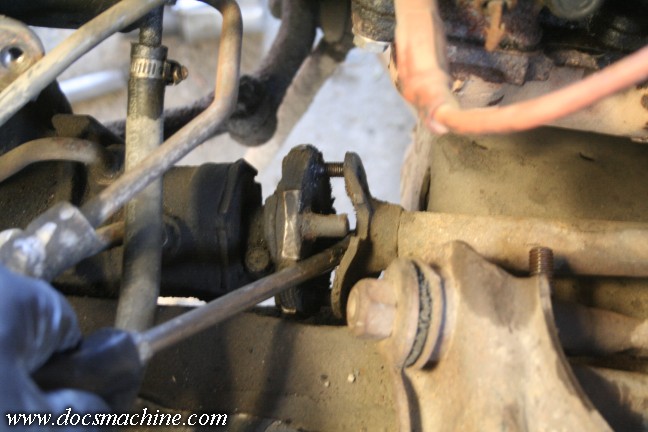
Break the steering cross bar loose from the Pitman arm, and unbolt the idler arm from the passenger side...
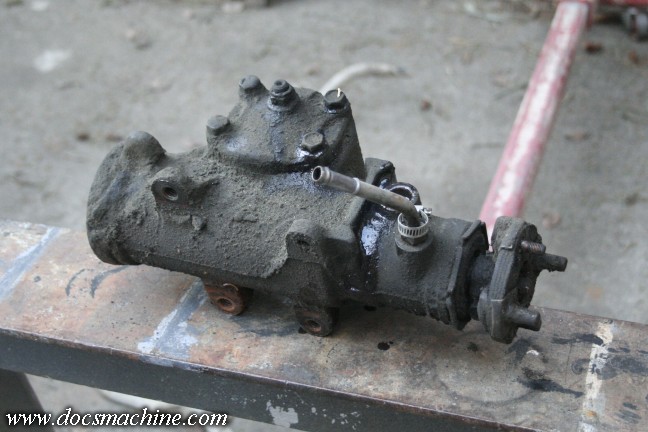
And at last, unbolt and remove the steering box.
So, just as the sun was going down, we're left with an (almost) completely denuded frame front.
The passenger lower A-arm is being stubborn, unfortunately- the bolt has rusted to the steel
collar inside the old rubber bushing. The whole assembly turns, and being the rear bolt,
the proximity to the frame means I can't whack it with a hammer, nor pry on it with a crowbar.
All text, photos and graphics
Copyright 1998- 2025, Doc's Machine & Airsmith Services. All Rights
Reserved.
Information contained in
these pages is for reference and entertainment
purposes only. Our methods are not always the best,
quickest, safest, or even the correct ones. It's up to you to know how
to use your own machines and tools.
Keep your fingers away from the spinny blades o' death and you should
be all right.


