[
Return to Main Page ] [
Return to Projects Index
] [
Doc's Machine & TWB Store] [
Contact Us ]
[
The Whiteboard Webcomic
]
Rebuilding A Junker Cutlass Into A Kinda-Sorta Faux-Four-Two Musclecar, Part 10:
The spindles dropped the front end two inches. Doesn't sound like much, but it's a lot in reality.
Also, the brakes are mushy, and even driving it at slow speeds it's... well, something's not right.
BUT... all of that is to be expected. The front end being low will be corrected somewhat when I replace
the tires- the old BFG Radial TA's up front are a full series too small, and badly worn to boot. Fresh,
correct rubber will bring the front back up about an inch, which should be just about right.
Not a big fan of the '70s ass-high look, but we'll be taking care of that when I swap the rear axle-
I'll probably replace the coil springs with a set of 1" drop springs to level things out a bit.
(Though it'll likely still wind up slightly higher at the rear.)
The mushy brakes are kinda puzzling me. I get about 3" of pedal travel before the brakes start to work,
and I have a fairly firm pedal after that. I bled the system twice, and can't really think of a reason
I'd have so much take-up before everything takes hold. It might be the rears are out of adjustment,
but I'm not sure.
And finally the handling. No mystery there- it's waaaay out of alignment. As I said, I assembled it
with just a random selection of adjustment spacers, making little or no attempt to even get close to
a proper alignment. I eyeballed the toe-in/toe-out when I installed the tie rods, but that's about it.
In person you can see it has way too much camber as well, and could have an inch or more or toe out.
'Course it's gonna handle weird.
But again, that's to be expected; I just threw it together and made it vaguely steerable.
In the next few days, as time and budget allow, I'll either walk it into town or trailer it
(it's only about two miles to the shop) and have it properly aligned.
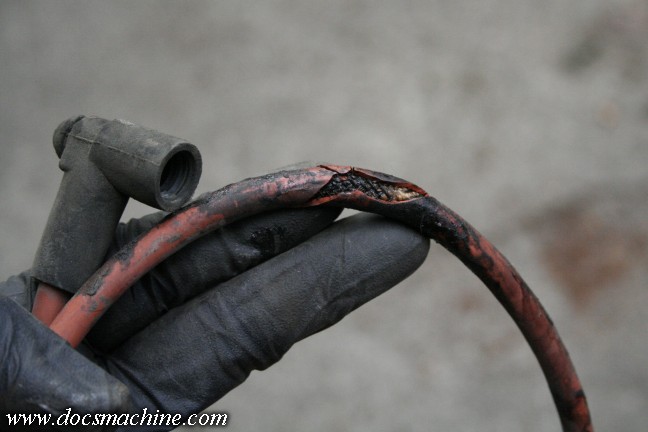
In the mantime, there's plenty still left to attend to. While working on the brake lines,
I noticed that one of my plug wires had failed. It was an old aftermarket set that I threw
on back when I dumped the motor in, and I'm not surprised one's a little ratty. I simply
swapped it with another one from a box of other old wires I had.
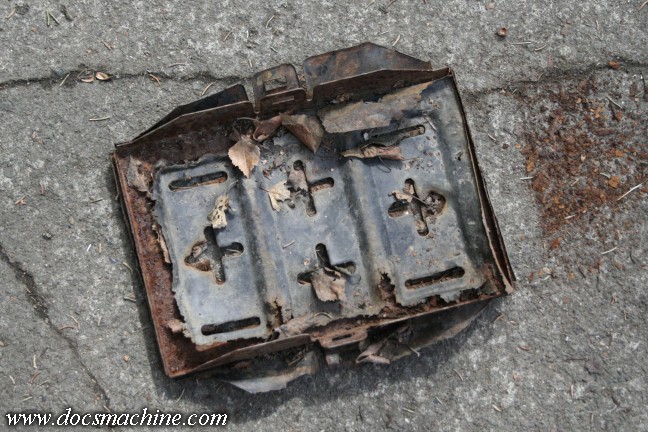
Next up was a battery tray. Going back to the first installment of this little series,
it's clear the original just wasn't going to cut it any longer.
I didn't have any factory style trays, but I did find a well-used and very tired old
aftermarket tray in the parts car I have. That's a typical universal-replacement tray
like every car-parts store in the world carries. Normally covered by a thick coat of
black rubber, this one had suffered enough nicks to the coating the steel rusted out
from under it. The rubber came off in two big sheets.
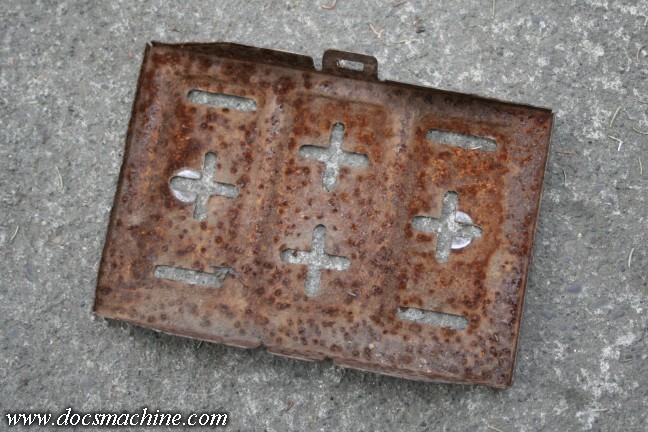
The metal underneath was badly pitted, but actually reasonably sound. And again, this
isn't a show car, I just needed something I could throw in and use to hold the battery down.
So I threw it in the sandblaster and just waved the loose stuff off- I wasn't trying to get
it back down to bare, clean steel again. No reason to at this point.
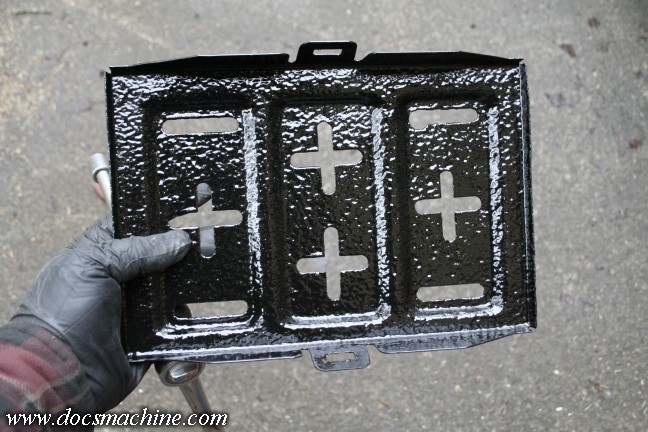
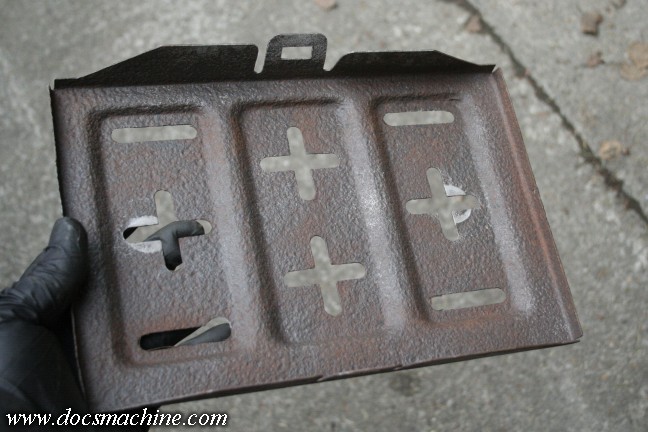
Then, after two coats of POR-15, it's lumpy but solid, and should work fine for quite a few years.
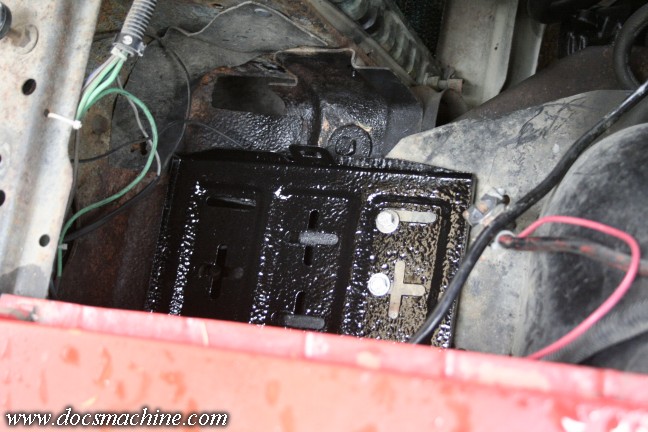
Bolted into place- I had to use two of the wheelwell bolts, as the original tray bolts had
rusted off. I don't have a hold-down yet, but those are just a few bucks at the parts store.
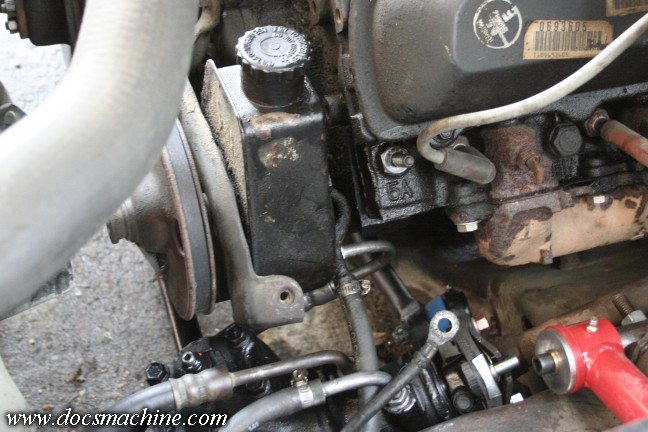
Next up was this- there's supposed to be a brace that helps hold the power steering pump here.
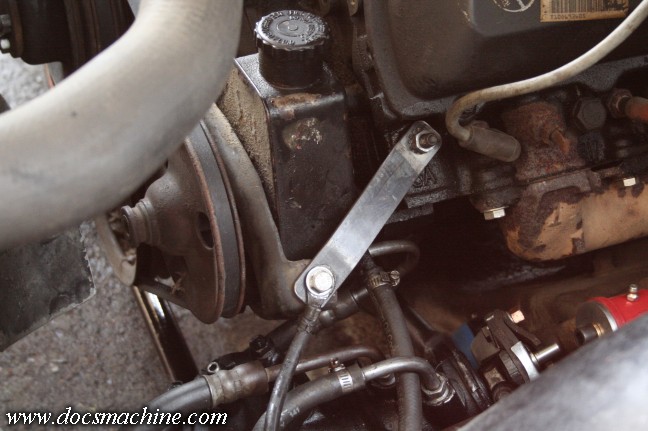
I know I have that bar somewhere- several, actually, from various engines I've played with over
the years. But since I couldn't find one, I made one out of a simple chunk of flatbar.
All text, photos and graphics
Copyright 1998- 2025, Doc's Machine & Airsmith Services. All Rights
Reserved.
Information contained in
these pages is for reference and entertainment
purposes only. Our methods are not always the best,
quickest, safest, or even the correct ones. It's up to you to know how
to use your own machines and tools.
Keep your fingers away from the spinny blades o' death and you should
be all right.


