Refurbishing a Christensen 40 Ton Hydraulic Shop Press, part 4:
The low pressure piston was trickier, because it was missing entirely. I spent a while
fruitlessly looking for a diagram of what the original piston looked like, and then a while longer
trying to reinvent the thing given only the measurements of the space it had to go in.
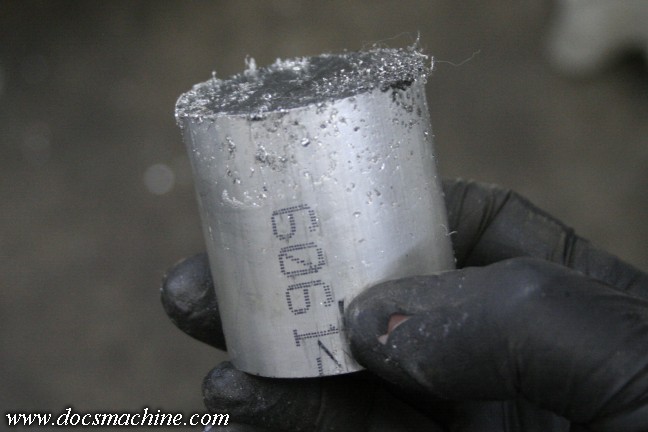
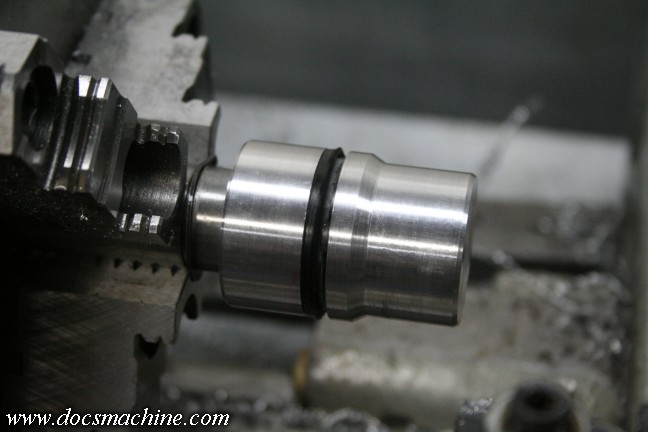
Finally I decided I was overthinking the whole mess, and lopped off this hunk of 2" round aluminum.
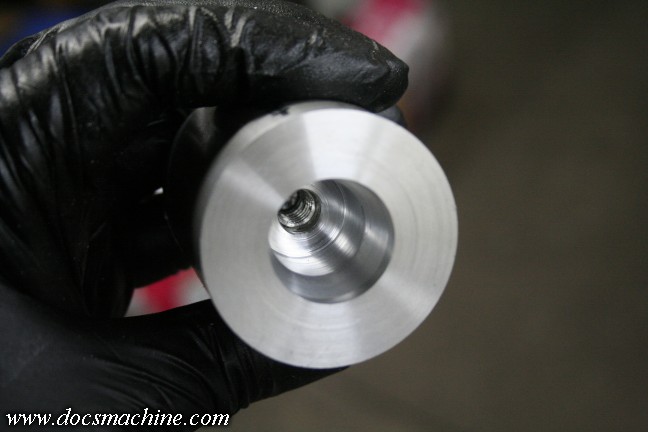
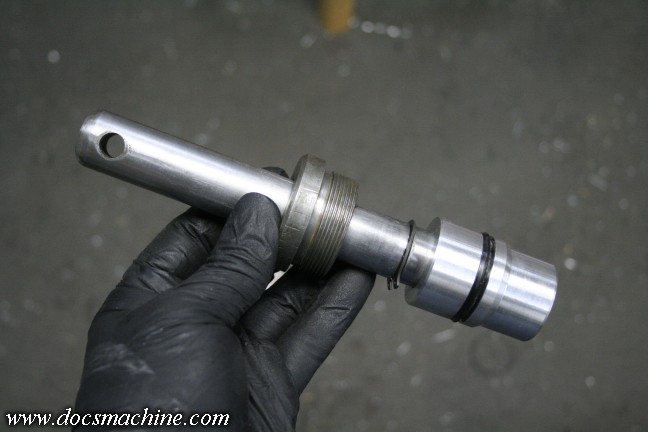
I bored it to fit the existing pump shaft, which had an odd tapered step, and even more oddly
for a Danish-made part, a 3/8"-16" thread. The shaft looked like an original part, but the
whole thing is well over forty years old. A lot could have happened over that time.
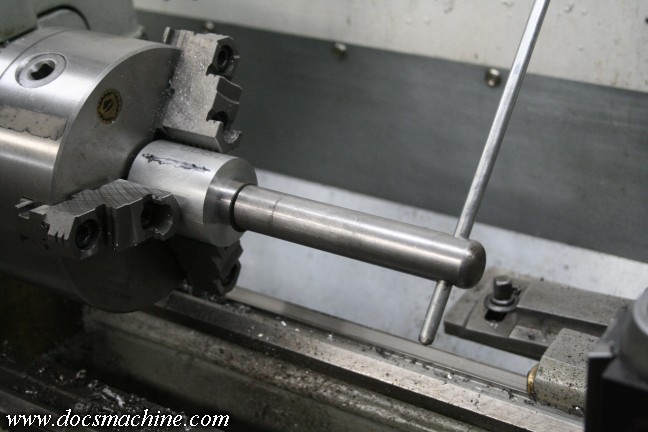
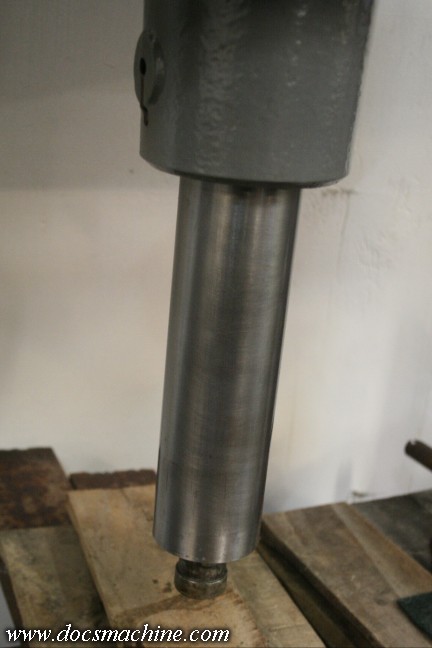
Then I just threaded the old shaft into the new piston and tightened it into place.
Then, by holding the shaft in the chuck, any subsequent turning would be true to it,
and so I turned the body down to a few thousandths clearance to the pump bore.
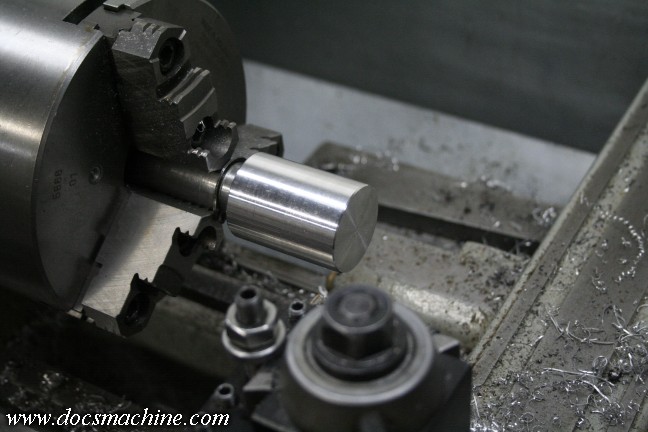
I'd measured the bore earlier and found it was most likely 40mm, and so ordered
an appropriately-sized single-lip seal. The bag it came in, I was happy to see, had
the proper dimensions for the seal groove- 40mm bore, 32mm ID, 5.5mm wide-
so it was easy to cut a matching groove in the piston. I placed it about 1/4" higher in
the bore than the outlet port, of course so the seal wouldn't try to pass over the hole.
The 'step' is approximately equal to the height of the port, and allows oil flow to it.
Given the upper packing gland, that's all there is to it.
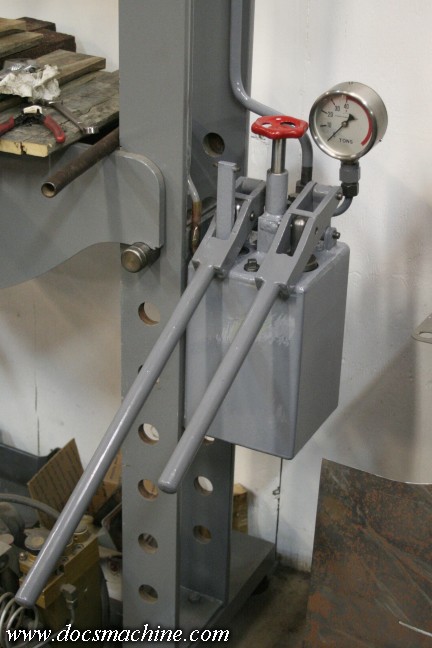
Given a good coat of grey POR-15, bolted in place, filled with almost two gallons of
hydraulic oil, and the two pump handles and their linkages attached and pinned.
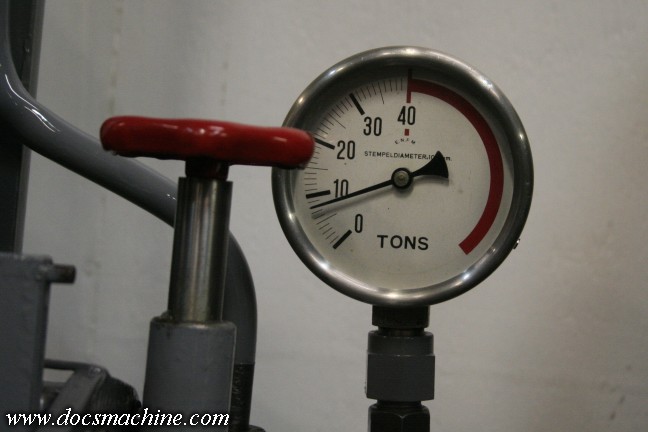
And she works! And quite well too- given something sufficiently rigid to
push against, it's almost effortless to hit ten tons.
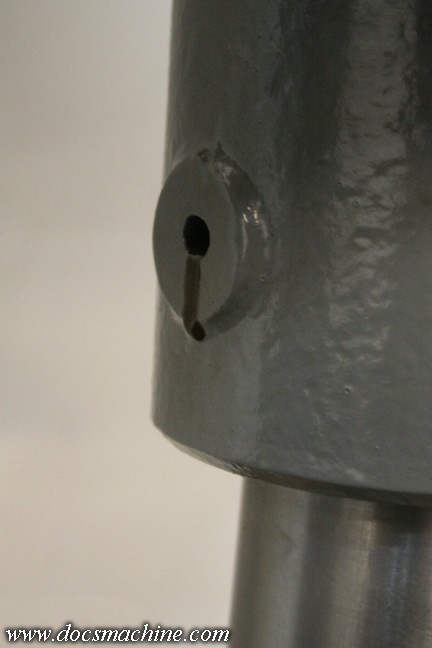
Once I'd cycled it a few times in order to bleed the air out of the system,
this side hole 'wept' just a little old, dark oil, which I'm assuming is a
remnant from before, not a current leak. It has since 'dried up'.
And done. The high-pressure/low-volume pump takes, oh, I'd say somewhere around
285,000 strokes (give or take) to fully extend the ram, while the low-pressure/high-volume
pump takes just sixteen. I was also happy to see it can hold a significant pressure for
quite a long time, showing the seals and check valves are in fine shape.
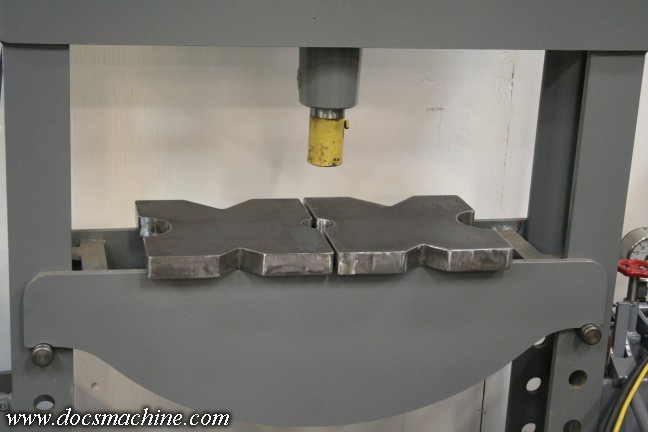
A good heavy press needs appropriate tooling, and the primary 'tool' is a set of press plates.
They're basically heavy steel slabs designed to support whatever piece you're working on, while
you try to squash the bejeebers out of it. I picked up a pair from eBay, 12" square and 1-1/2"
thick, with a series of different shaped notches on each face to allow clearance for parts.
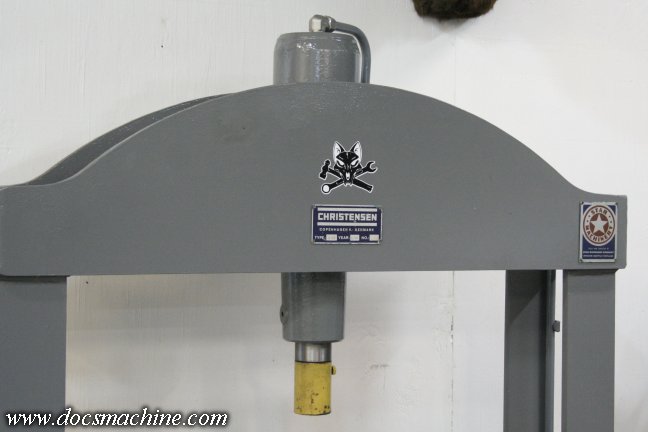
And finally, the finishing touch. I reapplied the manufacturer data plate and a later machinery dealer
plate, both with double-sided tape rather than the rivets (which I'd destroyed getting the plates off.)
That and one of my Shopwolf stickers just for kicks, and she's ready for another forty years of use.
All text, photos and graphics
Copyright 1998- 2017, Doc's Machine & Airsmith Services. All Rights
Reserved.
Information contained in
these pages is for reference and entertainment
purposes only. Our methods are not always the best,
quickest, safest, or even the correct ones. It's up to you to know how
to use your own machines and tools.
Keep your fingers away from the spinny blades o' death and you should
be all right.