


|
|
|
|
The easiest way to strip all the rust from the various parts was by "reverse electrolysis".
Basically, it's pretty simple: you need a tub of water, some carbonate of soda (washing soda) a plate of scrap metal
to act as the anode, and a small battery charger. I wasn't able to find "washing soda" (sodium carbonate) so I used
sodium bicarbonate- common baking soda- which worked fine. I'm told it works better with proper sodium carbonate,
but really, the bicarb worked so well I have a hard time seeing how the washing soda could have worked any better.
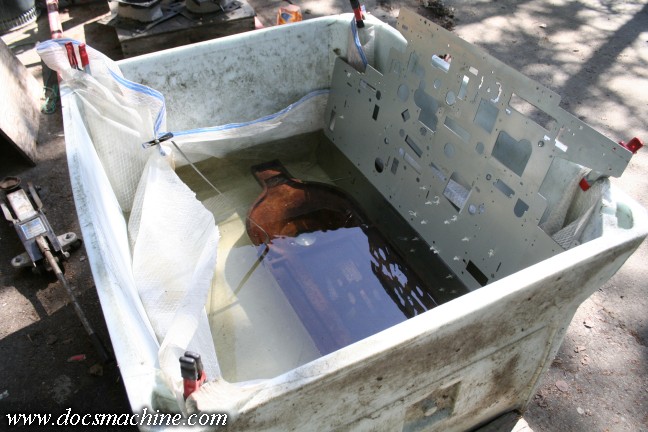
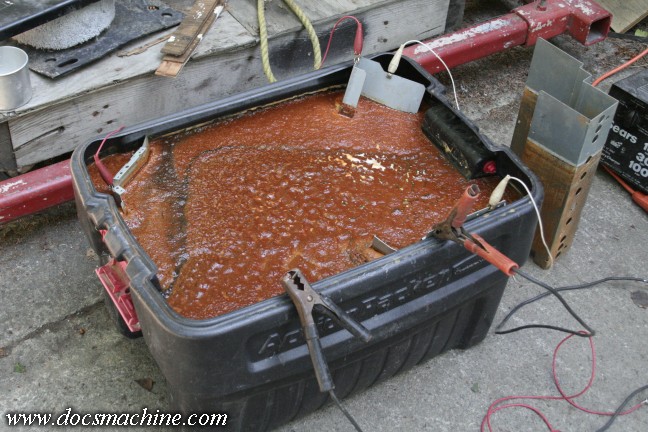
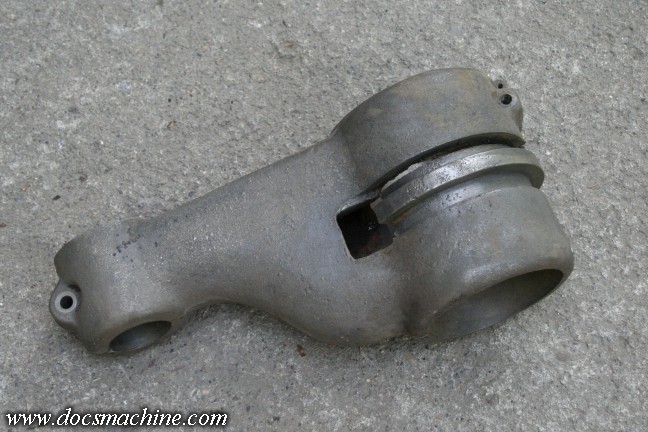
Ssome of these parts were rather large, so I borrowed this big plastic tote from a neighbor, which unfortunately it turned
out to have a crack in it, so I simply lined it with plastic sheeting to make it hold water.
The part- in this case the base
casting of the drill- is resting on the bottom, held up by some chunks of scrap wood (held down, of course, by the iron part)
and has a strip of (sacrificial) steel wrapped around it to make electrical contact. The swiss-cheese plate on the right is the
back panel out of an old copier I scrapped out- too many holes to be really useful, and unplated so I didn't have to strip it.
The rule of thumb is that you're supposed to have roughly the same amount of area on both parts.
It doesn't have to be even terribly exact, but it needs to be close. You can't just wire up a finishing nail
and dunk it in as the anode.
Another thing I learned in this process is that it's also roughly "line of sight".
The side facing the anode gets more of the cleaning effect, and faster, than the sides facing away.
The other sides DO get cleaned, they just take longer.
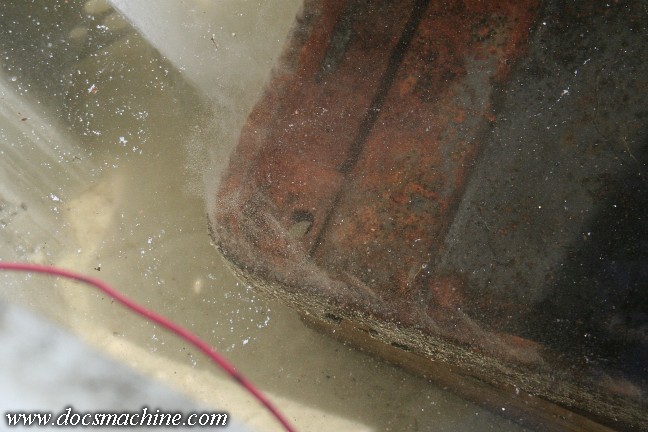
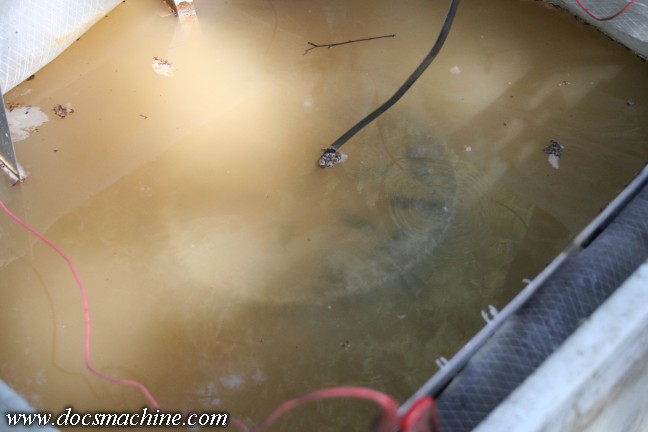
Once hooked up to power, we could see the effect starting within just a few moments.
It's a slow process, which takes several hours. Some of these pieces I left in the bath overnight.
You can't really "overdo" it- once the rust is off, the stripping effect pretty much stops.
I can't recall how long I had some of these in there, but it was probably roughly a day each. After that, it
was a matter of removing the part from the bath, and rinsing it off with water. The process does form a
black "smut" on the part- that's the rust being converted- which often has to be brushed off as you're rinsing,
but it generally comes off easy.
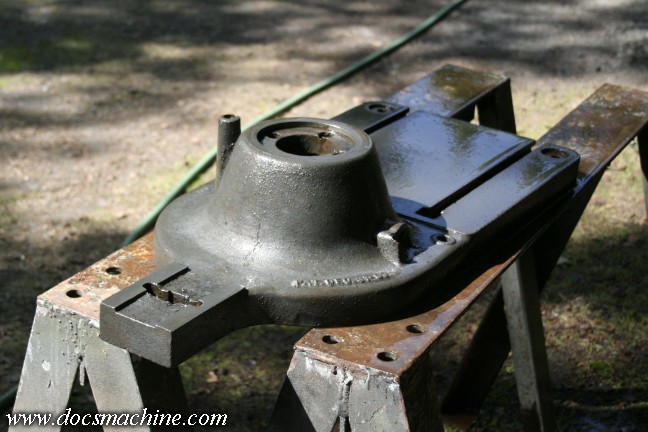
And there is is- the casting is clean and neat, like the day it was cast.

The drills' table before...
In the bath...

And shiny clean.
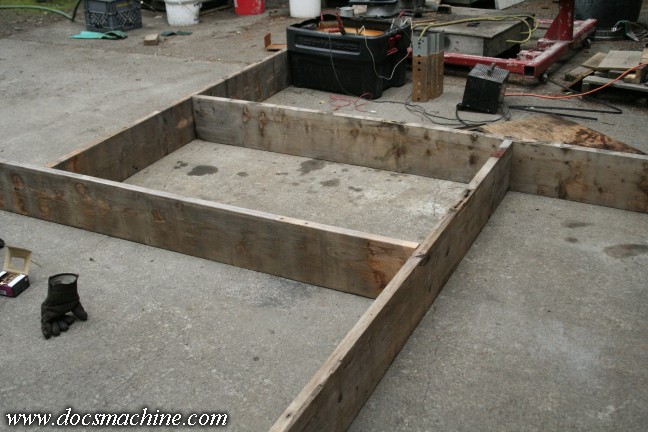
Now here's another trick. The main 'tree' casting is pretty large, about 2-1/2 feet wide and roughly
five feet tall. Finding a tub for something that size was going to be tough, so I got four old 2x10s,
and screwed them together into a temporary frame.

I lined that with a couple layers of plastic sheeting...
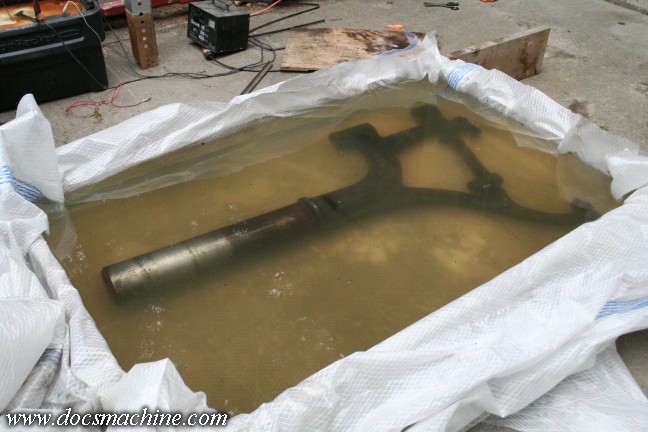
And just filled it with water.
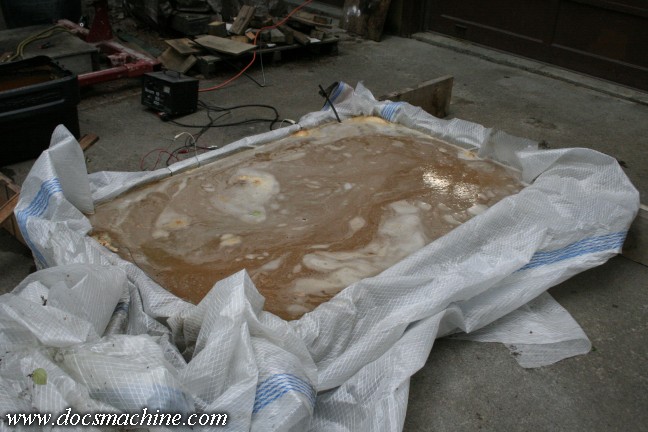
That, too, worked like a champ...
... Getting the 'tree' practically as clean as new.
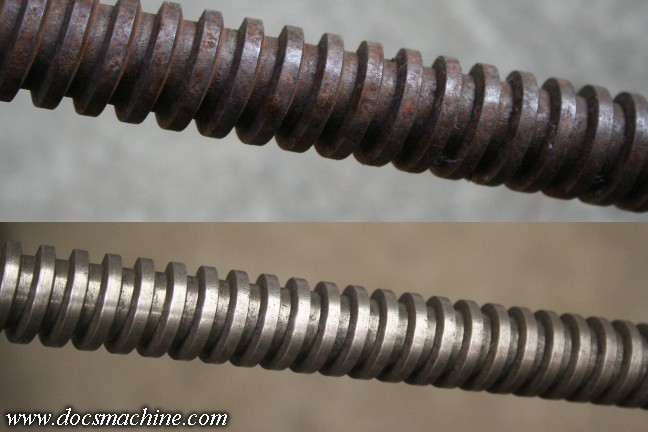
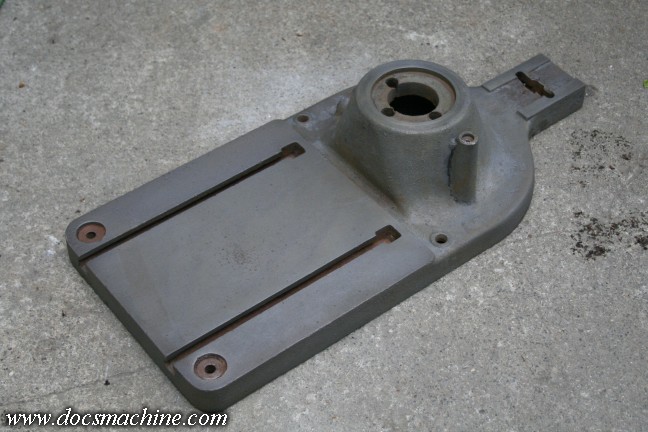
Here's a before-and-after of the table lift screw.
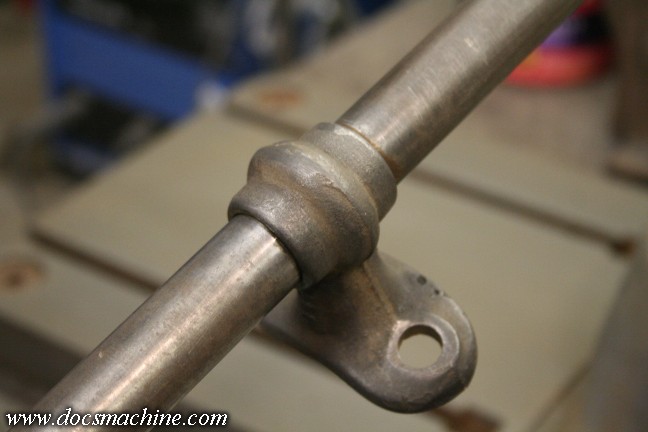
And its mounting bracket.
Smaller parts I could do in smaller tubs- I did the table "knee" in this Action Packer.
And it too, came out great. Keep in mind, this was out, mostly unpainted and unprotected,
in the Alaska weather, year-round, for fourteen years. Also, it's worth noting that the process,
as shown above, does produce a great deal of smut in the water, in the form of loosened rust
and paint gunk. It will stain your tub- there's still faint smears of rust inside that Action Packer
even today. :)
Pretty much all the small parts could be done, and I just patiently
ran 'em all through a few at a time.
Note how neat and clean they all came out.
A few other things to keep in mind:
As nasty as the water looks after you're done, it's completely safe. There's nothing in it but water, baking soda
and iron oxide. It's 100% safe to dump down the drain, or into the sewer, or on your lawn.
Your sacrificial anode
WILL get rusty- I actually had holes eaten though mine. So use scrap sheetmetal or chunks of steel. Stuff you won't
mind having to throw away.
And do NOT attempt to strip galvanized metal, or use galvanized metal as the anode.
The process will put zinc into the water, making it toxic to dump. Worse, do NOT use stainless steel as the anode.
In this case, the process converts the chromium in the stainless steel, into hexavalent chromium- the toxic stuff
that got the power company in deep trouble, made famous by the movie Erin Brockovich.
I've heard of a few people trying carbon fiber sheets- it really only needs to be conductive. Supposedly it works,
but in my opinion it's easier and probably safer to just stick with the old sheet steel.
And finally, I'm told that if
you use lower amperage, and let it soak longer, you get a more complete clean, and the black smut just rinses
right off. It will clean faster at higher amperages, but it seems you have to spend more effort scrubbing
the smut off. I prefer to keep the amperage low, and just let the part sit overnight.
 |
 |
 |