[
Return to Main Page ] [
Return to Projects Index
] [
Doc's Machine & TWB Store] [
Contact Us ]
[
The Whiteboard Webcomic
]
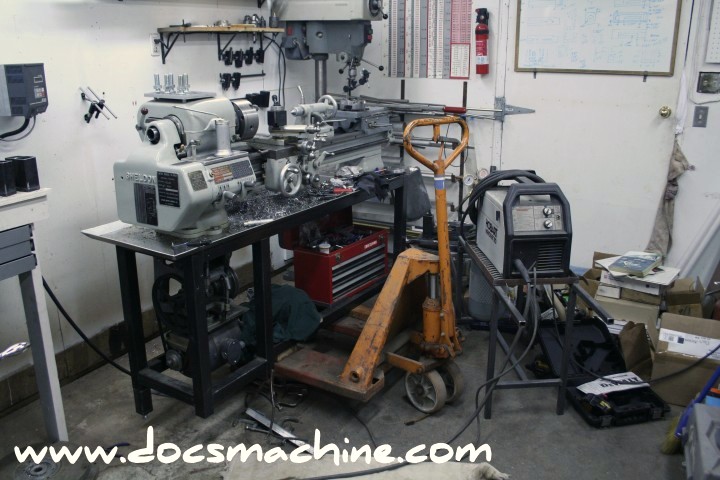
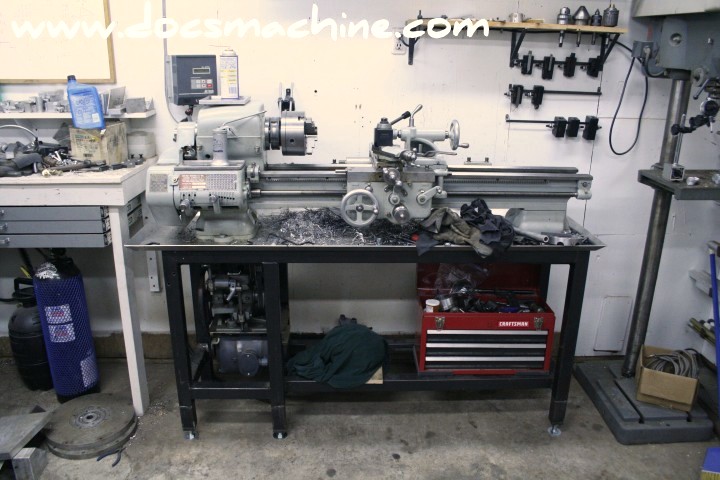
Tuning Up and Tweaking a 1956 Sheldon EXL-56 Lathe

The lathe came mounted to an owner-fabricated frame built from 2" box tubing. Evidence shows he originally built it solid,
then lopped the bottom of the legs off so he could mount big casters on it for portability.
While the casters were very handy
indeed for getting the thing loaded up and place in the shop, I don't need 'em now that it's in it's new home, and they
allowed to much "give", which let the lathe shake and wobble.
I removed the casters- which were mounted to two big
chunks of angle iron and just bolted on- and temporarily blocked it up on some stacked-and-screwed chunks of 2X4.
Now, considering all the things I need to get done these days, I'd have probably been happy to leave that as is for some
indeterminate period of time (years, probably) except the floor is extremely uneven, the cut-off legs are also uneven
(and cut crooked to boot) and no matter how much shimming and wiggling I did, nothing sat flat or became very stable.
So I decided to put the feet back on the stand. Over the past week or two, I gathered parts and made a few pieces
here and there, and finally, I spent several hours today getting the big tools in place to weld them on.
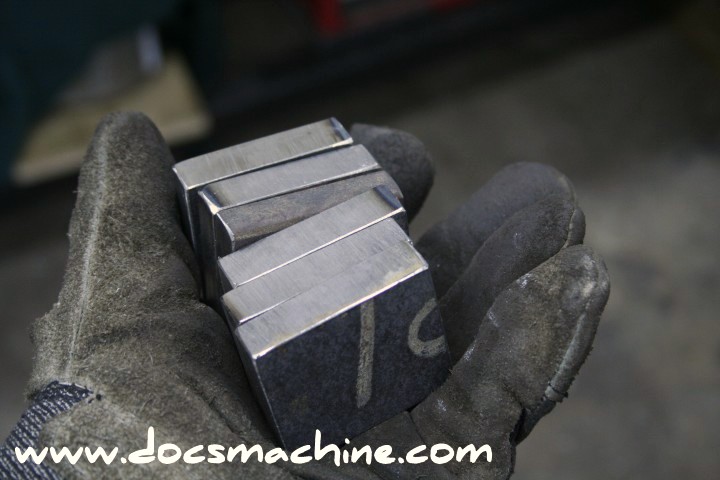
First, chopsaw some blocks, 2" square (okay, sorta) out of half-inch plate...
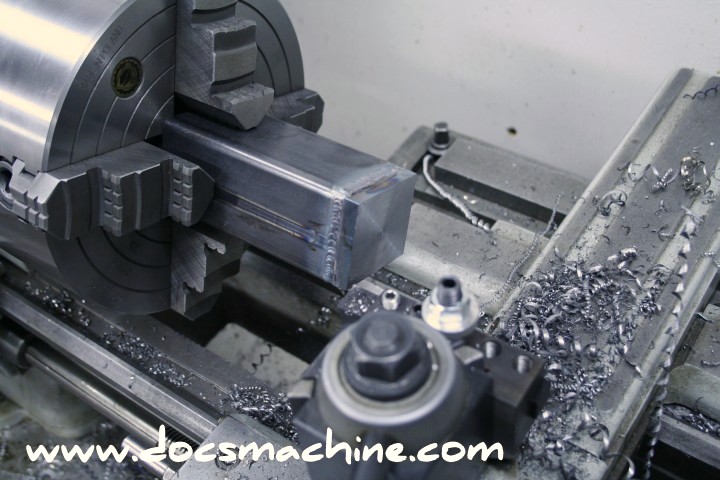
TIG them to pieces of 2" box tubing that were previously chopped to length and squared in the mill. Then face the new ends.:
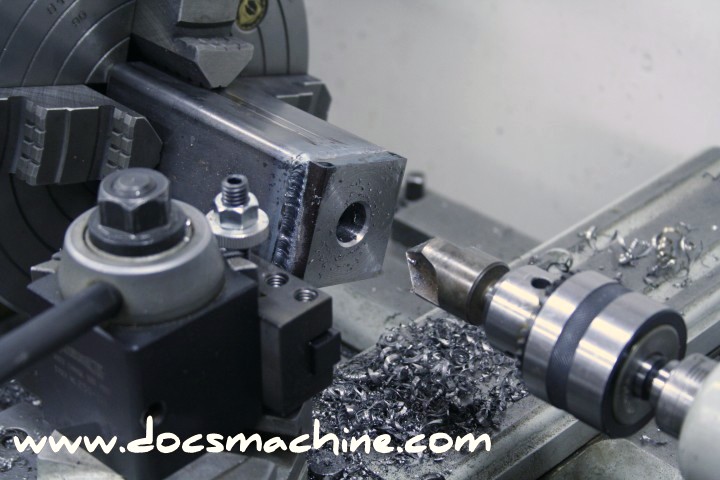
Drill and countersink...
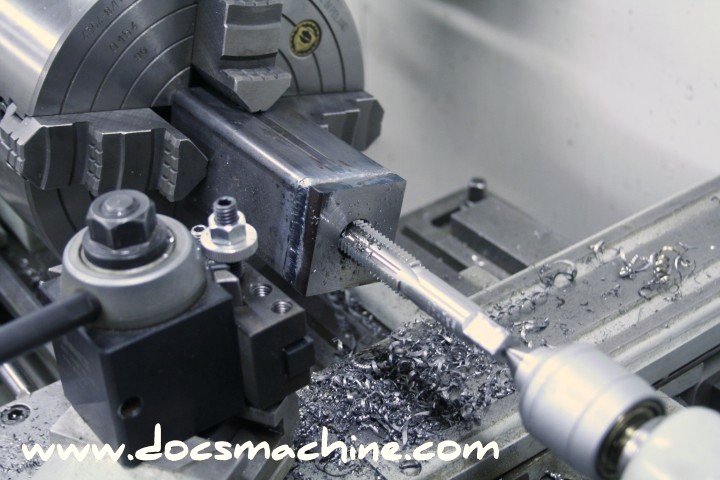
And tap to a nice, healthy 3/4"-10 (biggest conventional tap I had at the time)...
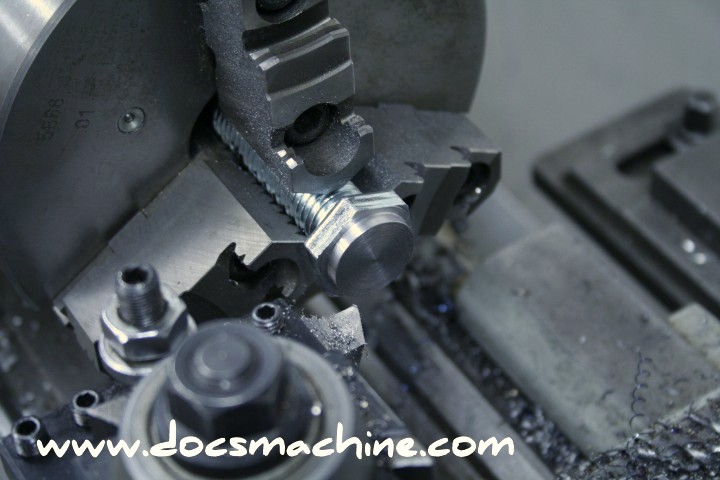
Then take some 3/4" coarse Grade 3 (maybe) bolts and face the heads and turn a step...
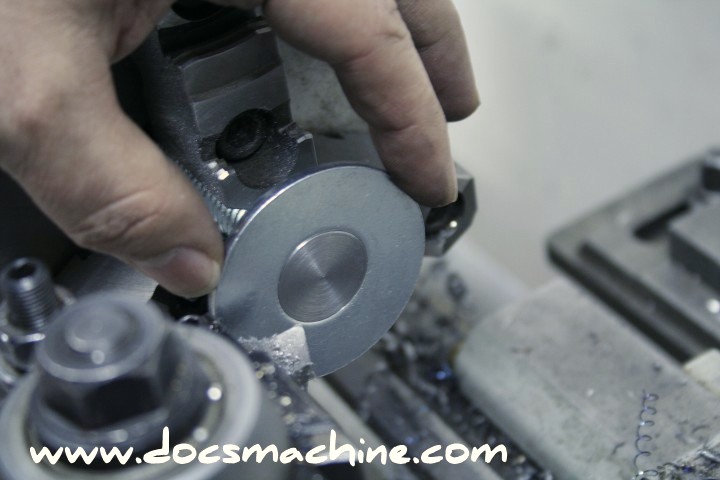
... To accept a 7/8" washer.
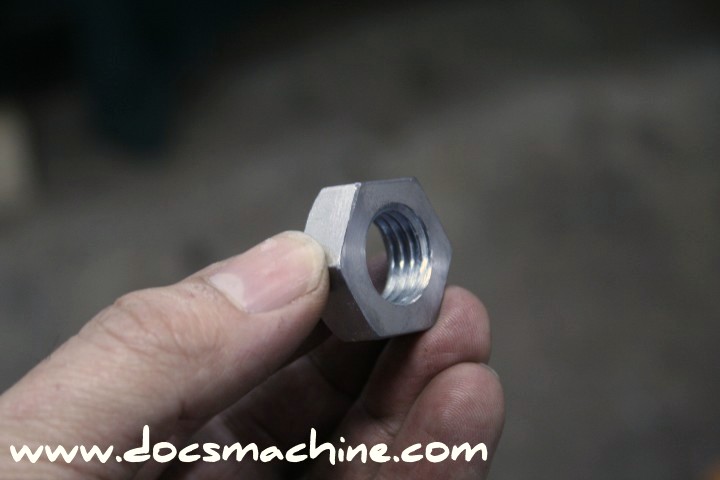
Chuck up a hunk of 3/4" coarse allthread and use it as a spud to hold some nuts, and face about 1/8" off.
With the nuts and bottom of the legs square and true with the bolt threads, the nuts will cinch up and "lock" better,
without kicking the "foot" bolt off to one side or another. This is common with cheap bolts, and causes a
problem when trying to level precision machinery- which is the whole point of the exercise.
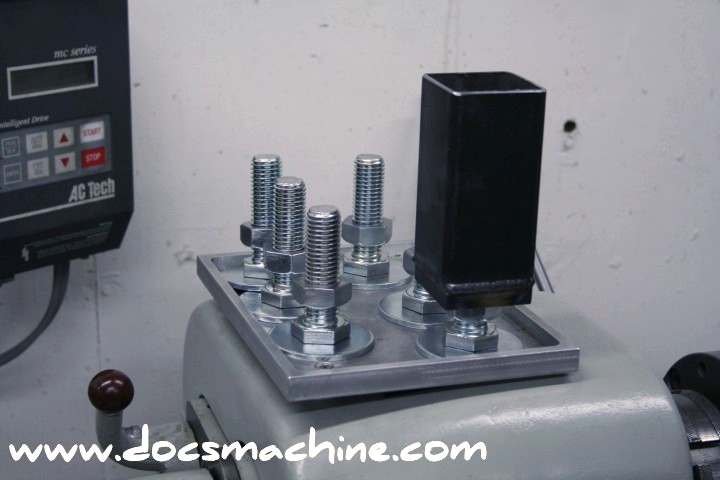
A full set of new feet, washers to spread the load somewhat- and they're not attached to the feet,
so the bolt can more easily turn for adjusting- and one new leg-section.
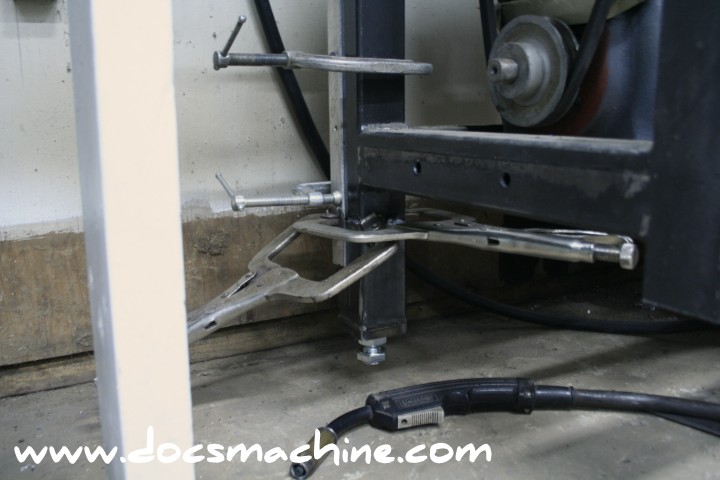
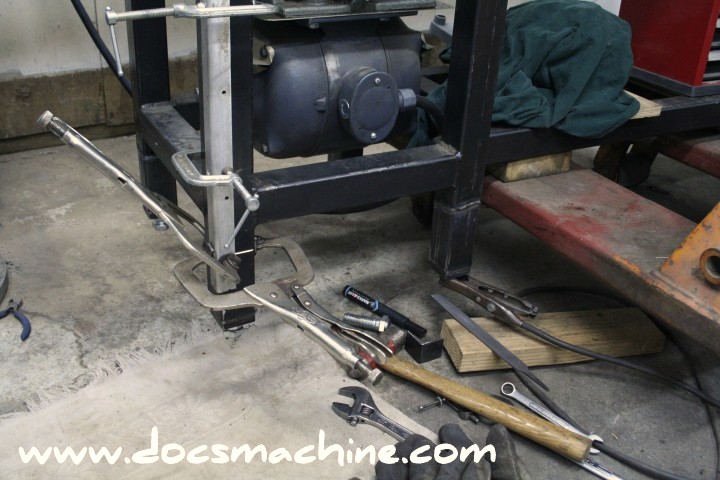
Now, clear some of the junk that keeps piling up in here, roll in the pallet jack and MIG, grab some clamps,
some files, a hammer and a few other bits and pieces and go to work. Jack up the entire lathe (the pallet jack
makes it easy, though it's huge and bulky and hard to work around at times) use a chunk of angle iron
to hold the leg extension in place, and weld that puppy on.
Now, as I said, each leg was sawed off after the fact, and the cuts were both uneven and crooked.
So I had to grind and saw each individual foot to fit it's mating leg. The four outer ones weren't too bad;
the inner two were way outta whack and took some thirty minutes of fitting before I was happy.
The legs aren't completely identical- there's about 1/2" variation in length, largely thanks to the random lengths
they were originally cut off to. I fitted for the contours of the cut, but not for the total length. No biggie, as
the feet are adjustable, and for that matter, the floor varies by more than half an inch in that area anyway.
t was fairly time-consuming, but it was also worth doing right the first time. There was no need to rush or slapdash the job.
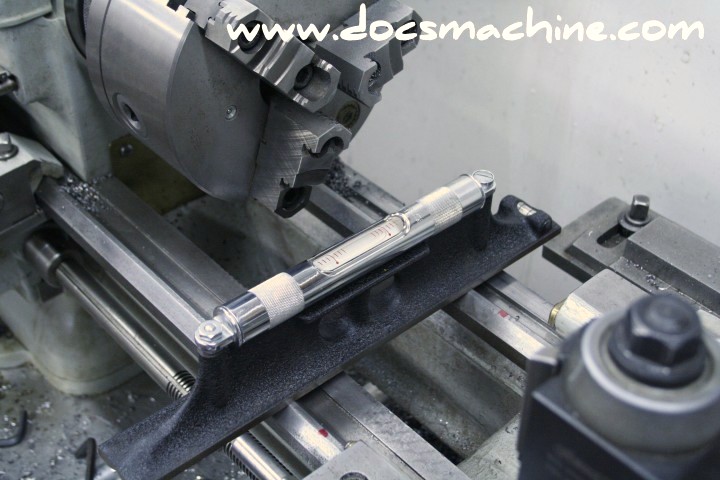
Once it was all done and welded, I got out my .005" per foot Starrett level, and after entirely too many deep-knee bends
(down to tweak the bolt, up to check the level, repeat ad infinitum) I got it nearly perfectly level fore and aft
at both ends of the bed, and put'near level left-to-right.
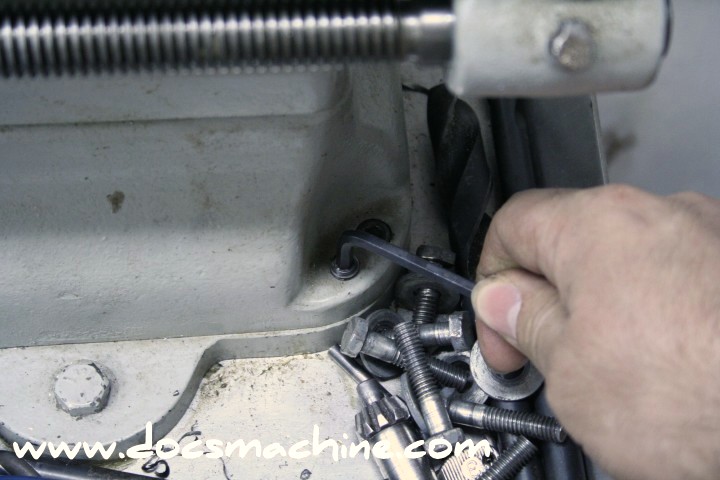
The final tweaks were done using these adjusters built in to the Sheldon bases.
Took a few tries to get those sorted out (so the reading stayed the
same after locking the bolt back down) but it's damn near perfect.
All text, photos and graphics
Copyright 1998- 2017, Doc's Machine & Airsmith Services. All Rights
Reserved.
Information contained in
these pages is for reference and entertainment
purposes only. Our methods are not always the best,
quickest, safest, or even the correct ones. It's up to you to know how
to use your own machines and tools.
Keep your fingers away from the spinny blades o' death and you should
be all right.


