[
Return to Main Page ] [
Return to Projects Index
] [
Doc's Machine & TWB Store] [
Contact Us ]
[
The Whiteboard Webcomic
]
Tuning Up and Tweaking a 1956 Sheldon EXL-56 Lathe
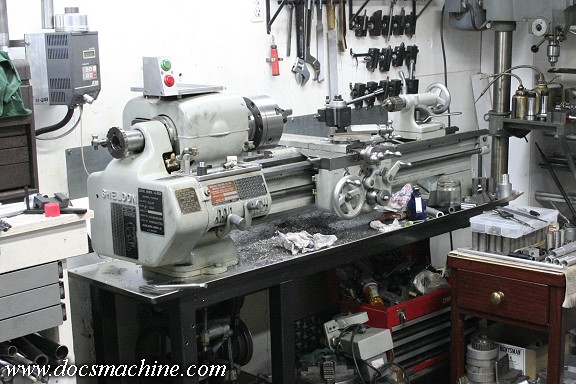
After I'd been using the Sheldon for a couple of years, one problem became apparent. Like most
lathes of this vintage, it thrives on oil, but as nothing is sealed, that oil runs off and collects in the
drip tray. Normally this isn't a problem,k but given this somewhat "homebrew" setup, in this case
the oil tended to collect under the headstock and drip down on the drive belts.
I tried to keep them fairly clean, but eventually they got soaked enough that they'd slip under
even moderately heavy cuts, regardless of how tight I adjusted them. The fix was fairly simple,
to weld a short 'wall' around the opening in the try through which the belt passes, but in order
to do so, the drive had to be disconnected, the lathe removed from the stand, and the tray
then separated from both.
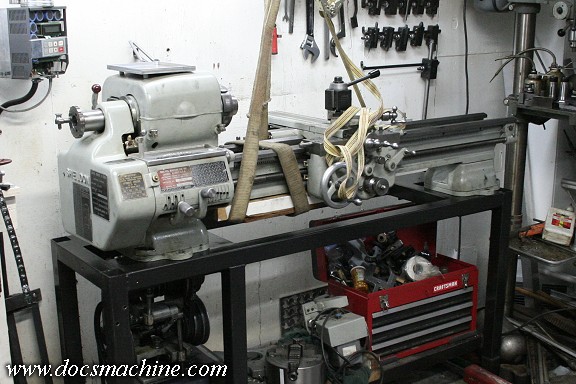
However, I also wanted to do some mods to the stand itself, so one day I decided I'd go
ahead and get it all done. I started by disconnecting the headstock drive belts (linked belts,
so it was fairly straightforward) then unbolting the lathe from the stand, and sliding the
tray out from underneath.
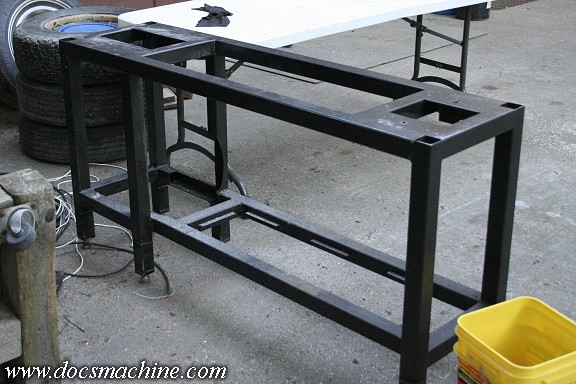
The stand itself I hauled outside, sprayed it down with degreaser and pressure-washed
in preparation for the mods, welding and eventual paint. The main issue to be addressed
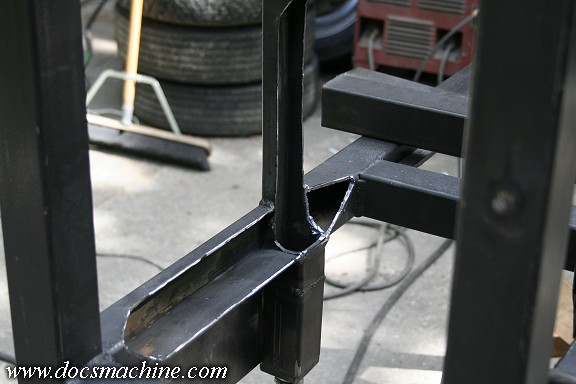
was where the previous owner had trimmed some of the support tubes in order to clear
the lower belt drive assembly, since the motor "rocks" as the belts are tightened.
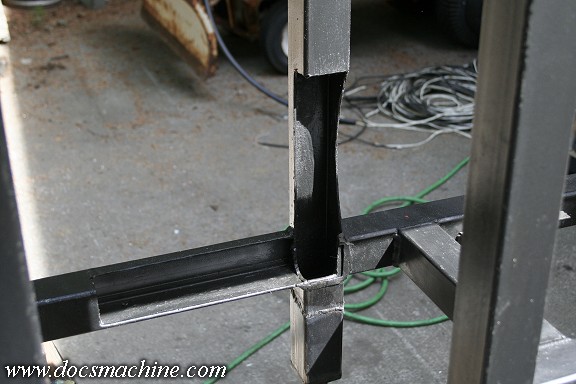
And the trimmed area looked like this. The back two tubes were heavily chopped, and the cross-bar
tying the front and back legs together had been sawed out entirely and moved to the right by a full four inches.
Besides being just generally annoyed by the open tubes and rough cuts, chips and oil collected in there.
Again, not a huge problem, but hey, we can fix it.
I started by trimming the cuts with the plaz, and grinding the edges somewhat smooth. The ends of the
cuts I tapered out to make fitting easier and making for a less abrupt transition.
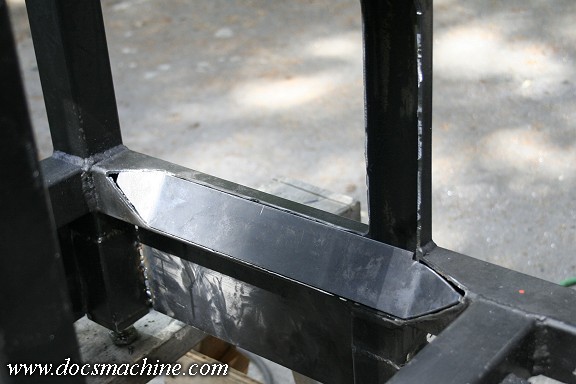
A couple hunks of 10-ga strap scrap from my stash, a few minutes with the plaz, a vise and a hammer,
and we have a filler panel that closes the tubes back up, but maintains the clearance we need for the
motor and drive. Theoretically I could have reinstalled the drive assembly, and added as much of the
body of the tubing back as I could, but this wasn't a big strength issue, and I didn't want to have to
fight tight quarters when reassembling everything. The clearance was there for a reason,
let's keep it- it'll be mostly hidden later, anyway.
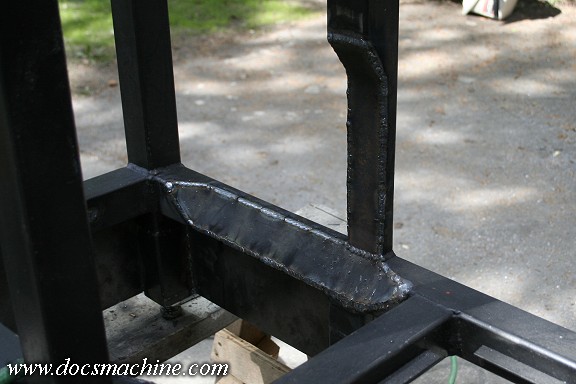
So after fitting the new metal, it was a simple matter of welding it in...
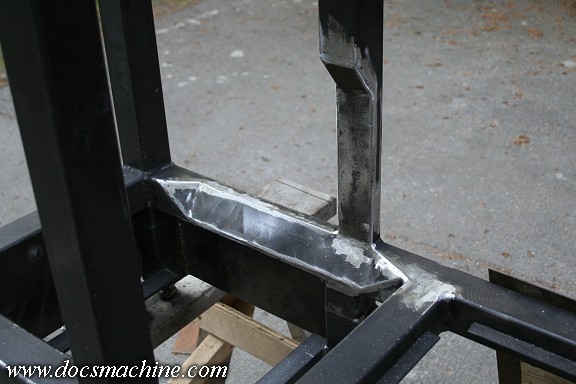
Grinding it all smooth...
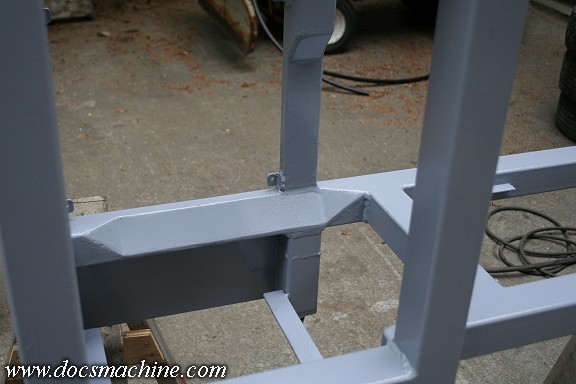
... And once all the other mods and welding were done, painting it.
All text, photos and graphics
Copyright 1998- 2017, Doc's Machine & Airsmith Services. All Rights
Reserved.
Information contained in
these pages is for reference and entertainment
purposes only. Our methods are not always the best,
quickest, safest, or even the correct ones. It's up to you to know how
to use your own machines and tools.
Keep your fingers away from the spinny blades o' death and you should
be all right.


