[
Return to Main Page ] [
Return to Projects Index
] [
Doc's Machine & TWB Store] [
Contact Us ]
[
The Whiteboard Webcomic
]
Tuning Up and Tweaking a 1956 Sheldon EXL-56 Lathe
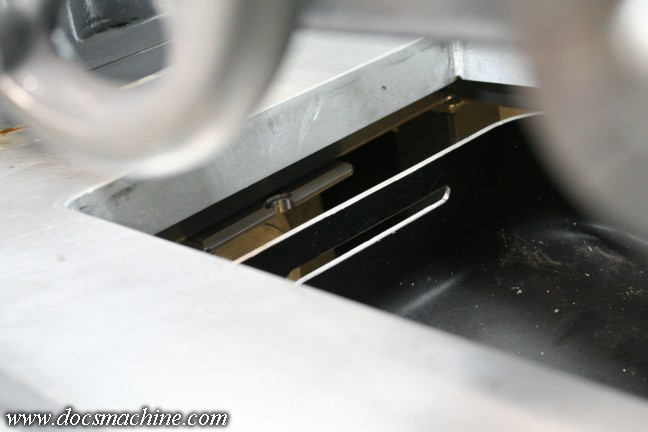
I'd opened up the drip tray to have an opening right under the chuck, so that chips and swarf could basically
fall right down into a removable drawer for easy disposal. The problem being that, since I did that in '13,
I hadn't gotten around to actually putting in that chip drawer. I'd originally envisioned a sort of actual slide
out drawer, which was actually just a half-drawer. It'd have an actual drawer on the right half, and the
removable pan on the left. Open drawer, remove pan, dump, replace pan, close drawer. Easy, actually.
Except that if I used the actual storage half of the drawer, I'd be opening that semi-regularly to get tools or
parts, which would inevitably mean that there would be times the chips would be falling through the hole
into a pan that wasn't there.
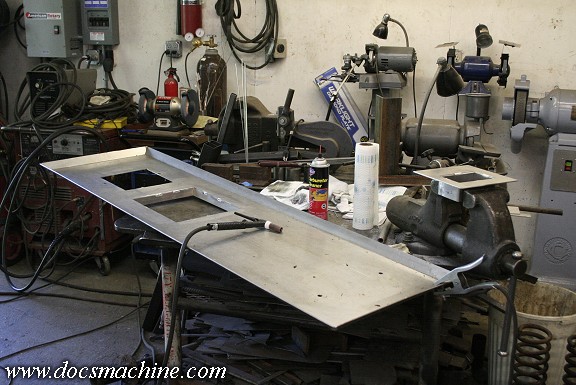
So I decided on a more dedicated pan that just sort of 'clipped' into place
under the opening in the tray. I was going to brake one up... er, as soon as I finished my larger press brake
that is... but as luck would have it, I found a perfectly sized aluminum roasting pan at the local secondhand
store, for a whopping three bucks.
It was the perfect width to fit between the rails on the underside of the
stand, and plenty long to cover the entire tray opening, so all I needed to do was invent a fairly foolproof
way to hang it up in there. After many moons of pondering, mediation, peyote hallucinations and
enigmatic statements from an entirely too uppity Magic 8-ball, I settled on a workable solution.
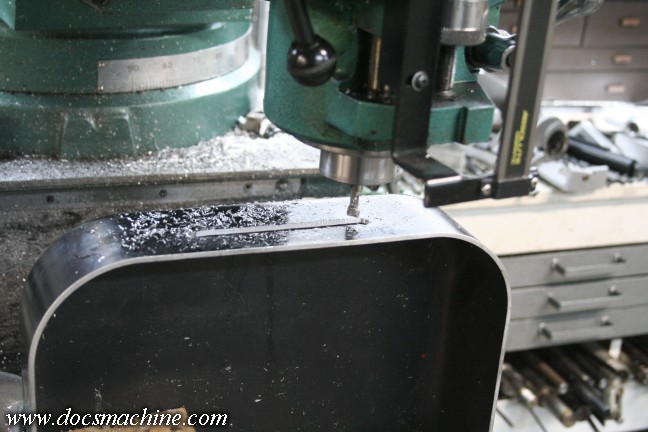
I cut the rivets holding the handles on, and connected the three holes on one end with a milled slot.
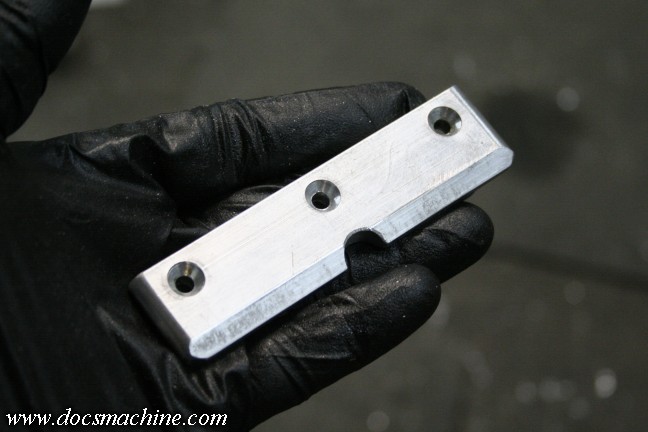
I then found a suitable chunk of scrap in the bin, and milled, drilled and filed up this cute little tidbit.
The notch in the center is a leftover from the original scrap piece.
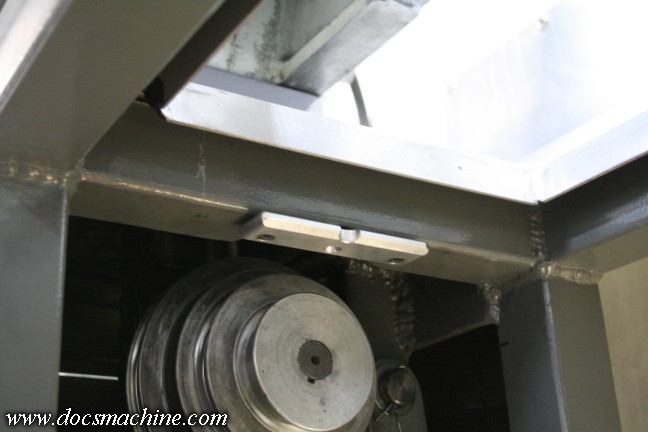
With a little careful measuring and trial-fitting, I sacrificed a small chicken for luck, and drilled and
tapped the underside of the stand to hold it- the tab, not the chicken- like so.
The pan would be slid up between the rails from underneath, and lock into that tab. The wide bar
keeping the pan from tipping or twisting, no matter how much weight was piled in it.
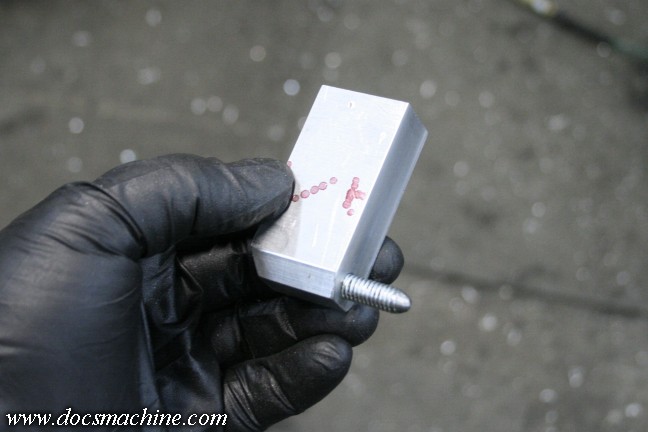
On the other end, I whipped up this block, and drilled and tapped it for a short 5/16" stud,
upon which I'd ground a nice, rounded pointy tip.
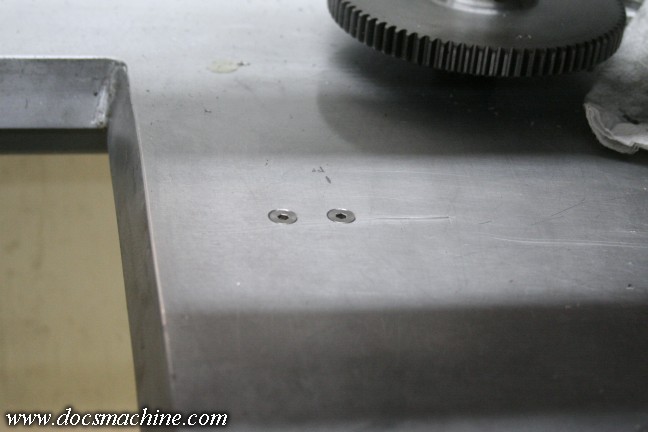
After more careful measuring and the sacrificing of a couple of corn dogs- not for luck, I was just hungry-
I drilled and countersunk the drip tray so that said pointy block could be bolted on from the top. So, in use,
the pan is lifted up between the rails, and then slid to the left. It's relatively easy to guide it onto the
rounded stud just by feel, and the stud is long enough it'll be on there before the pan reaches the
wide tab. It's actually all pretty easy with a little practice.
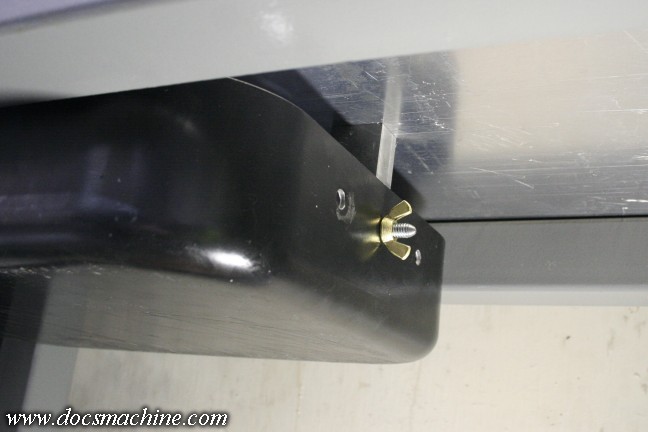
After that, a brass wingnut from my stash (some people call it "Home Depot") to hold it in place.
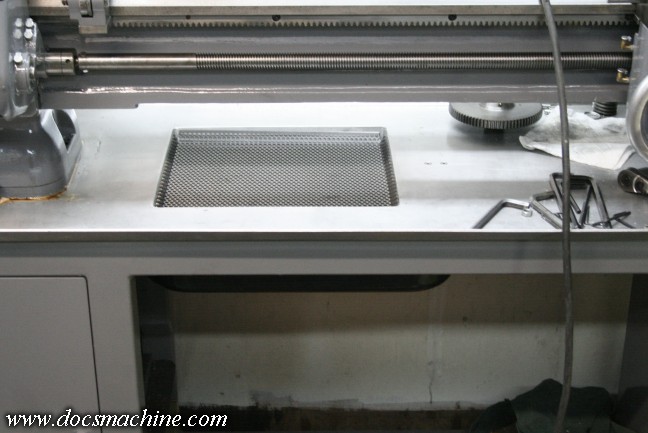
And, since I don't always want the big gaping hole there into which I can drop small parts,
insert screws, tools and small children, all of which are never to be seen again, I whipped
up this little mesh insert out of perforated 18-ga steel to finish the job off.
All text, photos and graphics
Copyright 1998- 2017, Doc's Machine & Airsmith Services. All Rights
Reserved.
Information contained in
these pages is for reference and entertainment
purposes only. Our methods are not always the best,
quickest, safest, or even the correct ones. It's up to you to know how
to use your own machines and tools.
Keep your fingers away from the spinny blades o' death and you should
be all right.


