[
Return to Main Page ] [
Return to Projects Index
] [
Doc's Machine & TWB Store] [
Contact Us ]
[
The Whiteboard Webcomic
]
Tuning Up and Tweaking a 1956 Sheldon EXL-56 Lathe
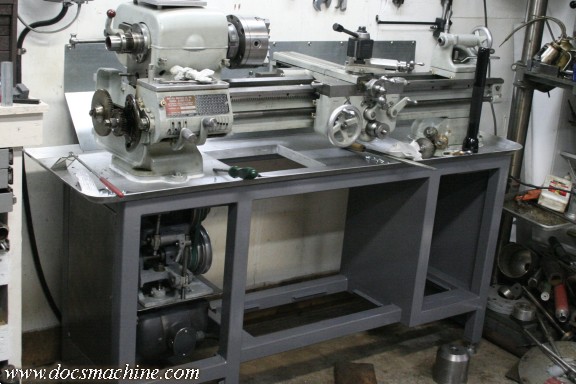
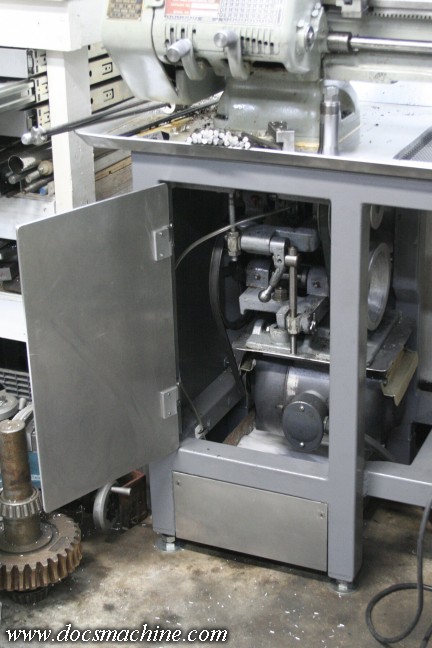
Now that the drip tray has been modded, and the base stand has been painted, it's time to start putting
it all back together. Note how an extra 'bulkhead' has been installed at the right-hand end, so I can
put a set of proper drawers there. I also added a series of small tabs so that I could fit plates into
the "windows" of the motor column end to enclose it. The first such plate can be seen at the left.
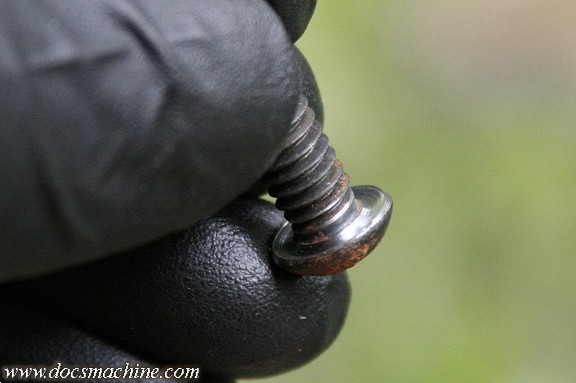
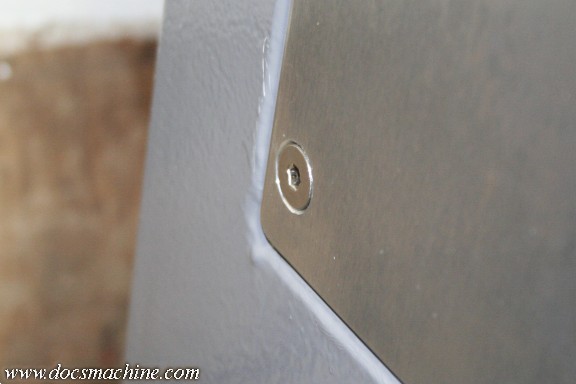
Here's a little trick I came up with in order to properly fit countersunk screws, to what might not
be particularly precisely placed holes. I took an old plain steel buttonhead screw, and very lightly
turned the underside of the head; I grooved most of it, then lightly chamfered the outer edge, to
make a sharp ridge, which was concentric to the threaded body of the screw.
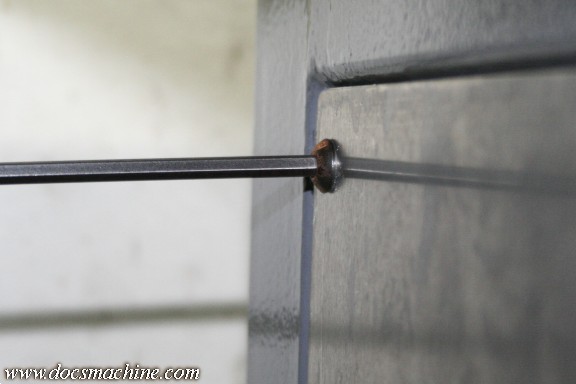
Then just install it in each location in turn, keeping plain bolts with soft washers in
all the other locations so the plate doesn't shift.
The "ring" it cuts then clearly shows whatever offset there might be between the
hole in the panel and the threaded hole on the chassis.
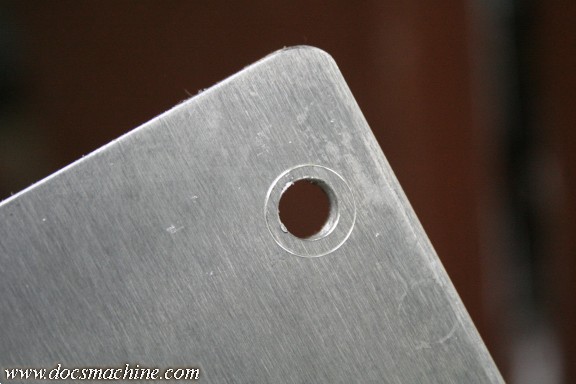
After that, it's a simple matter to clamp the plate down, either to the mill table, or the drill press that has an
X/Y table and simply, carefully, cut-and-try 'til the circle the cutter makes is concentric to the marked ring.
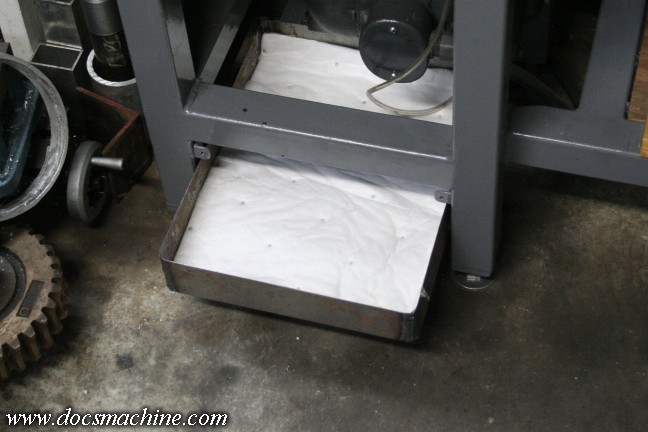
Next, one of the main reasons for the mod was the headstock oil dripped through the chip tray and soaked the
drive belts. The chip tray mod helps control that but there's still lube from the drive assembly itself that needs to
be contained, so I'd made rails into which I could slide a pan to catch the drippage.
I was never able to find a
commercial baking pan or plastic dish/tray that would fit well, I whipped up some measurements, cut out
a chunk of spare sheetmetal, and bent up a perfectly-fitting drip pan:
I threw in one layer of industrial oil-sorb
pad to help control the oil even more, and finally I don't have to keep a pile of kitty litter under the headstock.
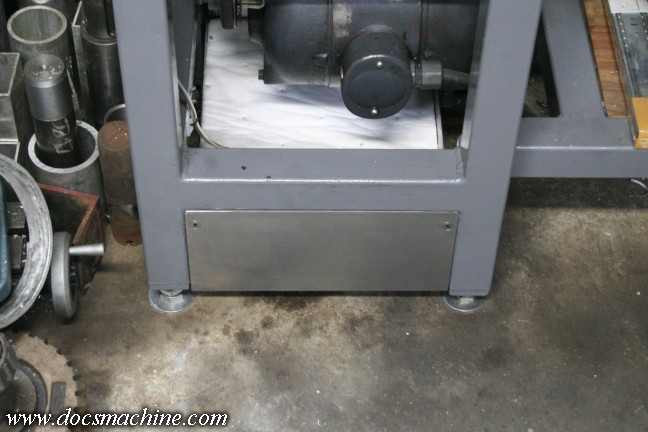
The new drip tray then needed an access cover, fitted with more countersunk screws.
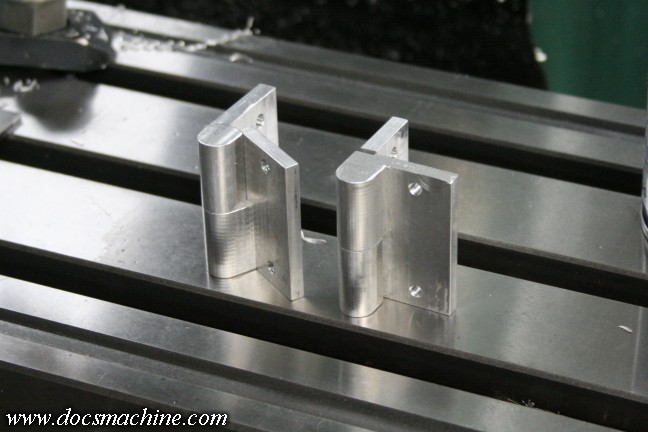
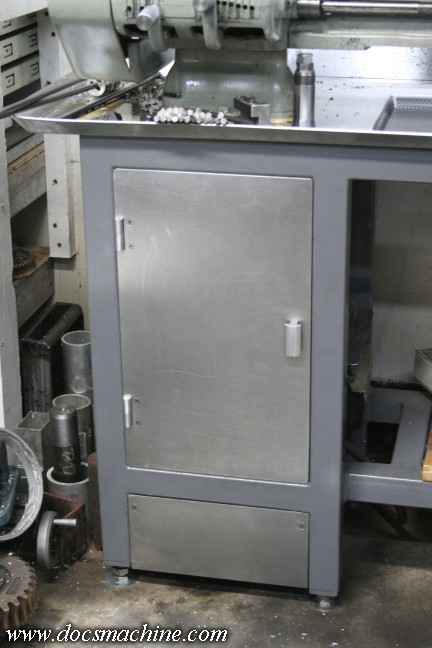
Now, since I'd gone that far, I figured it was finally time to install the front cabinet door, which
I'd made back when I did the frame upgrades.
I'd been unable to find decent hinges that fit,
so I scribbled up a quick design and made my own.
And those, bolted into place...
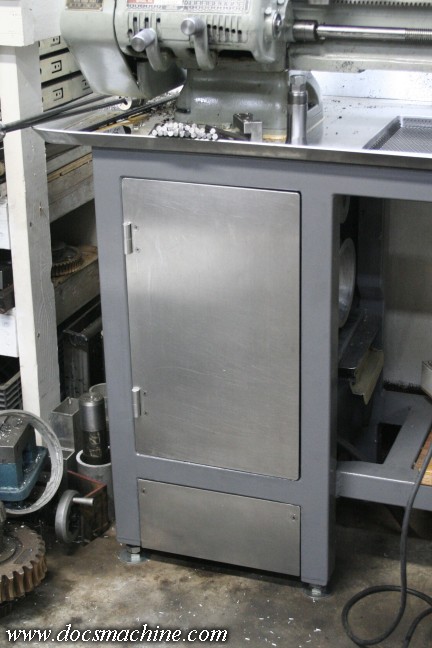
Finally closes in most of the cabinet base properly.
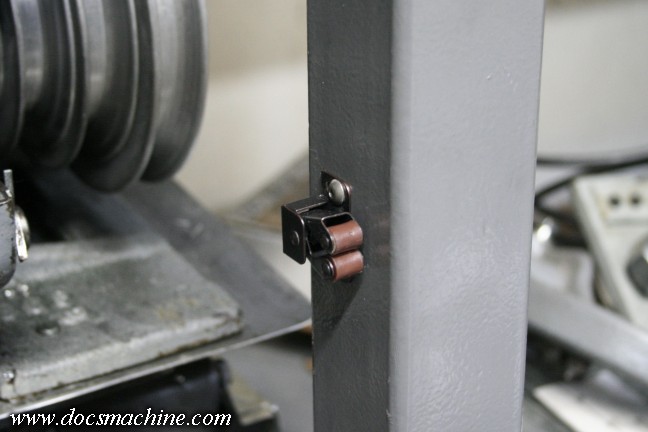
Surprisingly enough, I was able to find the kitchen cabinet spring latch I'd bought two summers ago for this door,
so I spent a bit of time today getting that set up.
The latch is a standard kitchen-cabinet spring-roller
arrangement, and simply attaches to the side post with a couple 8-32 screws:
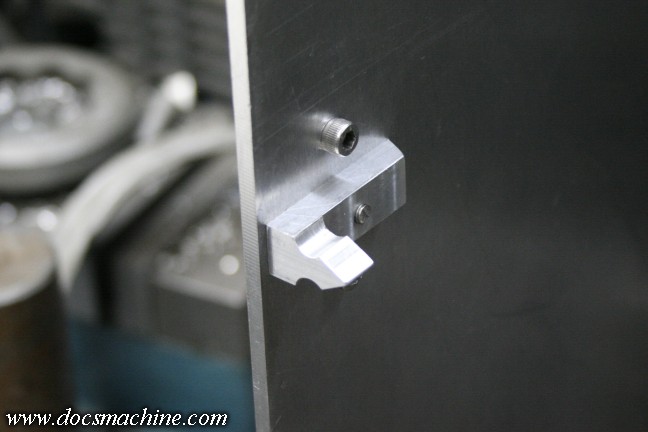
I wanted the mounting screws to be hidden- at least, not visible on the outside of the door.
But I also didn't want to mount the handle right up at the very edge of the door, so I made
this dog-leg catch. The handle on the outside will cover up the mounting screw.
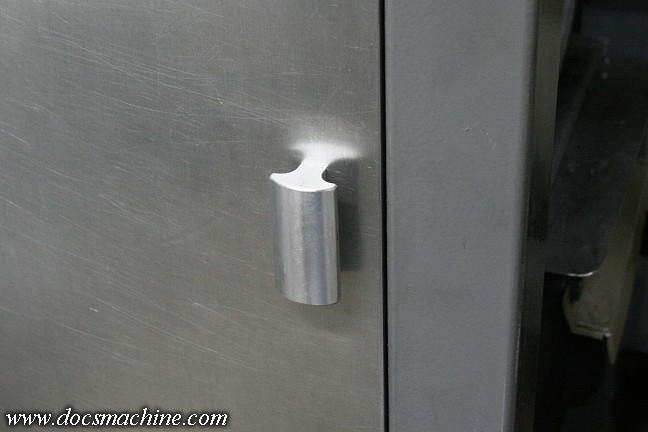
The handle itself is custom milled, a rounded T-shape that sort of emulates the shape of the hinges.
And, all together, adjusted and latched: I'd made the grooves in the catch a little steeper- more hooked-
than the stock catch, so while it closes smoothly and easily, it takes a bit of a good tug to open.
Nice and secure, zero vibration. And apart from paint, it's done!
All text, photos and graphics
Copyright 1998- 2017, Doc's Machine & Airsmith Services. All Rights
Reserved.
Information contained in
these pages is for reference and entertainment
purposes only. Our methods are not always the best,
quickest, safest, or even the correct ones. It's up to you to know how
to use your own machines and tools.
Keep your fingers away from the spinny blades o' death and you should
be all right.


