[
Return to Main Page ] [
Return to Projects Index
] [
Doc's Machine & TWB Store] [
Contact Us ]
[
The Whiteboard Webcomic
]
Saving a 1943 Springfield Engine Lathe, Part 8:
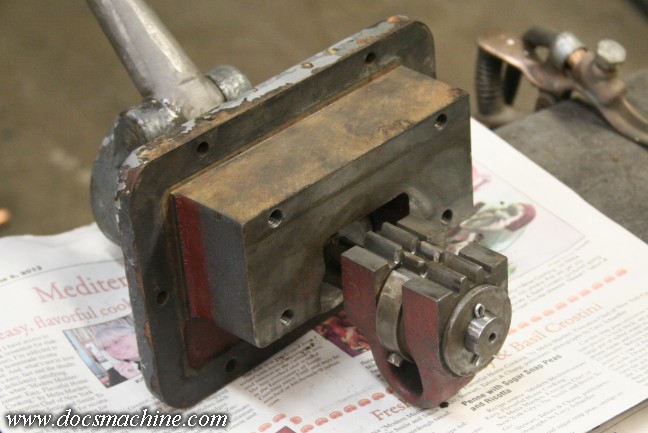
At this point, the headstock was pretty much ready to go. The oil feed and drain was in, the A-B and
In-Out shifters had been repaired and painted, the clutch had been (sort of) serviced, etc.
To finish it up, it just needed the three-way shifter fixed and installed.
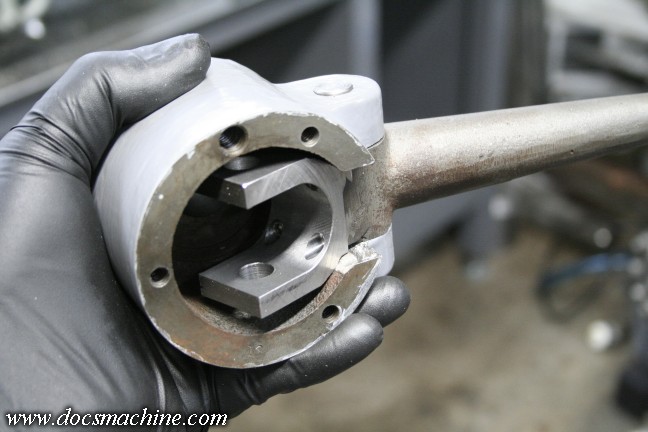
This unit is a heavier and more complex part than the simple A-B levers. It had both a left-right motion,
and the lever moved in and out, in order to select one of three speeds. Inside the shaft worked a pair
of short racks which did the shifting, using a partial gear quadrant piece.
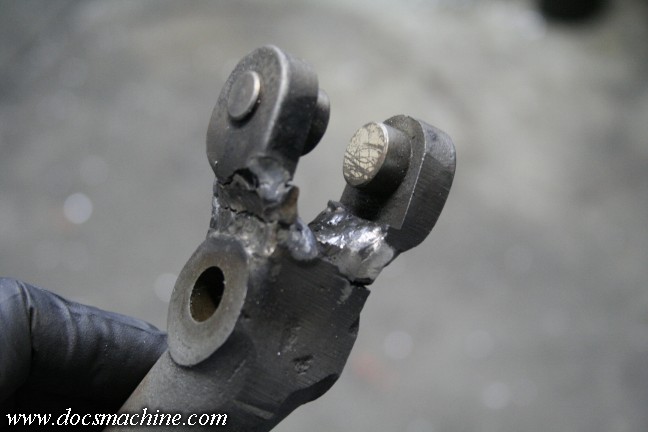
However, as I was moving the parts around, I'd managed to hit the lever myself and re-break the welds.
I gave kind of a halfhearted attempt at re-re-welding them, but they were just too badly shattered at that point.
It's worth noting the welds held, and the iron cracked above and below them.
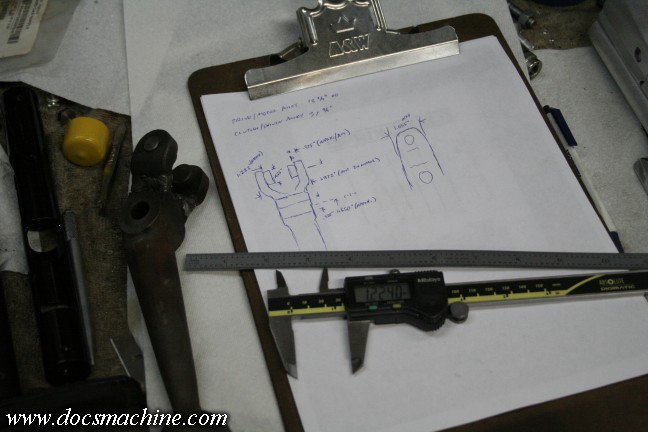
So I pondered up a workable plan of attack, and whipped up a quick drawing with the relevant measurements.
Bandsawed off a hunk of 2" square mild steel and got to work.
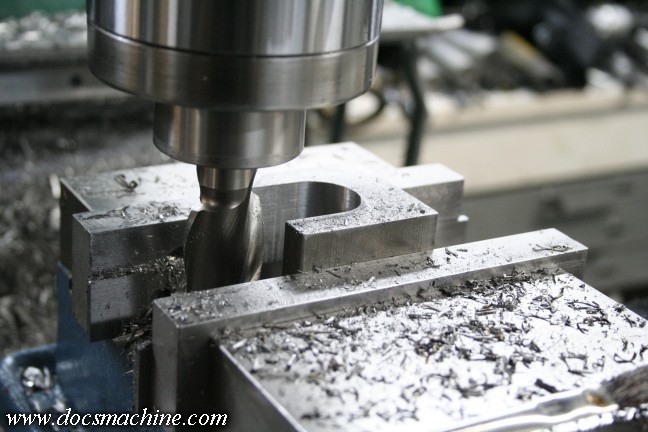
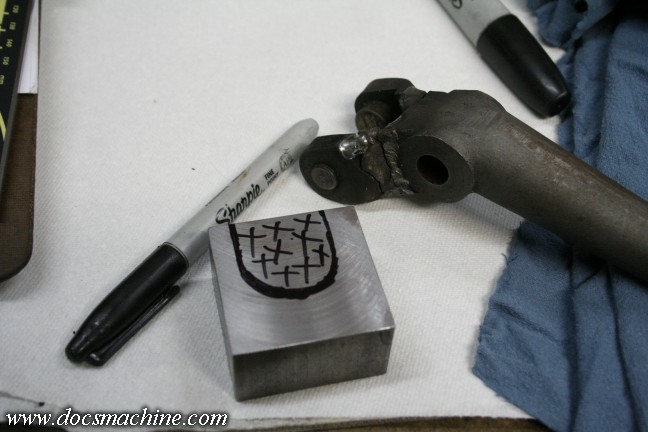
The block got roughed to the general specs...
And the remains of the lever got milled down to form a mating face.
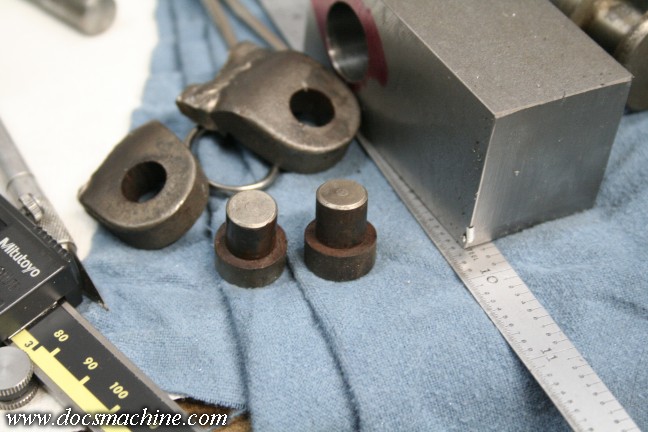
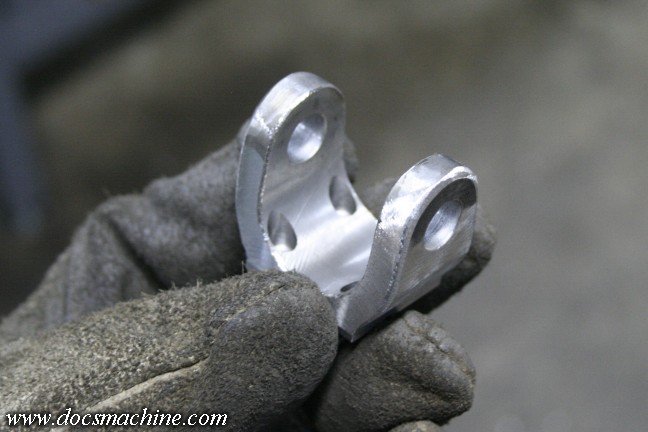
The old "buttons" got pressed out of the original ears...

And the new yoke drilled to accept them.

After some careful measuring and double-checking, the new yoke got drilled for a mounting-bolt pattern.
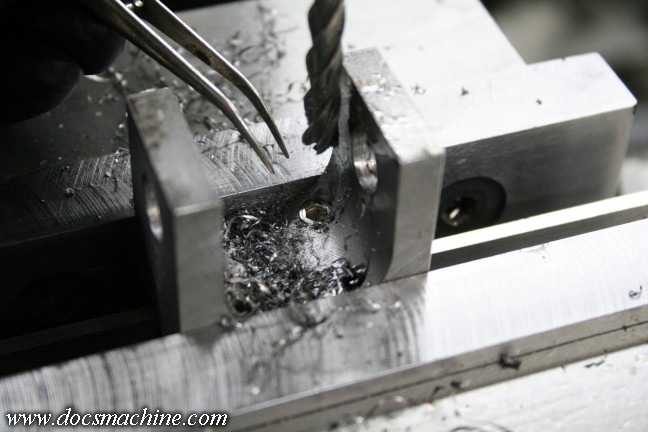
And counterbored to accept four 6-32 stainless Allen head screws.
The lever was then drilled and tapped to match.

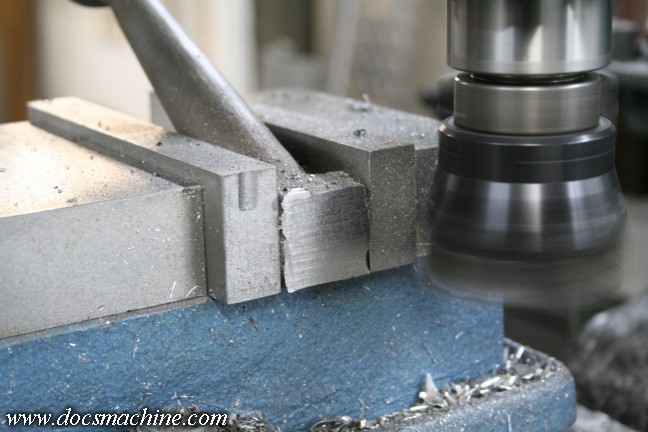
After that, I milled away some of the excess, for clearance in the shifter housing...
... Until she fit and cycled smoothly.

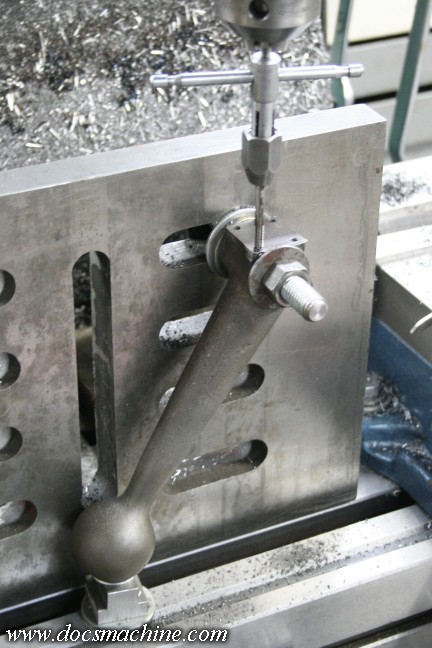
Then the sides got trimmed down into a slight taper (note the bolt-and-nut "machinists jack" to support the ears.)
After that, a little grinding, filing and shaping completed the part.

Installed, smoothed and painted, and the 'buttons' installed, it's ready to go.
All text, photos and graphics
Copyright 1998- 2017, Doc's Machine & Airsmith Services. All Rights
Reserved.
Information contained in
these pages is for reference and entertainment
purposes only. Our methods are not always the best,
quickest, safest, or even the correct ones. It's up to you to know how
to use your own machines and tools.
Keep your fingers away from the spinny blades o' death and you should
be all right.


