[
Return to Main Page ] [
Return to Projects Index
] [
Doc's Machine & TWB Store] [
Contact Us ]
[
The Whiteboard Webcomic
]
Saving a 1943 Springfield Engine Lathe, Part 11:
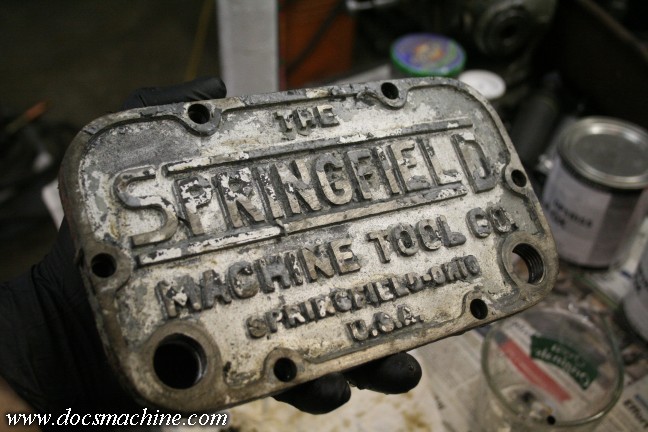
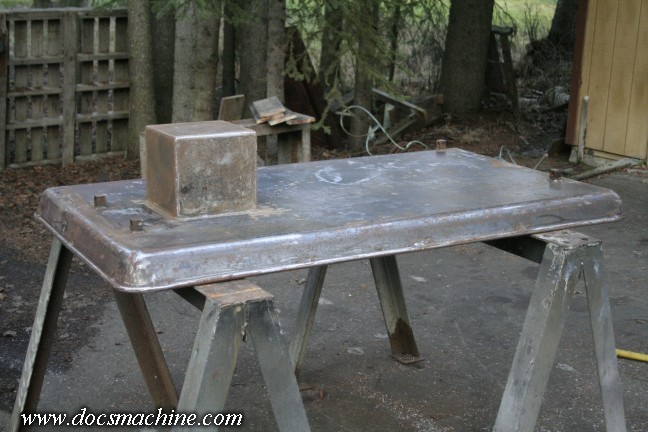
With the headstock in place and the drain tube installed, it was time to put the nameplate/cleanout plate/drain-plug
plate back in place. As noted earlier, the Springfield separates the oil from the headstock- oil is drawn from the
reservoir in the headstock foot casting, pumped up to the headstock gears, and drains through a tube back down
into the base. The front of the base has a cover plate over a fairly large 'cleanout' hole, and also incorporates a
pair of drain plugs. Like everything else on the machine, it'd had multiple paintjobs over the years,
so it was a simple matter to hit it with some stripper...

... Spray it with some Rust-Oleum "Dark Machine Gray" and then use a thinner-moistened rag
on a block to wipe the paint off the high points...
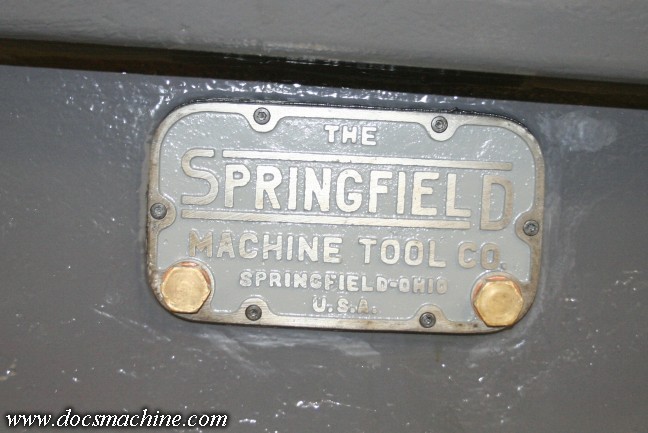
... apply some oil-resistant automotive RTV sealer, and bolt 'er in place. The headstock
could now be filled with oil.
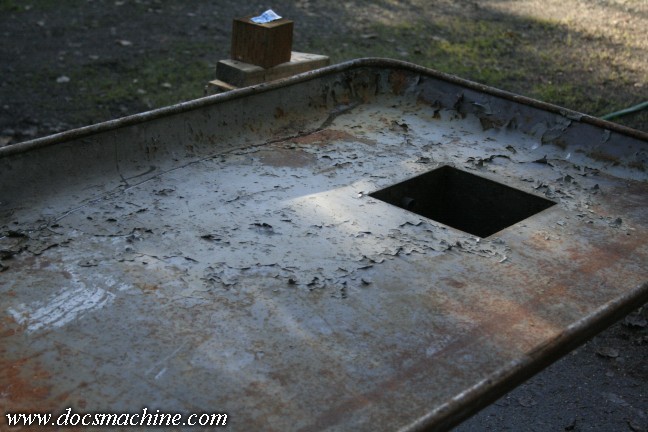
After that, I needed to get the chip tray out of the way. Fortunately there was no major damage or heavy
rust to this- just one small dent to hammer out, and some minor flaky rust to remove.
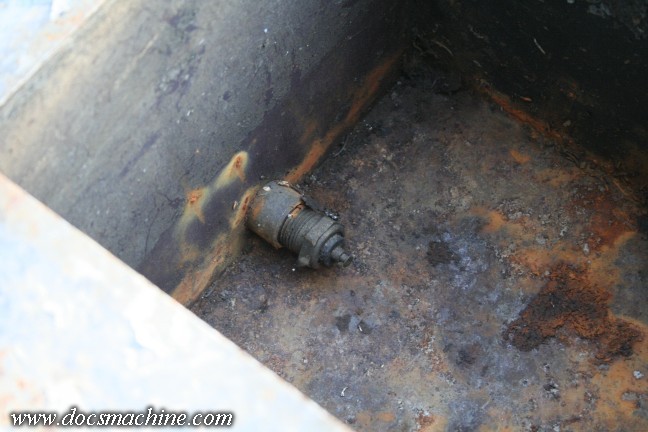
At some point somebody had used an old GM water temperature sender to plug the coolant reservoir hole.
Shouldn't have been any surprise, as all three of the previous owners I'm aware of all had the monster in
automotive machine shops. I'm sure it was a "whatever's handy" type of situation. :)
Stripping the paint, like many of the other pieces, was partly chemical stripper, partly handwork.
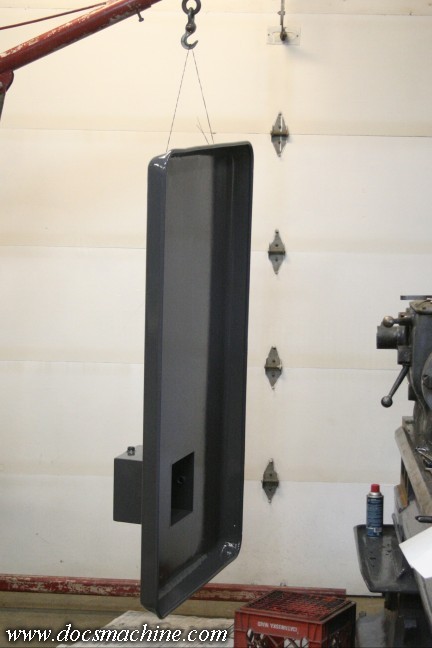
Then it was just hang it up and paint. I don't recall if I've mentioned, but I've been using
an inexpensive alkyd enamel for most of this work, generally applied to the larger areas
with a little 4" wide foam roller. It dries slow enough it "self levels" nicely, and it's proven
fairly resistant to most oils and solvents I've been using- though coolant does
seem to eventually soften it.
All text, photos and graphics
Copyright 1998- 2017, Doc's Machine & Airsmith Services. All Rights
Reserved.
Information contained in
these pages is for reference and entertainment
purposes only. Our methods are not always the best,
quickest, safest, or even the correct ones. It's up to you to know how
to use your own machines and tools.
Keep your fingers away from the spinny blades o' death and you should
be all right.


