[
Return to Main Page ] [
Return to Projects Index
] [
Doc's Machine & TWB Store] [
Contact Us ]
[
The Whiteboard Webcomic
]
Saving a 1943 Springfield Engine Lathe, Part 17:
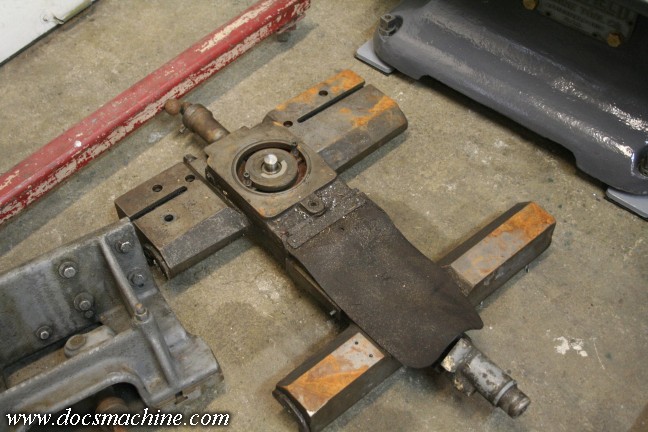
Next up, we yank the carriage apart.
As will most of the parts of this Monster, the carriage was in generally good
shape, but with a couple minor issues. First and foremost, the ways are worn- I haven't yet been able to do a
proper survey, but from the grooving, they're worn at least .010"-.020", if not more. As noted earlier, the current
plan is to have the bedways properly ground, and if/when that happens, I'll patch up the carriage with Moglice.
Second, the original compound was missing, and the lathe came with a somewhat undersized one that looked kind of
importish. The original hold-down bolts had been cut down and drilled for the new compounds' smaller bolts, and
finally, the dust cover for the rear end of the cross-slide was missing, and had been replaced with a rubber flap.
I'm not at all sure how the original cover was supposed to be attached- the center boss is for a rod that connects
to the taper attachment, and the six outer holes were all hand-drilled (at various depths and angles ) to hold the flap.
Most of the photos I've been able to glean off the internet either don't show a cover, or don't show enough to
let me know how it's supposed to be held on. I will probably just build a fairly thick sheetmetal cover
and maybe drill a new set of holes to attach it.
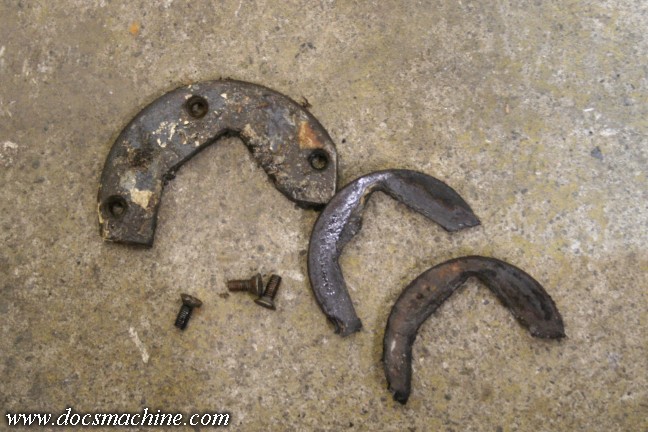
The way wipers (which were well worn)have most likely also been replaced at some point. It seems there's a rubber
(or, now that I think about it, possibly old leather) insert that probably worked as a 'scraper', and the usual felt insert.
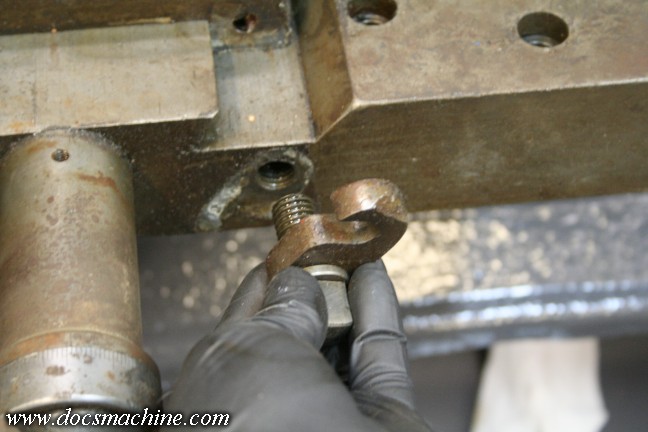
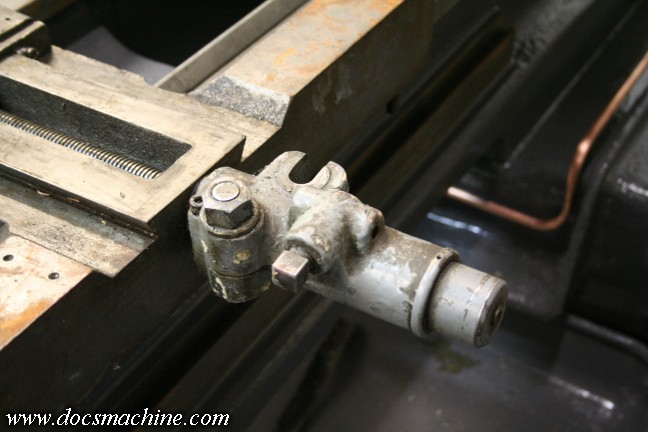
One surprising bit was this little doodad was still bolted in place. It's part of the cross-slide depth stop
assembly, something that used to be common on machines of this vintage, but is rarely seen today. The
parts, since they were fairly rarely used even back then, were usually removed and eventually lost.
In my case, the rod and adjusting nut are gone, and will likely have to be recreated from scratch.
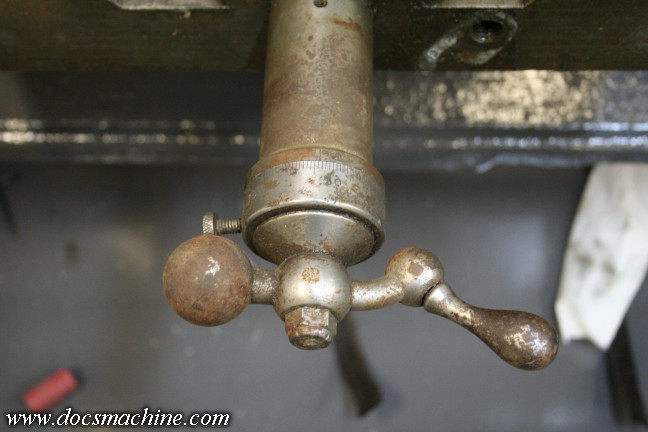
The last bit of damage was the ubiquitous bent cross-slide crank.
No, the lathe hadn't been tipped over.
It's heavy enough there would
have been FAR more damage, and there's plenty of things that didn't get
broken-
the carriage handwheel, the carriage-mounted clutch lever and
feed reverse lever, the halfnut lever, one of the
headstock levers,
etc. Instead, I suspect that a previous owner did the damage trying to
lift or move the
machine, probably with a forklift or Bobcat or
something.
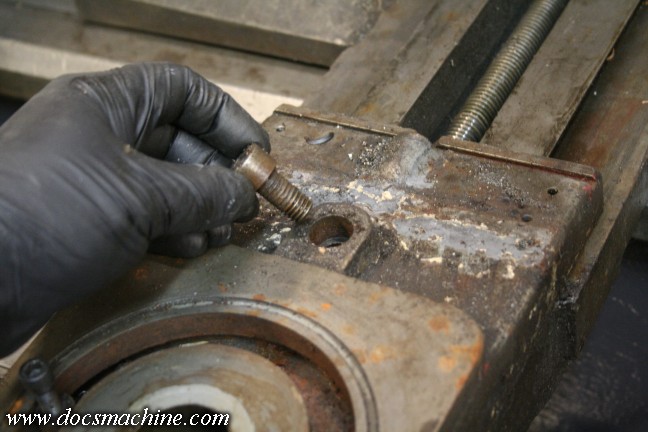
The compound was easy to remove, after simply pulling the bolt...
... And the gib. The gib has some notable wear, but again, I
haven't yet been able to do a proper survey.
Chances are the
cross-slide will have to be properly scraped into place, after the
other repairs are done.
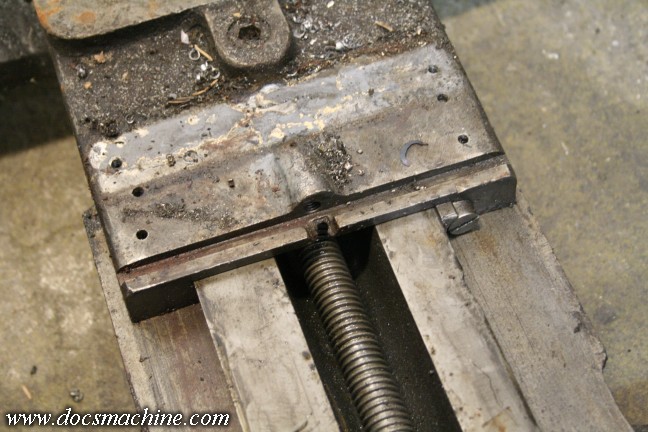
Removing the cross slide revealed a badly-worn leadscrew and what is very likely a replacement brass or bronze nut.
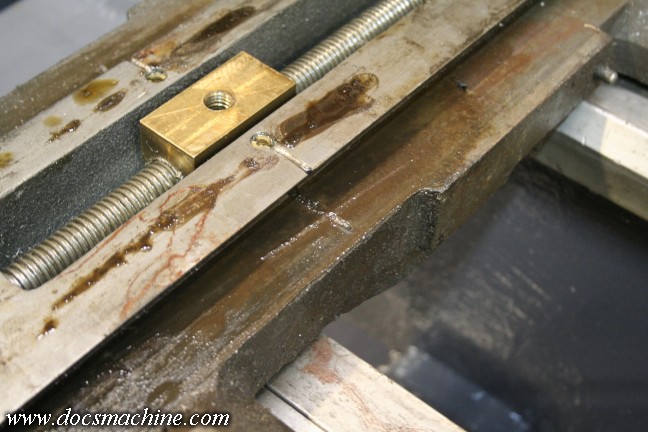
The leadscrew, I'm reasonably certain, had also been replaced at
some point, which means the original had been
worn or damaged to the
point of replacement, and then the replacement was used enough to
require replacement.
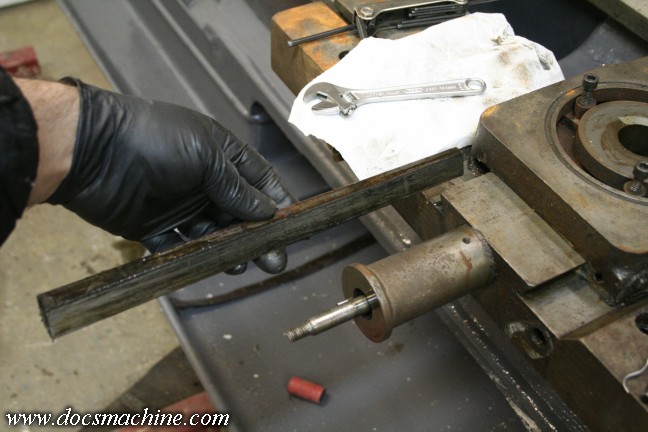
After that, I removed the taper attachment carrier...

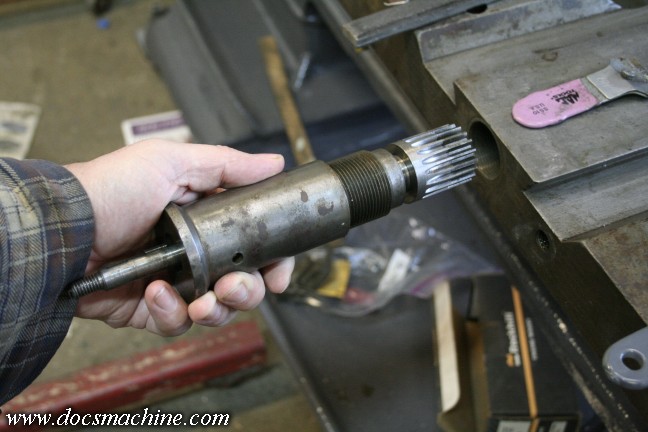
Then the screw itself- which required a padded wrench to crank the
rest of the way out of the nut.
Either the worn section or general
misuse had apparently distorted the nut enough that it was
very hard to
unscrew through the unworn section at the end of the screw.
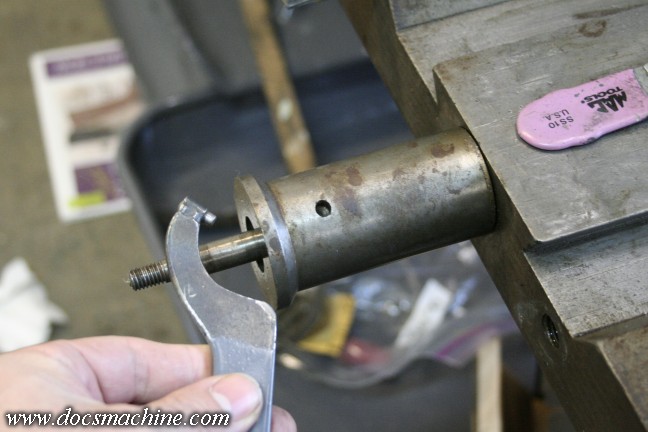
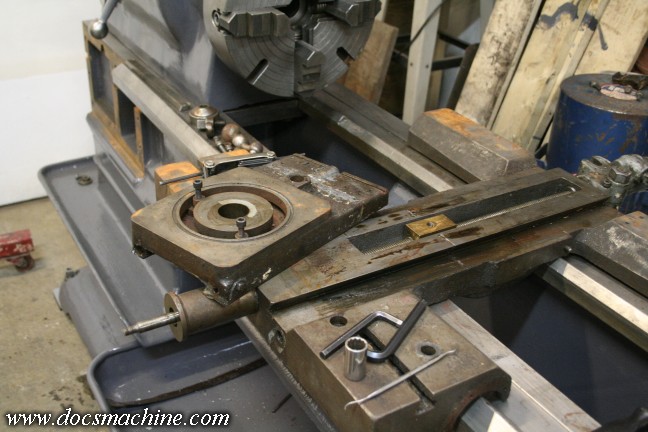
The front extension was helpfully supplied with a hole for a pin spanner in order to unscrew it...
And the whole assembly came out nicely. That left me with a
mostly-bare casting, that got a good
wash with solvent and the Hotsy. I
pulled the oil gallery restrictors and blew out the passages, and
stripped whatever was left of the paint. At that point is was more or
less ready to reassemble.
All text, photos and graphics
Copyright 1998- 2018, Doc's Machine & Airsmith Services. All Rights
Reserved.
Information contained in
these pages is for reference and entertainment
purposes only. Our methods are not always the best,
quickest, safest, or even the correct ones. It's up to you to know how
to use your own machines and tools.
Keep your fingers away from the spinny blades o' death and you should
be all right.


