[
Return to Main Page ] [
Return to Projects Index
] [
Doc's Machine & TWB Store] [
Contact Us ]
[
The Whiteboard Webcomic
]
Converting a Logan 11" x 32" Lathe over to full CNC, Part 11:
To mount the ballnut the way I wanted, the first thing I needed were some fairly precise measurments.
To get a good number for the space between the apron and the nut, I used a Starrett adjustable
parallel, slipped in until it just held itself in place, and then tightened.
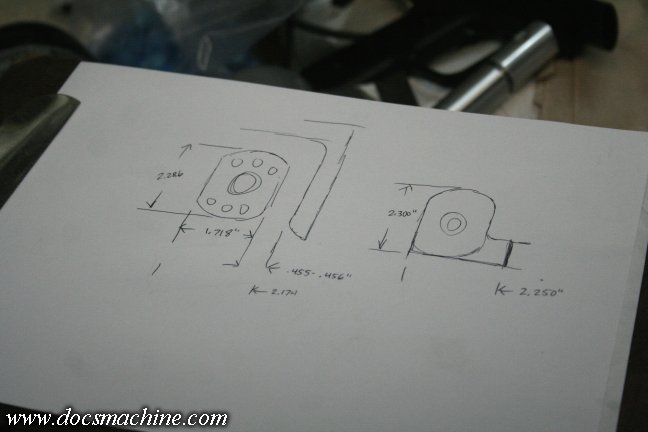
With that number and other measurements taken directly from the nut itself, I whipped up this
highly detailed and aerospace-quality blueprint, which I then transferred over to a piece of cardboard.
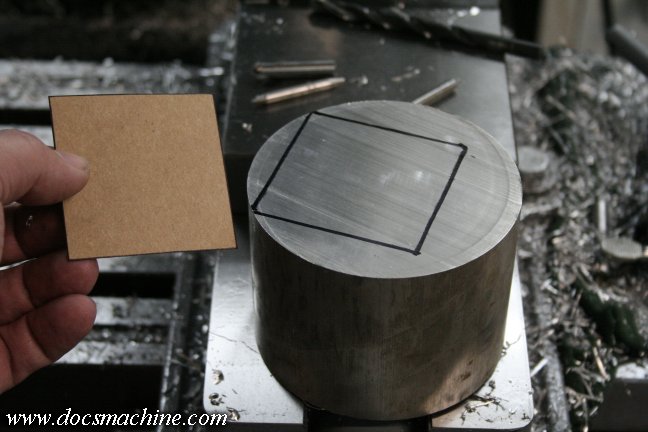
The cardboard in turn was used to mark the cut lines in the round stock. It was easiest to use round
to get the block size I wanted, as plate or bar of this thickness isn't easily available locally.
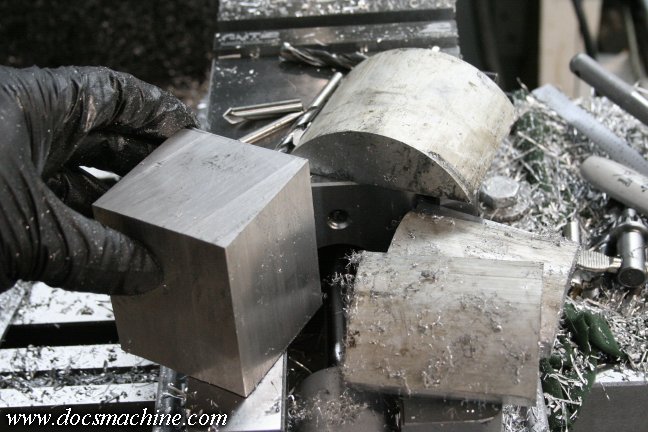
Again, a 90-second trip through the bandsaw saved me literally over an hour of mill time, and saved the excess
as material I could use for other projects. At 3", this is the thickest chunk of aluminum I've cut with this saw,
and it sailed right through, cutting all four sides in less than two minutes.
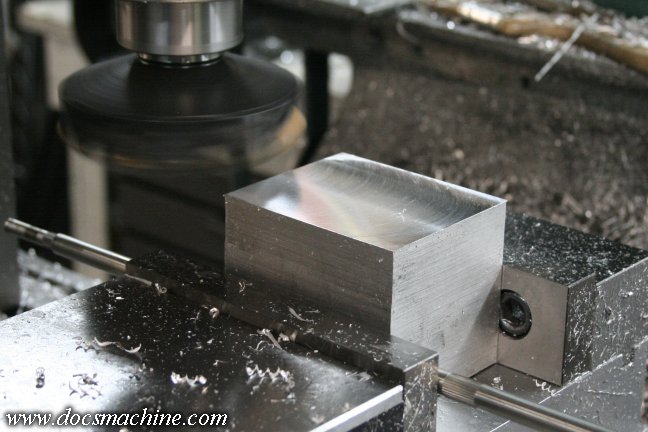
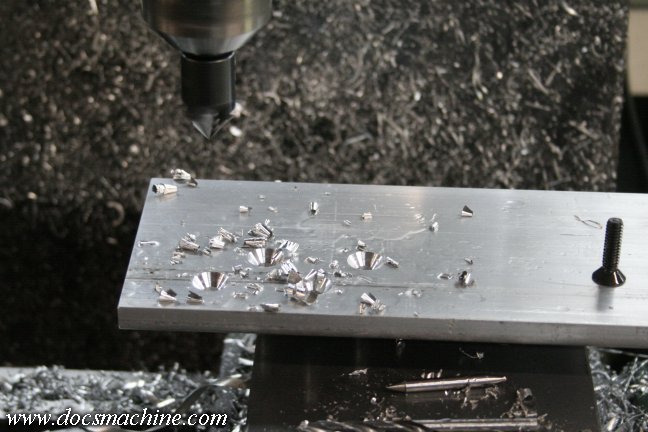
After that, it's a typical Machinist 101 exercise to square up the block.
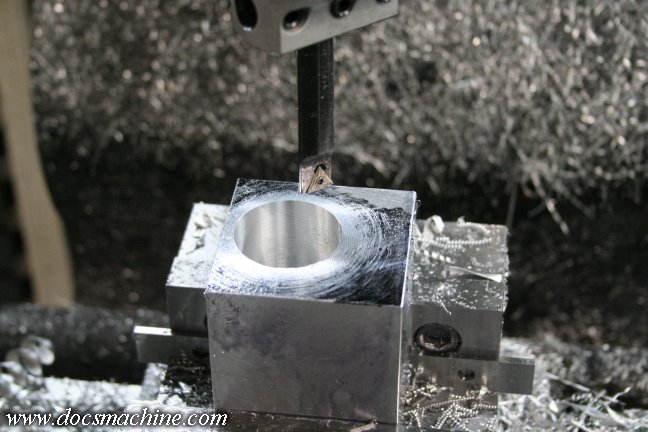
After that I located, drilled and bored a socket to fit the ballnut.
And, using the specs that came with the ballscrew- and a little math to convert that weird
European stuff into normal units- I drilled and tapped a bolt pattern to attach the nut.
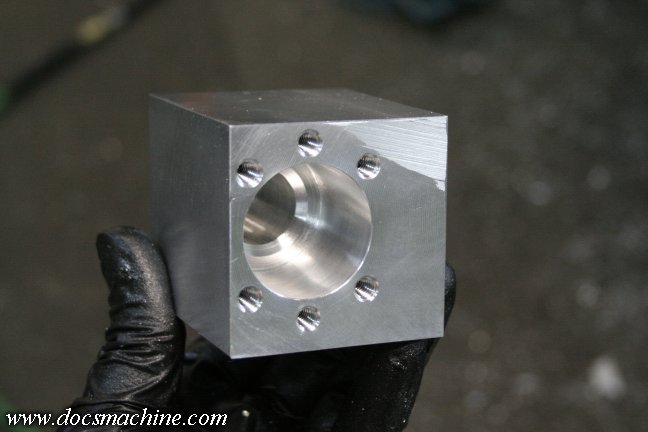
A quick check shows it fits nicely, and there's just a smidge of "slop" in
both the socket and bolt holes, so that the nut can self-align during installation.
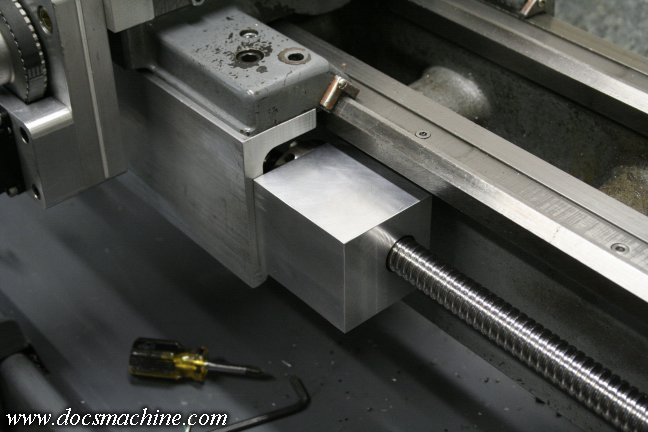
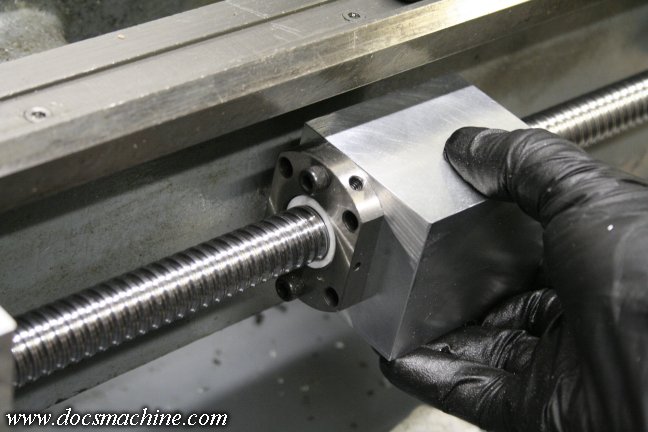
I'd left the block oversize so that it could be fairly precisely fitted into place. It was a bit
tricky to get a reliable measurment, but that adjustable parallel came in handy again.
And, after milling it down to that precise measurment, a quick re-test showed it now fit perfectly.
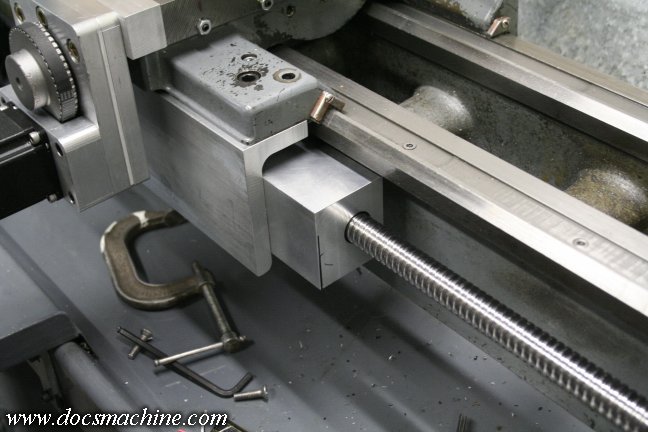
I'd been hoping I would be able to clamp the two pieces together with a C-clamp or the like, remove them
as a unit and drill them together, but there wasn't room with it in place on the lathe. I was instead forced to
simply mark the apron with a marker, and with only a little guesswork, drill a mounting bolt pattern.
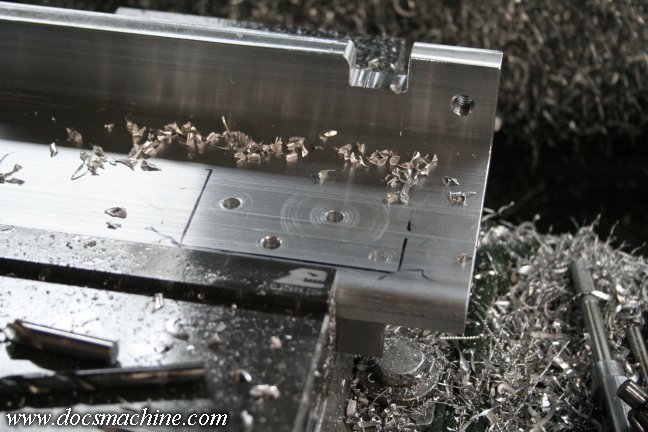
After that, I reassembled everything yet again, and simply used a transfer punch to mark the ballnut block.
I was then able, with considerable care, to copy the bolt pattern on the block, and drill and tap it for the bolts.
After verifying everything lined up, I flipped the apron over and countersunk the bolts.
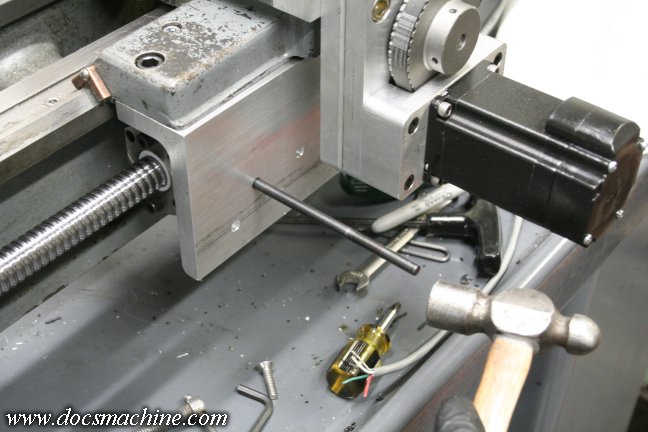
The slight "float" of the nut to the block should hopefully take care of any minor misalignment.
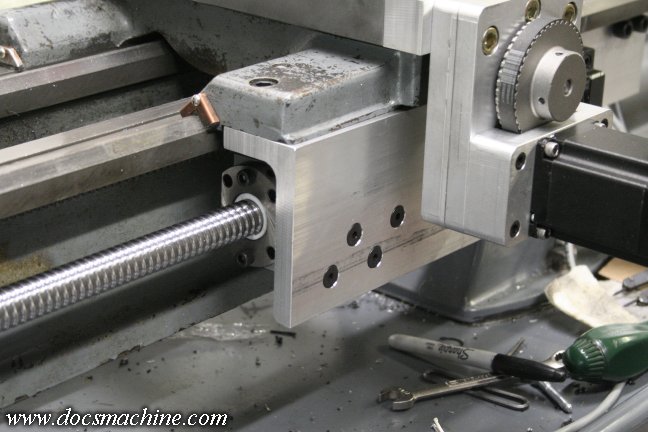
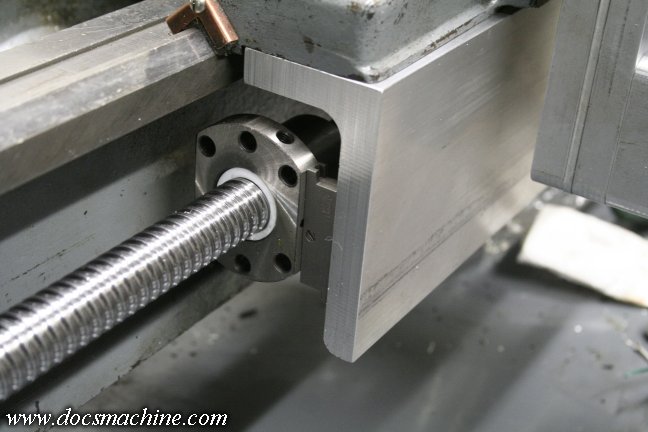
And there we have it.The apron is solildy bolted to the saddle, and the ballnut is solidly mounted to the apron.
Why didn't I just bolt the block to the underside of the saddle? Well, let's go find out...
All text, photos and graphics
Copyright 1998- 2016, Doc's Machine & Airsmith Services. All Rights
Reserved.
Information contained in
these pages is for reference and entertainment
purposes only. Our methods are not always the best,
quickest, safest, or even the correct ones. It's up to you to know how
to use your own machines and tools.
Keep your fingers away from the spinny blades o' death and you should
be all right.


