[
Return to Main Page ] [
Return to Projects Index
] [
Doc's Machine & TWB Store] [
Contact Us ]
[
The Whiteboard Webcomic
]
Converting a Logan 11" x 32" Lathe over to full CNC, Part 10:
The next step is to attach the Z-axis ballscrew nut to the saddle. I'm going to get a bit
convoluted on this one, but the reasons for it will be clear in a few pages.

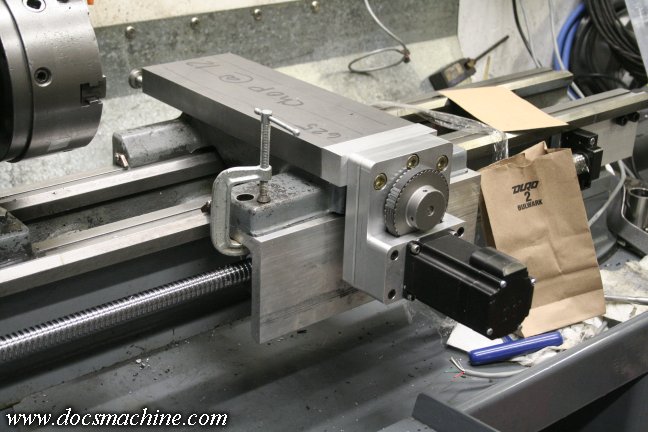
My first idea was to go with heavy angle- I didn't have any the right size, but this
hunk of aluminum channel from my bins gives the idea of what I was shooting for.

A brief sojurn to the local metal supplier provided me with an 11" long chunk
of 4" heavy aluminum angle, and a 3" long chunk of 4" diameter round.
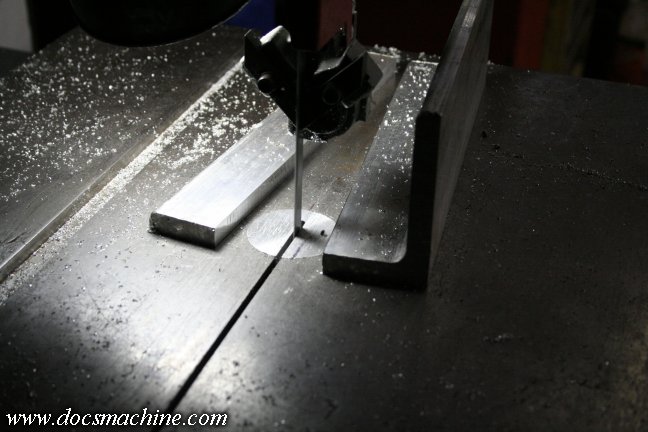
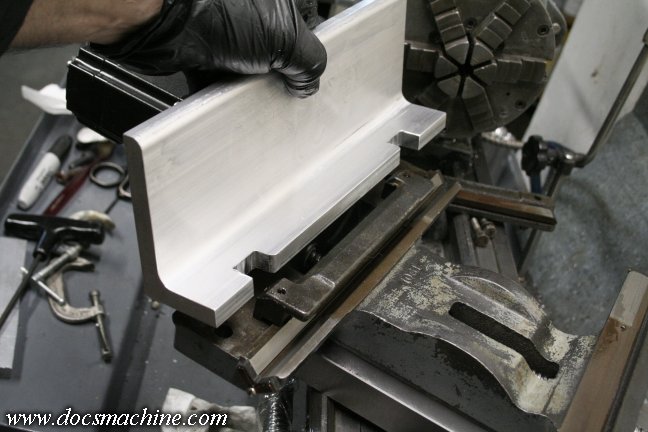
One leg of the angle needed a significant trim, which the DoAll bandsaw handled easily.
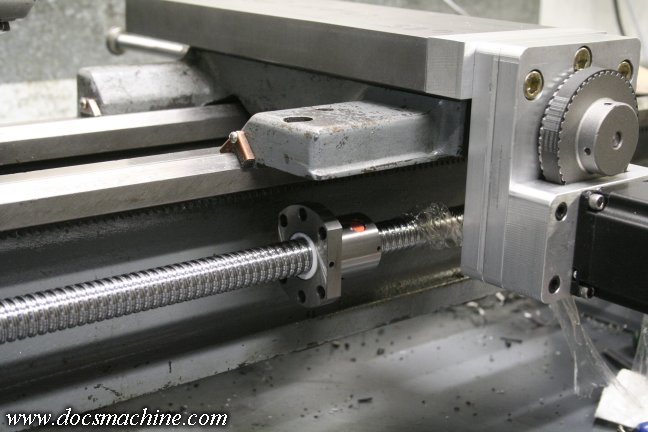
The trimmed angle will fit more or less like so, and become the new "apron".
However, the Logan saddle has this adjustable gib bar underneath, so the 'apron' will need to be machined to clear it.
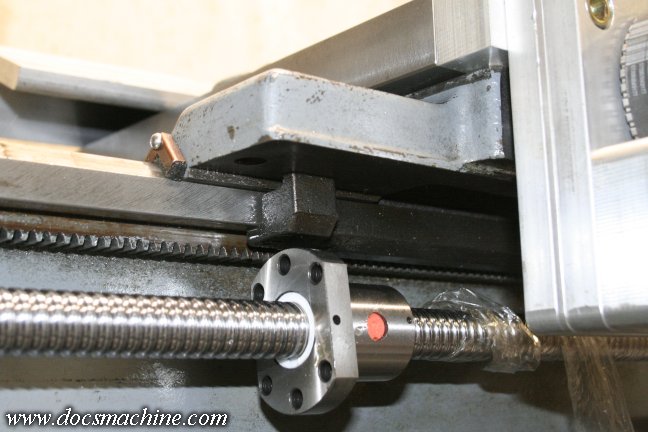
And it's just that easy. A few quick measurements, a few minutes in the mill....
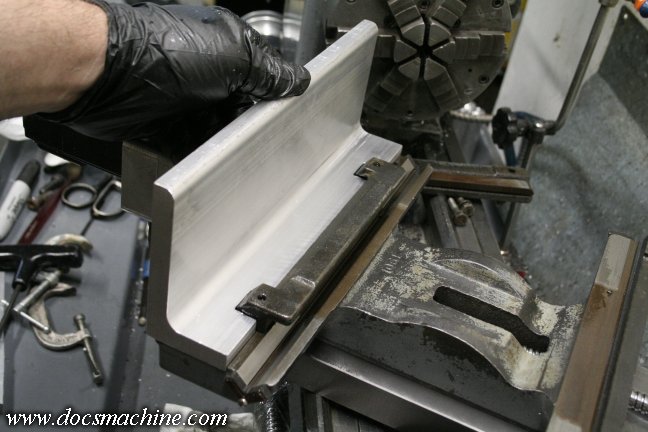
And it fits like a glove.

Finally, the two mounting bolts holes are drilled and tapped on the short leg,
and the ends are trimmed to match the saddle. Next, the ballnut mount itself.
All text, photos and graphics
Copyright 1998- 2016, Doc's Machine & Airsmith Services. All Rights
Reserved.
Information contained in
these pages is for reference and entertainment
purposes only. Our methods are not always the best,
quickest, safest, or even the correct ones. It's up to you to know how
to use your own machines and tools.
Keep your fingers away from the spinny blades o' death and you should
be all right.


