[
Return to Main Page ] [
Return to Projects Index
] [
Doc's Machine & TWB Store] [
Contact Us ]
[
The Whiteboard Webcomic
]
Converting a Grizzly G8689 Mini Mill to 3-axis CNC, Part 5:
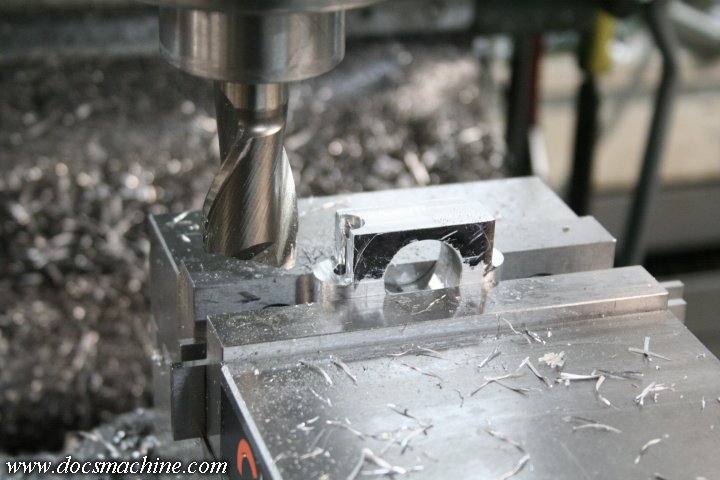
Once I had the block fitted and bored, I scribed where clearances needed to be, and milled off the bulk of the extra...
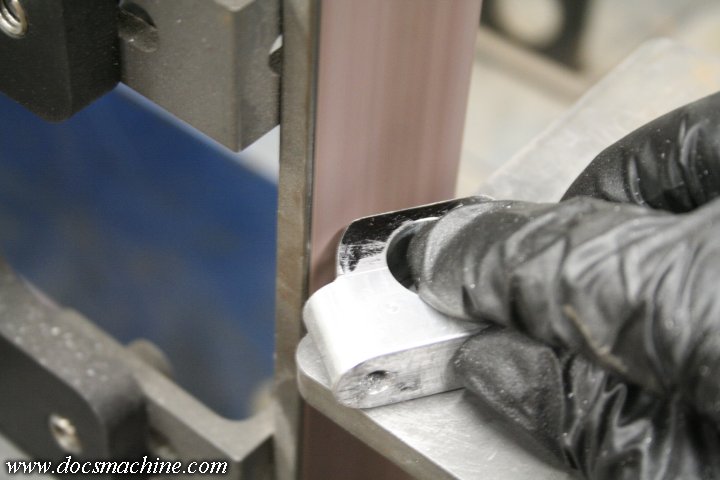
And then belt-sanded the contours to follow the ballnut flange outline.
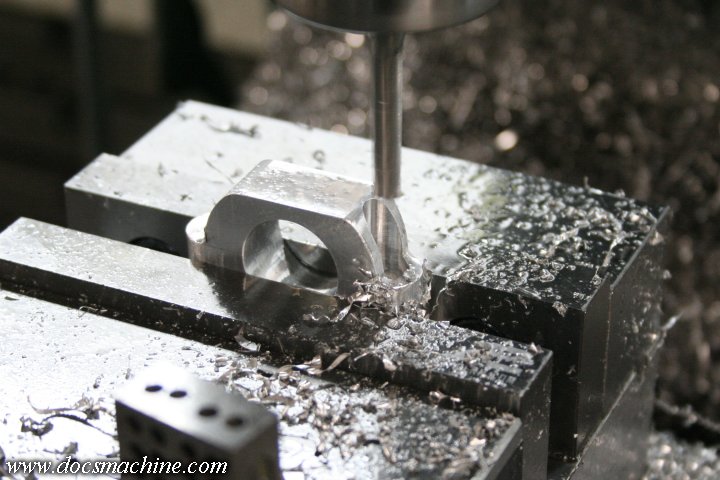
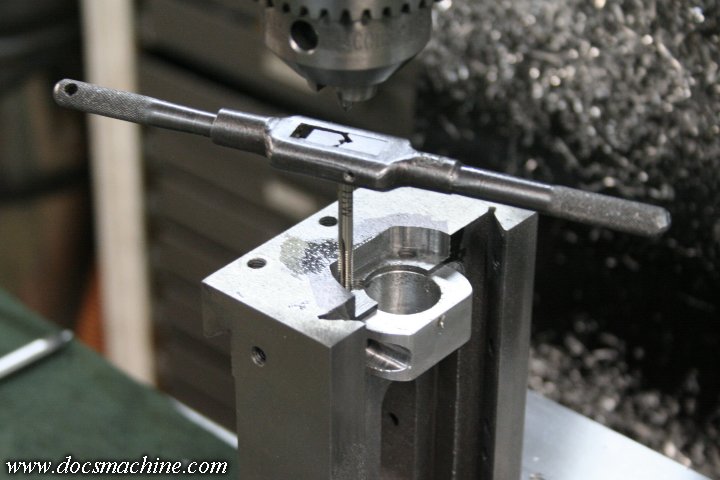
Now being more assured about clearances, I drilled and countersunk the second mounting hole for the block.
And as the counterbore for the first one had been partially milled away, I rebored it as well.
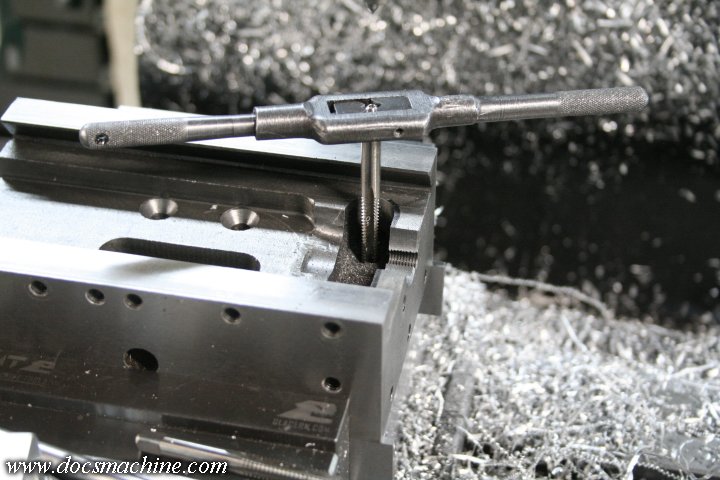
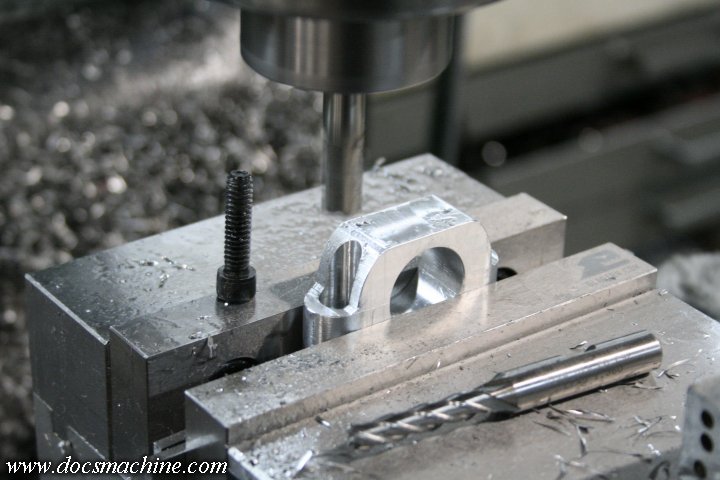
And using that as a locator, drilled and tapped the mating hole in the saddle slot.
 Voila`, redux
.
If the previous owner hadn't drilled two grub-screw holes half a hole
width away from where i needed them, I could have
just put two screws in
to hold the nut in place and called it good. Two 8-32 screws might be a
little weak for this setup,
but let's face it, it's a minimill with a
Morse Taper spindle. We ain't gonna be doing any heavy hogging on it. :)
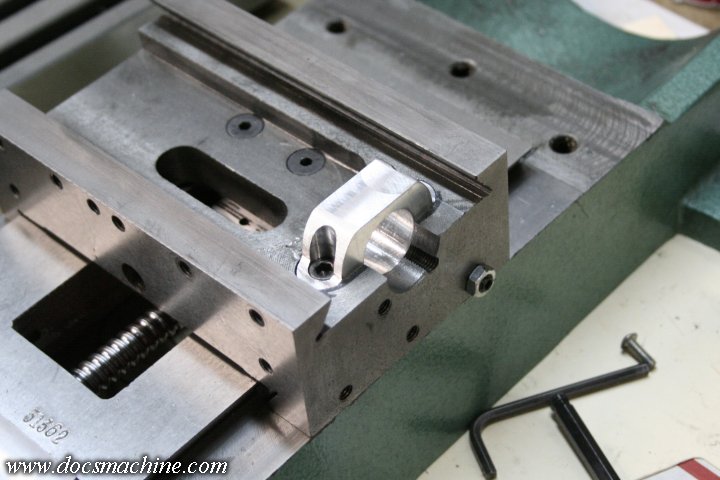
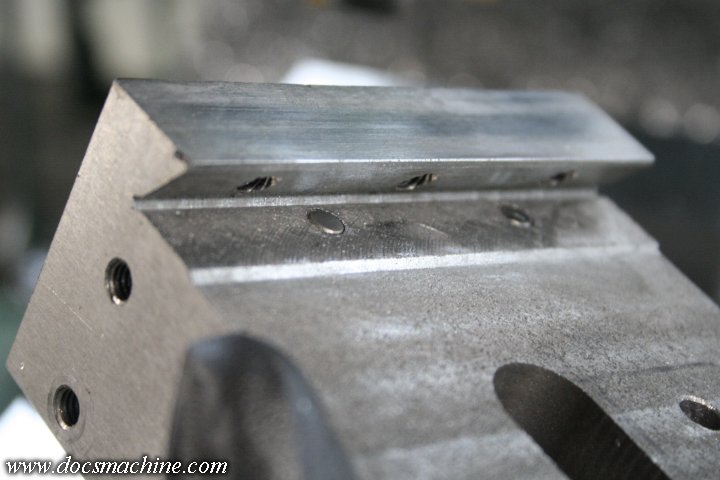
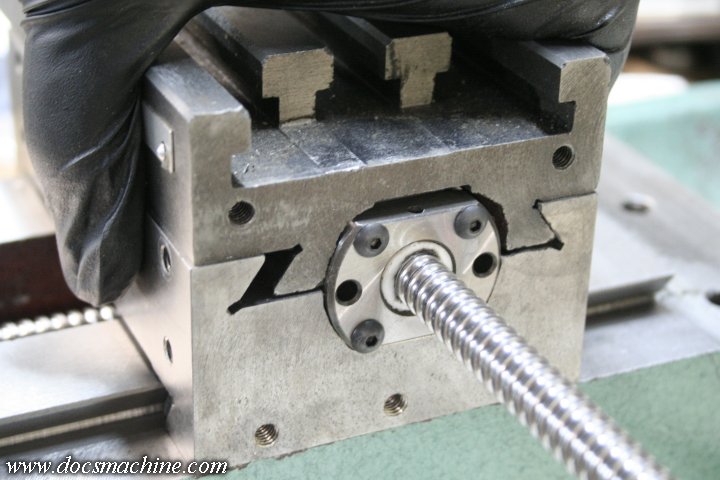
So, wanting to make it a
little stouter, I milled a recess in the end of the casting so the ballnut flange would sit mostly recessed.
That left a "wall" about .100" thick between the flange and the new
aluminum boss. I then located and drilled four 8/32 holes for the
flange.
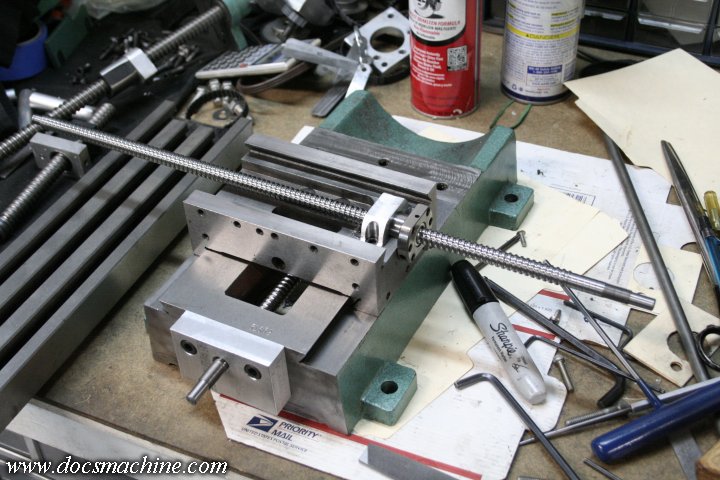
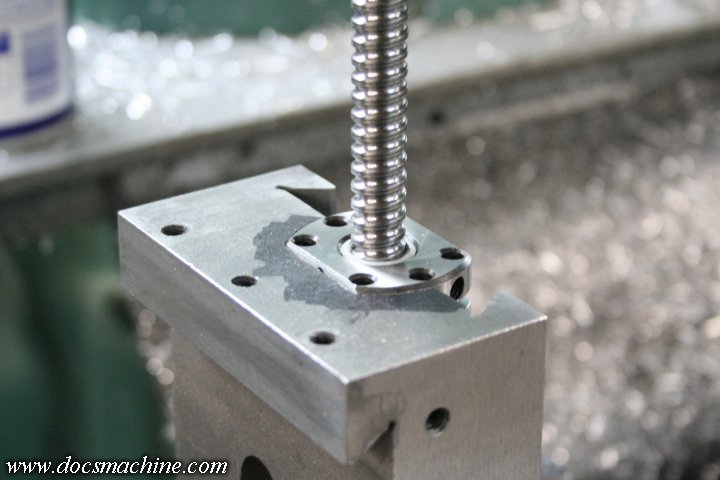
And finally, I picked up some slightly longer screws to maximize how
much of the bolts were holding the boss in place,
and once snugged down,
I ran the saddle over to the mill and shaved off the excess. That's not a bearing surface,
it actually has some 40 thou of clearance
to the base casting, so I don't have to worry about it rubbing.
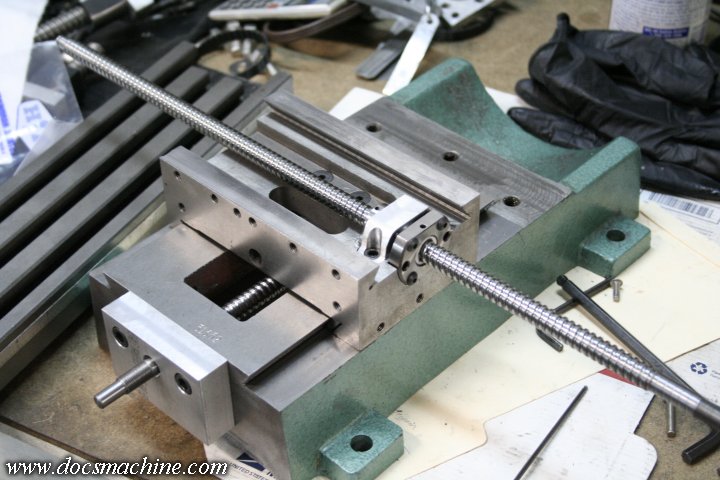
Now, with everything wiped down, blown out, cleaned and properly assembled.
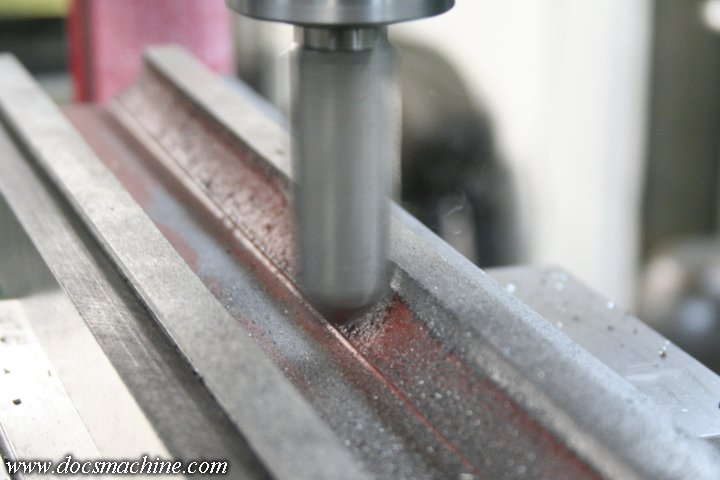
Tolerances were still pretty close to the bed, so as a final tweak, I
had to mill just a hair off of one edge of the
inner passage of the
underside of the table.
That lets the table slide right past the mount and flange- it looks
tight, and it is, but there's no contact, and just a smidge of
clearance.

And with the table gib installed, it's time to make the end caps and bearing mounts!
All text, photos and graphics
Copyright 1998- 2019, Doc's Machine & Airsmith Services. All Rights
Reserved.
Information contained in
these pages is for reference and entertainment
purposes only. Our methods are not always the best,
quickest, safest, or even the correct ones. It's up to you to know how
to use your own machines and tools.
Keep your fingers away from the spinny blades o' death and you should
be all right.


