[
Return to Main Page ] [
Return to Projects Index
] [
Doc's Machine & TWB Store] [
Contact Us ]
[
The Whiteboard Webcomic
]
Converting a Grizzly G8689 Mini Mill to 3-axis CNC, Part 6:

nlike the front bearing block, I needed to retain the bearing in both
directions. I could have just made a
sort of 'cover plate', but after
some ponderin', I came up with a different method I thought I'd try.
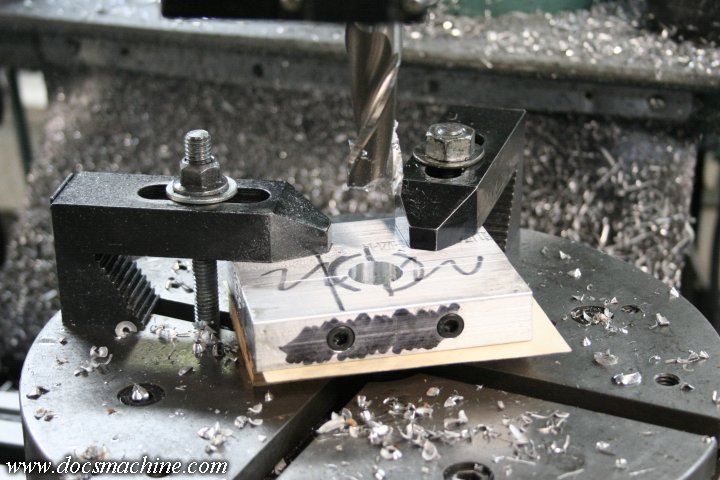
So, first I ker-schwacked some 3/4" 'looneymum plate with the bandsaw.
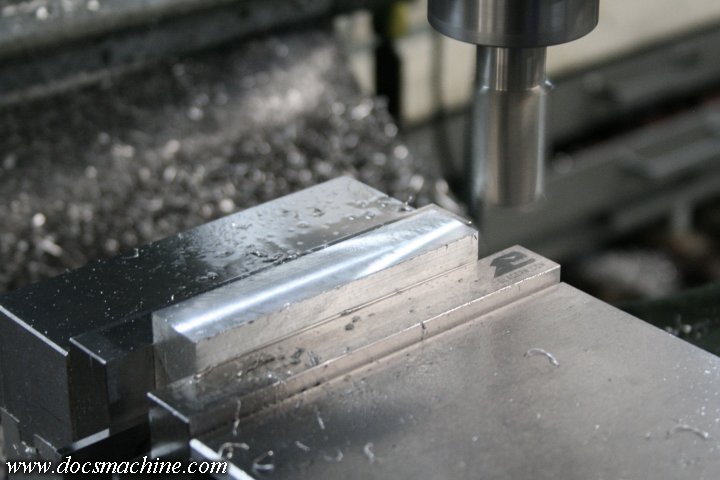
Cleaned up the sawed faces of both pieces...
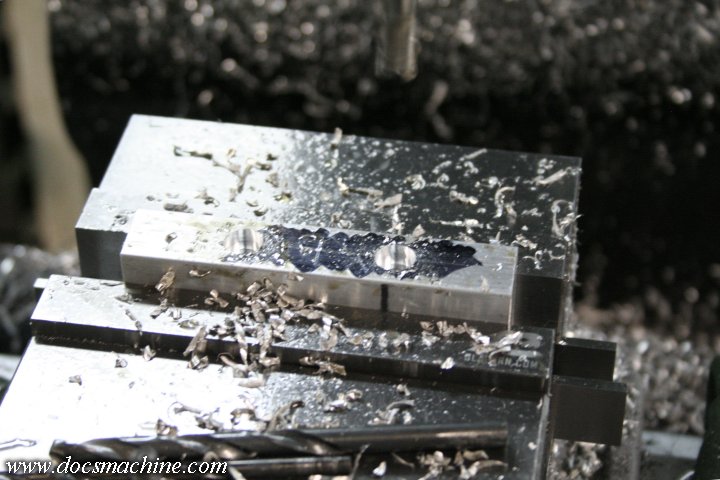
Drilled and counterbored the smaller half...
And drilled and tapped the larger.
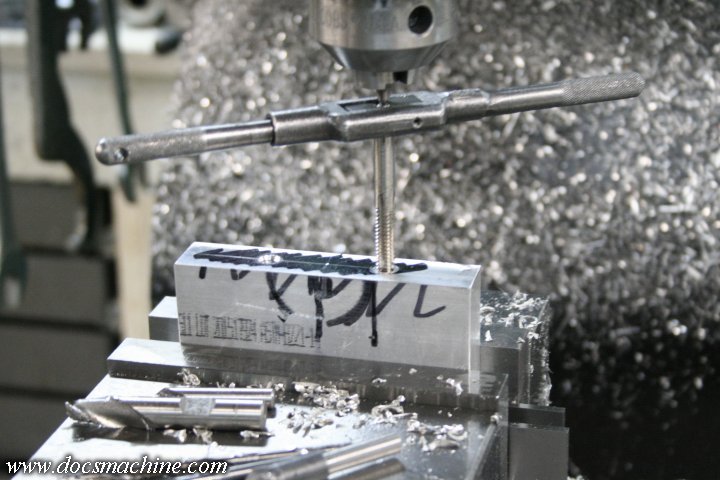
A couple of 1/4"-20 bolts and she's back together. A little bit of
measuring produced the inevitable "Oh, sh*t!"
moment that seem to plague
so many of my projects, but I resolutely resolved to stubbornly plod on
and
potentially waste the following four hours. :)
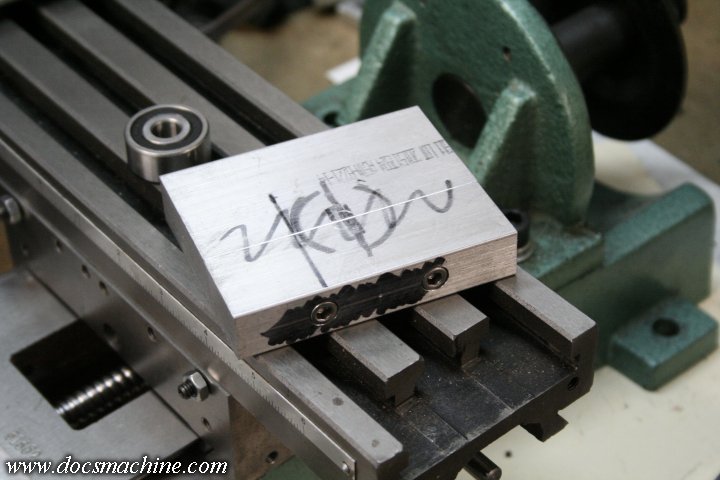
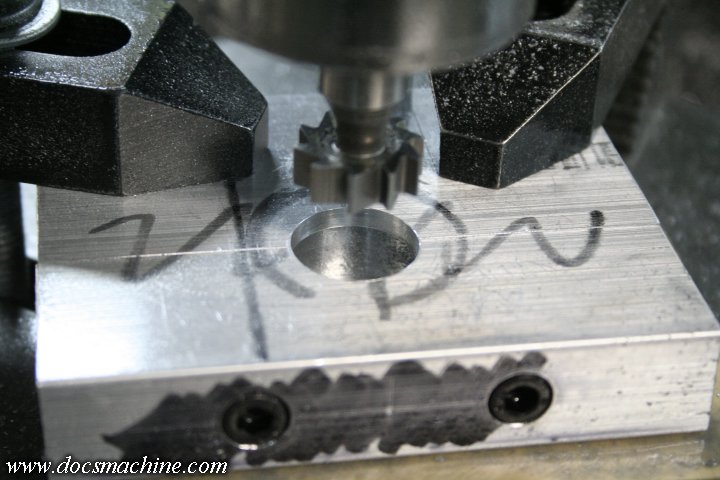
I located things as best I could given the circumstances, plunked 'er on
the rotary table, bored through to 1/2",
and then bored a deep step
with a 3/4" endmill.
Here's where things got interesting. I dusted off my stash of woodruff
key cutters, found one with a 3/4" OD
and 1/4" thickness, loaded 'er up,
set a bunch of stops and zeroed my DRO, lit some incense and sacrificed
a chicken (tenders, with ranch dipping sauce- hey it counts, I asked)
and went to it.
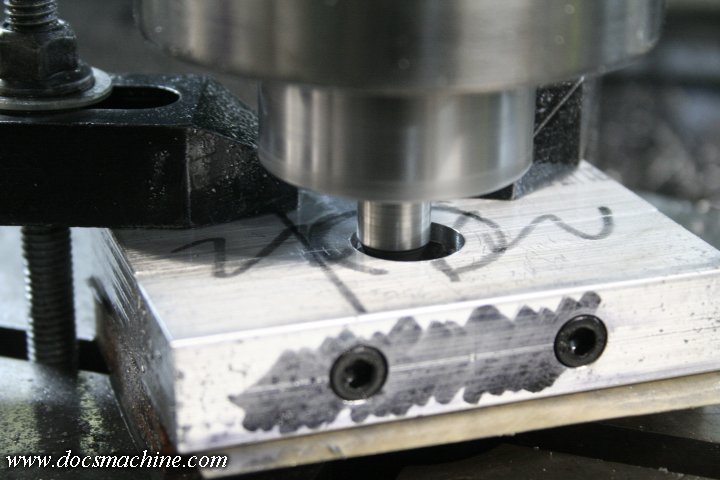
I could offset the table under the cutter, and rotate the rotary axis to
mill a wide circular groove inside the block.
I had to take relatively
light cuts and use a lot of compressed air to clear the chips, and do a
lot of stop-and-check...
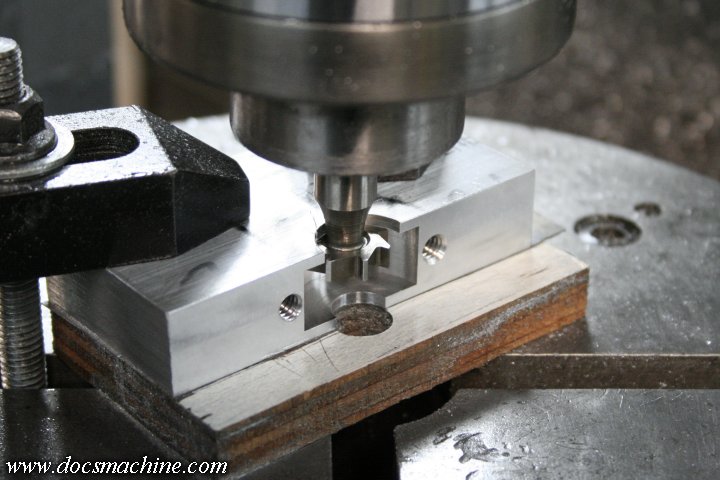
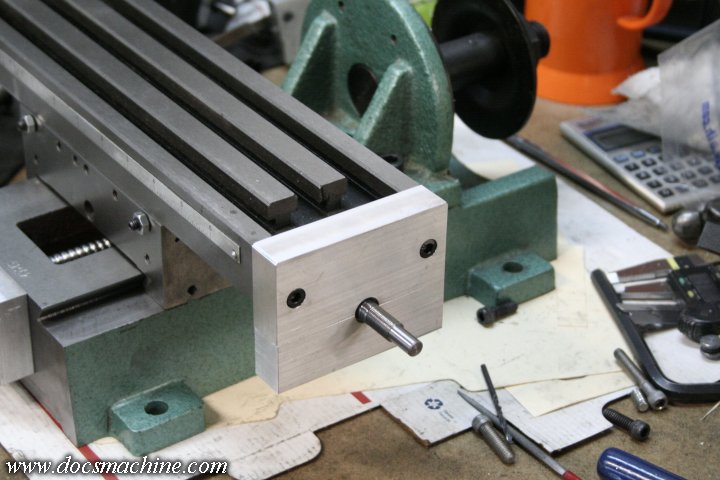
But it worked. Note how I'd set the block up so the cap could be removed, allowing for measuring and cleanout.

And checking with the double-row angular-contact bearing I'll be using... Yep, fits perfectly!
Wipe off, blow down, degrease, reassemble and it fits
almost perfectly. Why almost? Well, when setting up the location
for the bearing, I pretty
much automatically centered it in the block. I'd cut the block wide so I
could "cut to fit" once
the bearing was installed, but not
too
wide. I'd gotten the bolt holes drilled and was double-checking against
the table
and screw when I remembered that the screw was not itself
centered in the table.
Checking the new measurements showed I had minimal, or even
insufficient, metal at the front of the table to mill it
flush and square to the front face. Not by any means structural or anything, just
kind of an aesthetic bummer. :)
Anyway, the two factory holes at the end of the table were some weird
foreign thing, probably from one of those
countries whose flag has an
AK-47 on it or something, so I drilled 'em out and retapped 'em to
1/4"-20.
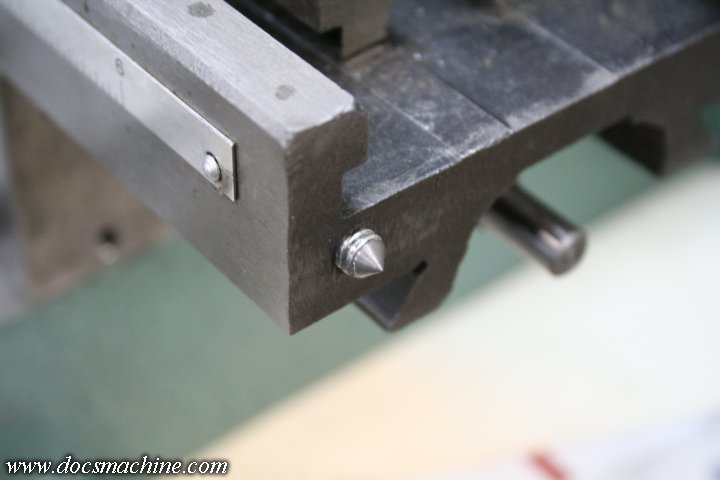
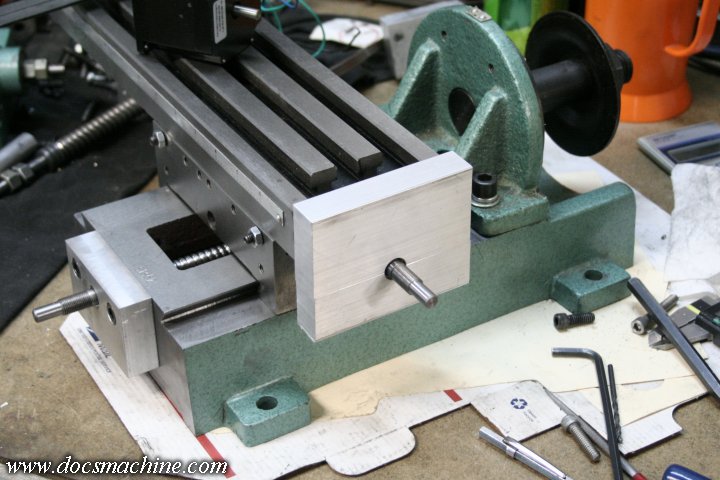
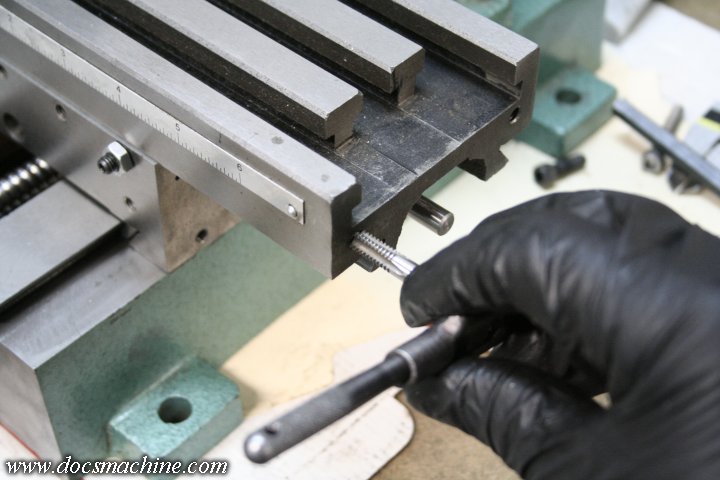
I then nipped a chunk of allthread and turned a quickie point on it, to
use as a transfer punch- before I remembered I have
an actual set of
proper, commercial, Heimann 1/4"-20 transfer punches. I swear, sometimes I default to
"fix it with machine tools" a little too quickly some days. :)
And, without boring you with the details of the drilling, using the
punch I marked the mounting holes, drilled and
counterbored them,
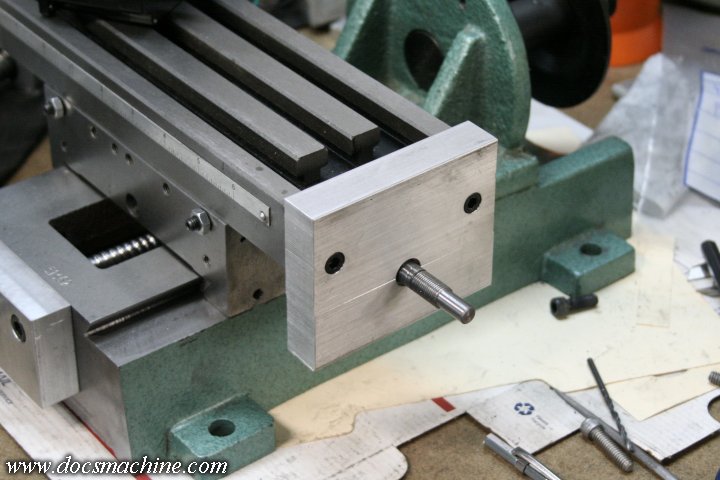
cleaned everything up again and gave 'er a test-fit.
And, once it was solidly mounted, I was able to mark the edges of the table casting, and mill the block down to match.
I was lucky in that a very slight cut down the front edge cleaned up the
bandsaw cut and just
came flush with the table casting. The rest
followed suit.
All text, photos and graphics
Copyright 1998- 2019, Doc's Machine & Airsmith Services. All Rights
Reserved.
Information contained in
these pages is for reference and entertainment
purposes only. Our methods are not always the best,
quickest, safest, or even the correct ones. It's up to you to know how
to use your own machines and tools.
Keep your fingers away from the spinny blades o' death and you should
be all right.


