[
Return to Main Page ] [
Return to Projects Index
] [
Doc's Machine & TWB Store] [
Contact Us ]
[
The Whiteboard Webcomic
]
Anayak "Exacto" Vertical Mill Rebuild, Part 8:
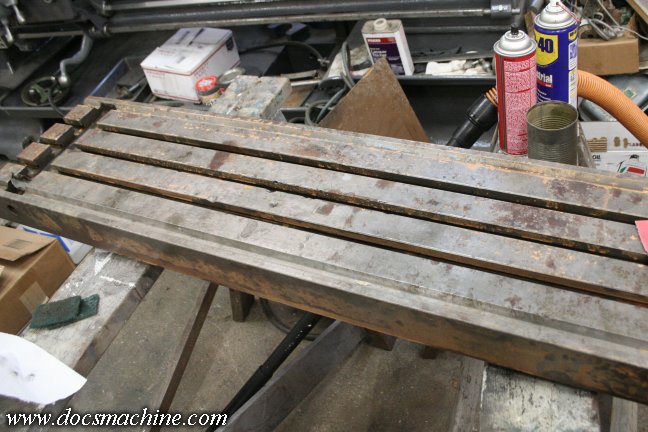
The table, thankfully, needed no real repairs, just the usual cleaning and degreasing.
All it really needed was a bit of rust removal- it'd gained a bit of flash rust from the
pressure washing, and had several spots of deeper, flakier rust from before I aquired it.
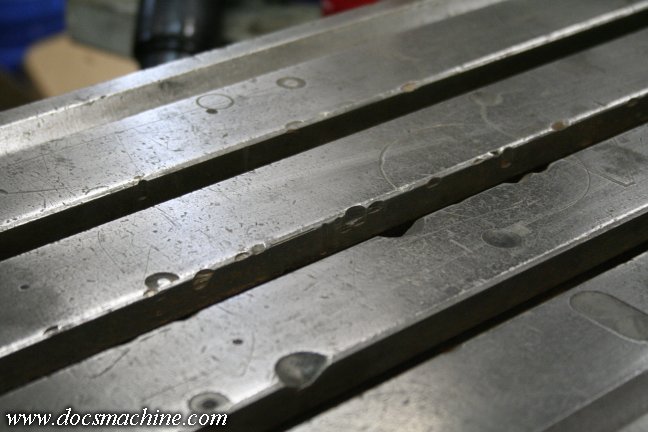
The table was not undamaged, however. Years of sloppy and inattentive users had left the table littered
with gouges, divots, scars and scratches- none were particularly terrible, but there were plenty of them.
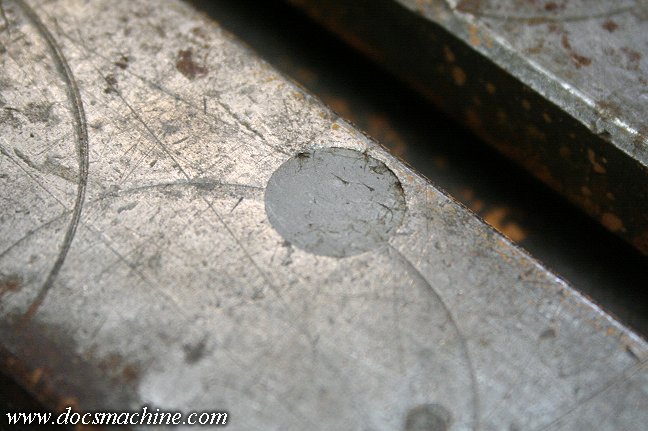
At one point, some user had even attempted to fix a drilled hole, by filling it with what appears to be JB Weld.
I suspect this was from early in the machine's life, as there's no reason for such a patch given the rest of the damage.

Unfortunately, there's no easy way to repair even just the small, light scars, short of having the table ground,
so I settled for carefully stoning the entire surface to get rid of the numerous nicks, and then hand-sanding
(yes, sanding) with a sanding block and some 320 grit, to try and restore some of the bright finish.
Yeah, it's not the recommended technique, but I could hardly have made it worse.
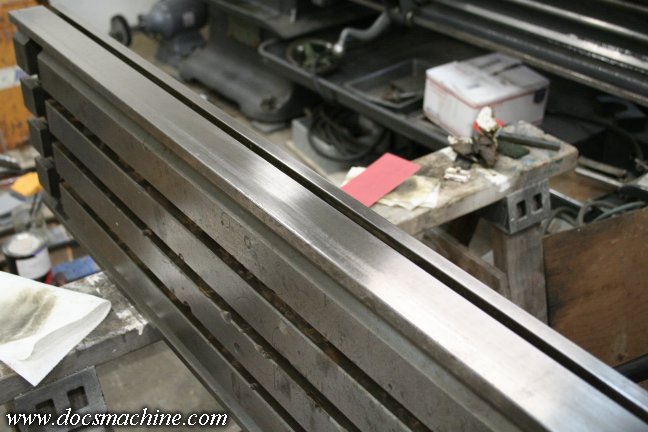
Similarly I lightly sanded the front and rear faces- again, just by hand- to smooth and brighten the finish.
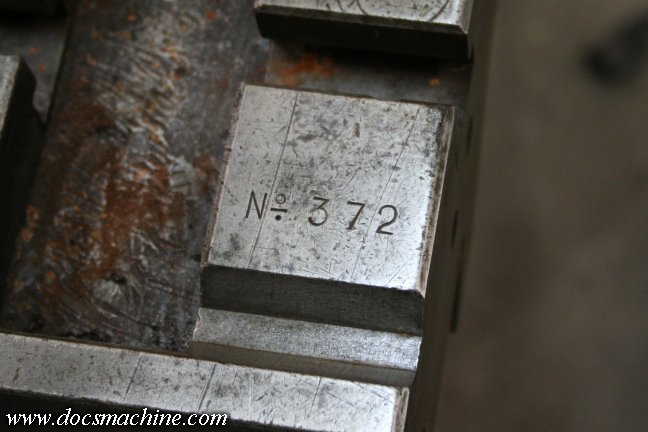
As I was scuffing, I discovered the serial number on the table's lower right hand corner.

This time, I accosted
two passersby, and together we heaved that big heavy lump into place.
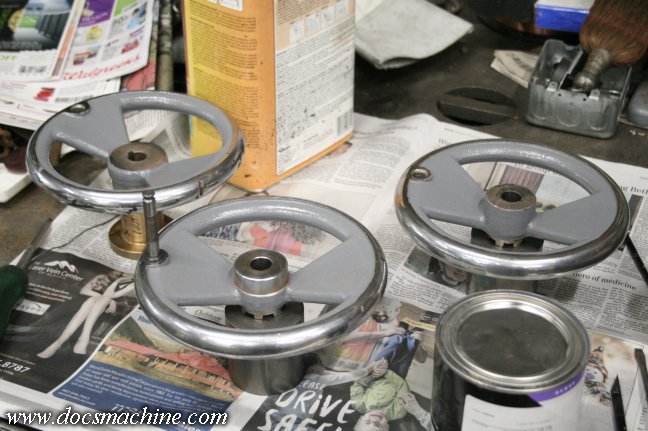
After some test fitting and more cleaning, I decided I didn't like the "safety red" handwheels, and
stripped the old paint off. I then repainted them in the same battleship grey as the rest of the machine.
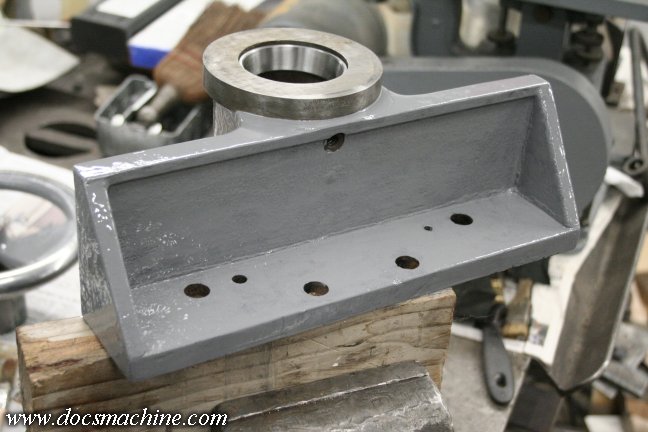
And the same for the table end caps- and in the case of the left hand tray, I also pressed out the old
bearing races, and pressed in new ones. The old ones weren't awful, but it couldn't hurt to swap 'em.
Bolted into place...
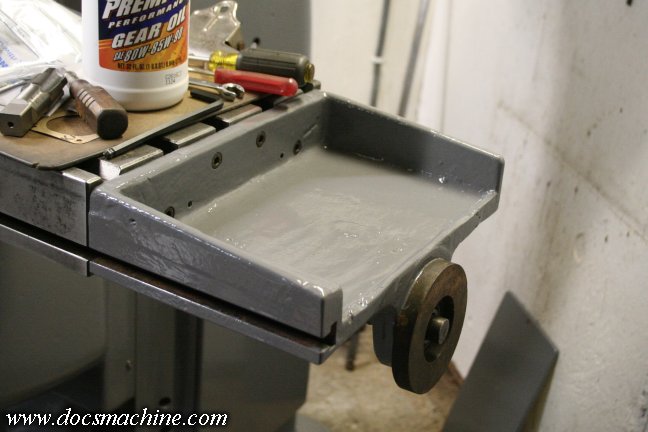
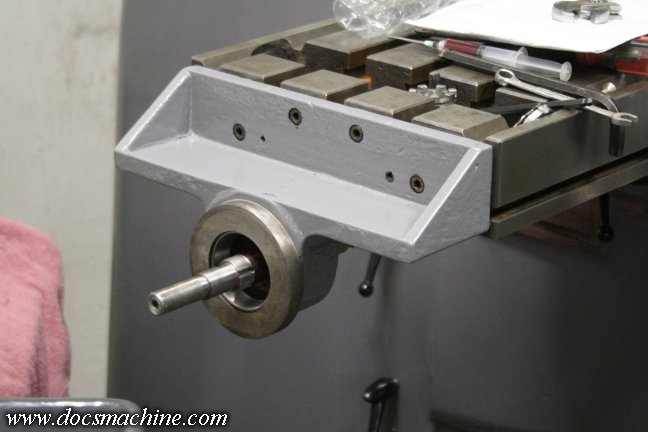
And the right-hand end. Note the shortened leadscrew shaft: I think there was a dial and handwheel at this
end, but that it was removed for some reason. It's possible it was damaged in a crash, or some factory
sawed it off to make room between machines. Who knows?
Also note how wide the table extension is- this is, as I understand it, to restore some of the table travel
that is otherwise lost when the (rather huge) power feed assembly is fitted.
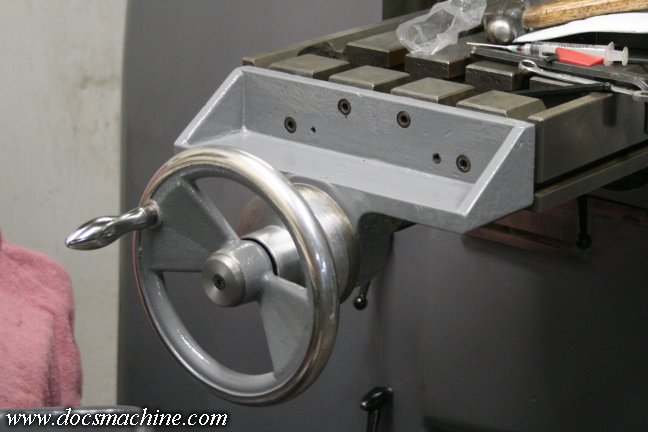
And, with the table extensions in place, the new bearings greased and fitted, all that was left was to slide
the dials into place and mount the freshly-painted handwheels. On these mills, the handwheels are
spring loaded. You have to push them in to engage them, and
then turn. That rapidly gets annoying on
a general-use machine, so at some point a previous owner had disabled them with some stacked
washers and a bolt. I replaced those with a nice turned washer, and a proper countersunk bolt.
Next up, the last of the detail work!
All text, photos and graphics
Copyright 1998- 2016, Doc's Machine & Airsmith Services. All Rights
Reserved.
Information contained in
these pages is for reference and entertainment
purposes only. Our methods are not always the best,
quickest, safest, or even the correct ones. It's up to you to know how
to use your own machines and tools.
Keep your fingers away from the spinny blades o' death and you should
be all right.


