[
Return to Main Page ] [
Return to Projects Index
] [
Doc's Machine & TWB Store] [
Contact Us ]
[
The Whiteboard Webcomic
]
Anayak "Exacto" Vertical Mill Rebuild, part 11:
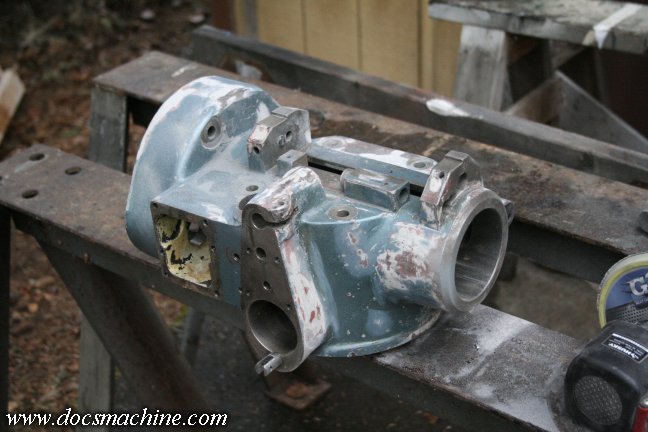
With the main casting fully stripped, I pressure-washed it with some good degreaser, then smoothed out some
of the nicks in the paint with a DA sander. I'm not going for a show-car finish, but I did want it looking decent.
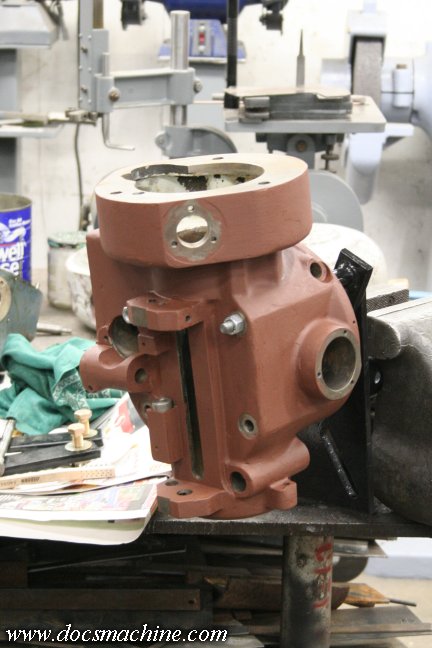
After a second post-sanding wash, I used the same engine-stand spider
to hold the casting, and gave it a coat of primer.
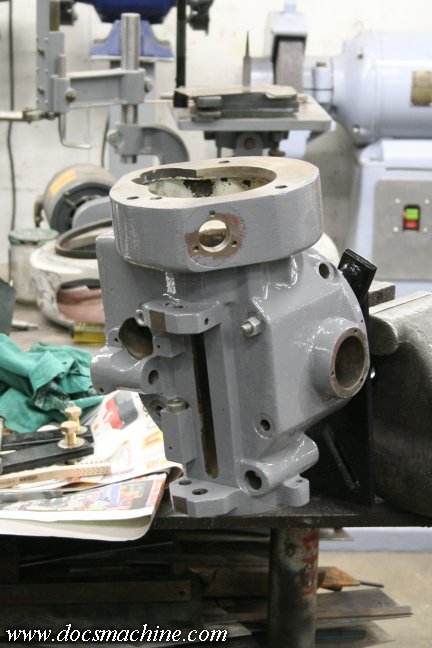
And then two coats of paint.
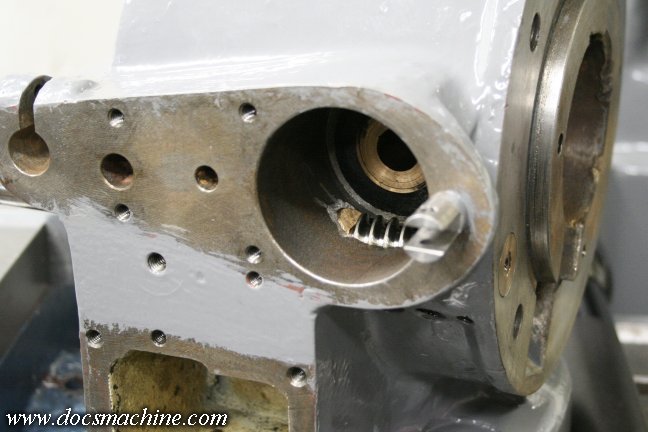
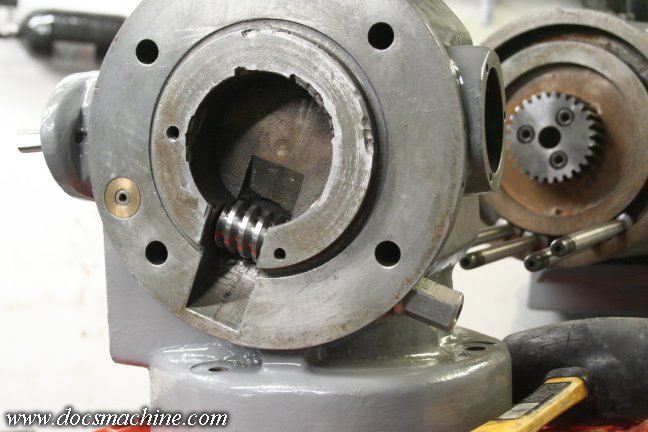
Then, before the head can be installed, this worm gear assembly had to be slid in from the back,
as it couldn't be installed once the head was attached to the knuckle.
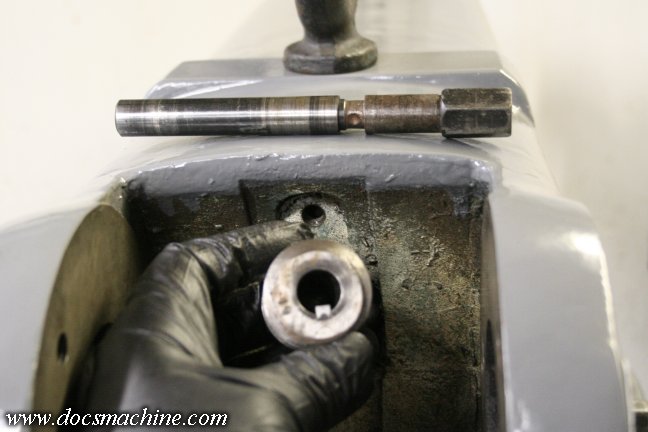
Speaking of the knuckle, it was time to reinstall the "nod" worm and shaft. The key had
been damaged at some point and was missing, but it was an easy task to mill down a
chunk of 1/4" key stock to fit the 5mm grooves.
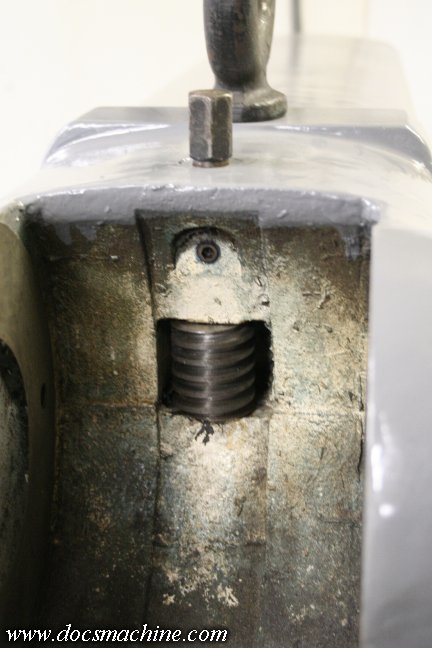
With the addition of the retaining screw, the knuckle "nod" adjuster is complete.
In a small stroke of luck, I found a fellow on one of the machinist boards that had a spare knuckle
clamping bolt, as I was missing one, and they're several inches longer than a typical Bridgeport bolt.
I had to whip up a thicker washer to get the spacing exactly right, but she fit just fine.
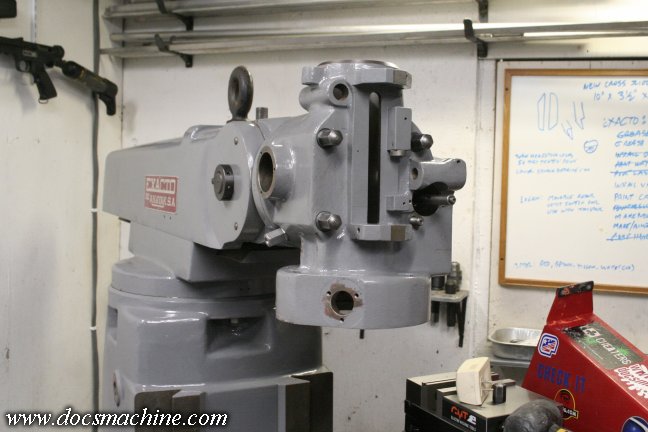
So it was a simple matter of slipping the four head attachment bolts in from the back of the mounting face,
sliding the knuckle into place, making sure the cast-in worm gear teeth meshed with the adjuster worm,
then installing all three clamping bolts and the main pivot axle.
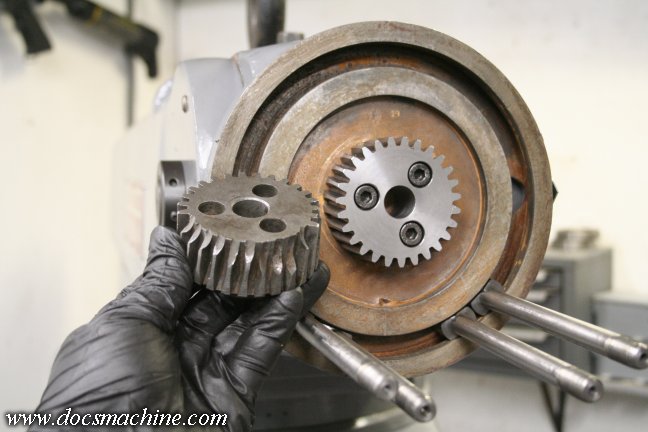
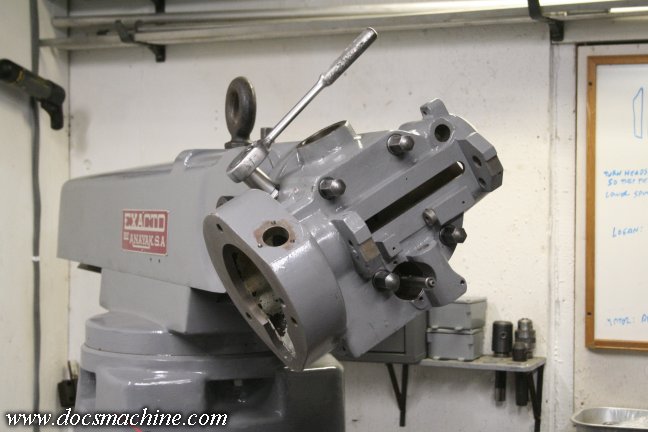
Now here we reached a sticking point. At some point, or possibly several points, somebody crashed the head
badly enough to damage the internal gear and worm used to rotate the head. Factory replacements
were basically nonexistent, and I could find no used ones, at least not on this continent. So I contacted a gear
shop and comissioned a replacement for the damaged gear, and with a little careful measuring, a replacement
for the missing worm. So the rebuild got put on hold at this point until the new replacement parts arrived.
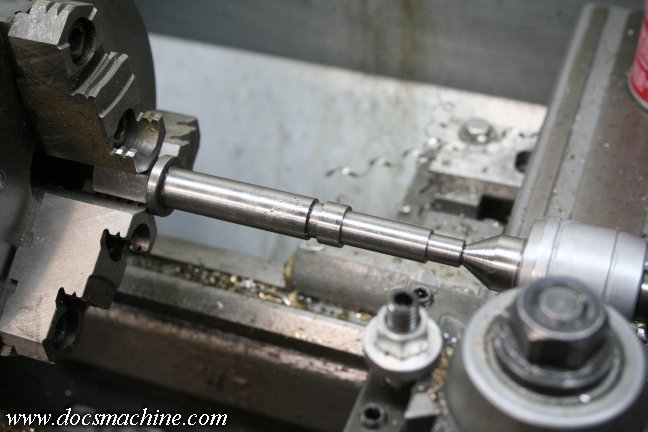
Once I finally had a workable worm gear in hand, I was able to fabricate the missing adjuster shaft
to fit in the head, from a spare chunk of 4140.
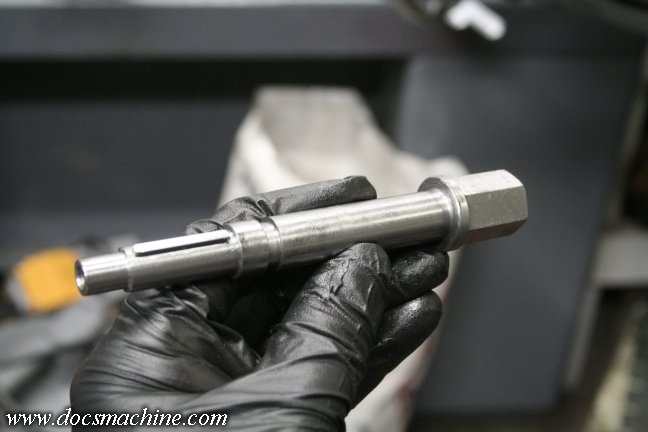
And done! Since this was all custom, and due to limitations of the worm bore, this one got a 1/8" key.
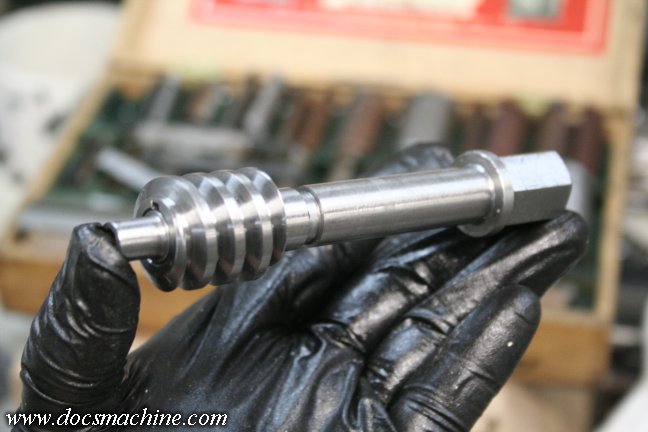
The new worm showed up unkeyed, so I had to fab an internal bushing and broach it.
Easy enough, and here it all is assembled.
And installed- the head is upside-down in this photo, and sitting on a milk crate
to make it easier to line up the four bolts and slide it into place. Thanks to the crash
back in it's history, the mating flange was slightly dented, and turned out to get
badly stuck in the knuckle. I had to install and remove the head four or five
times for adjustment before it started to move reasonably freely.
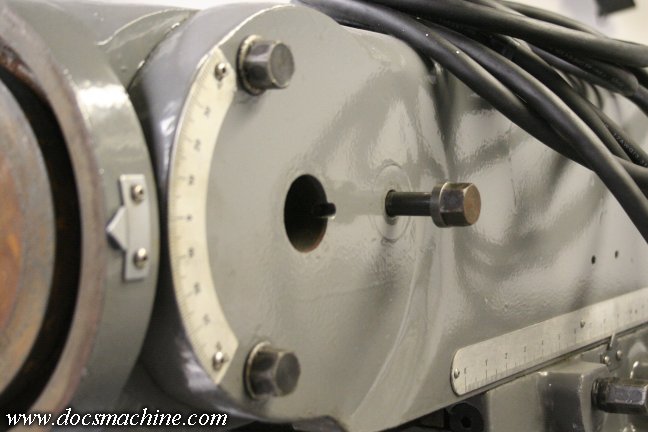
But finally, installed and bolted into place. And upside-down.
Loosen the four clamping nuts, and turn the new adjuster shaft-
lo and behold, it rotates!

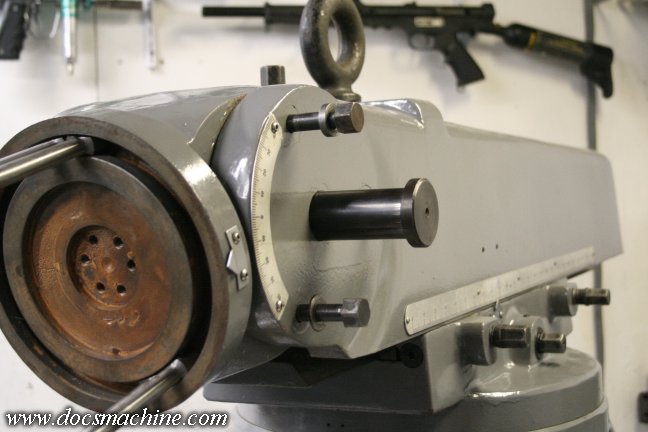
And finally, better than six months after the bulk of the work to the rest of the machine was completed,
the head casting is now in place and ready for reassembly! Let's get started!
All text, photos and graphics
Copyright 1998- 2017, Doc's Machine & Airsmith Services. All Rights
Reserved.
Information contained in
these pages is for reference and entertainment
purposes only. Our methods are not always the best,
quickest, safest, or even the correct ones. It's up to you to know how
to use your own machines and tools.
Keep your fingers away from the spinny blades o' death and you should
be all right.


