[
Return to Main Page ] [
Return to Projects Index
] [
Doc's Machine & TWB Store] [
Contact Us ]
[
The Whiteboard Webcomic
]
Anayak "Exacto" Vertical Mill Rebuild, part 15:
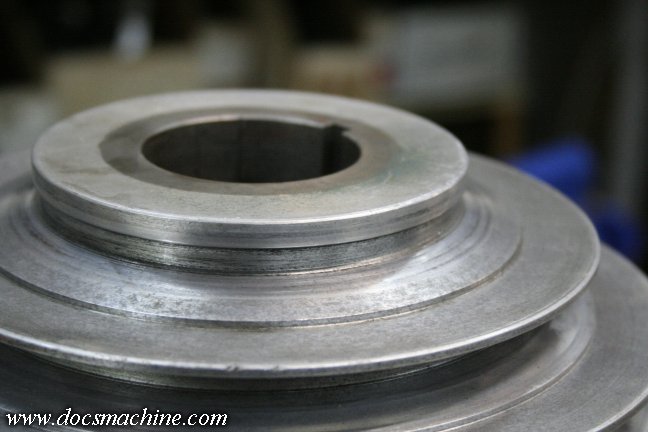
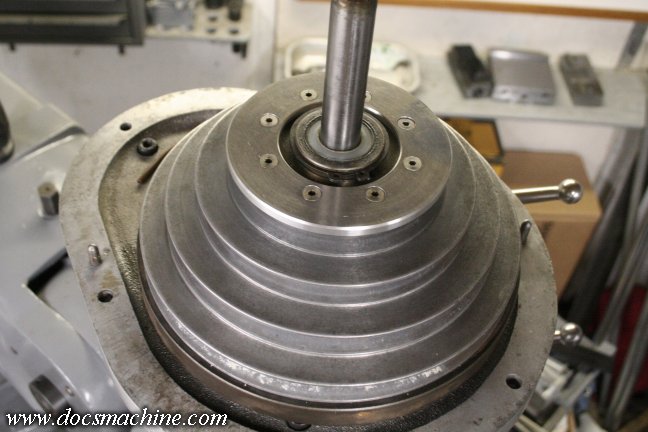
Coming down to the last few major issues to fix, the next one was this: The top outer ring of the cone pulley
had apparently been broken off at some point, and rather than repair it, some previous owner simply
machined it off. It's not acceptable to me to either go without that speed setting, or have to put up
with a slipping belt at that spot, so it needed to be properly fixed.
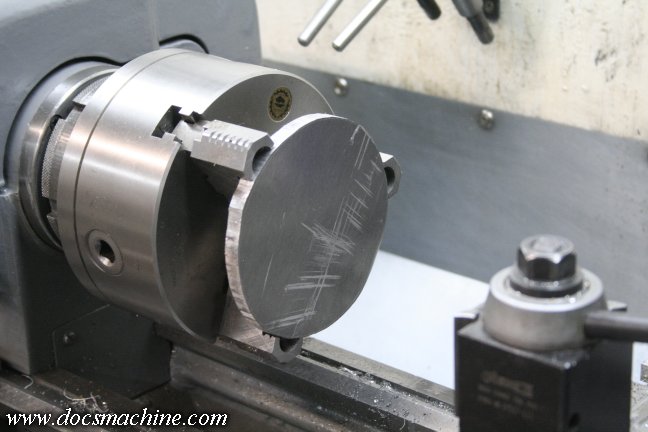
I bandsawed a 5" aluminum disc out of a spare chunk of 3/8"
5083-series plate I had, and chucked it up in the 3-jaw.
A quick, light facing pass and then bored out to exactly 2.400"
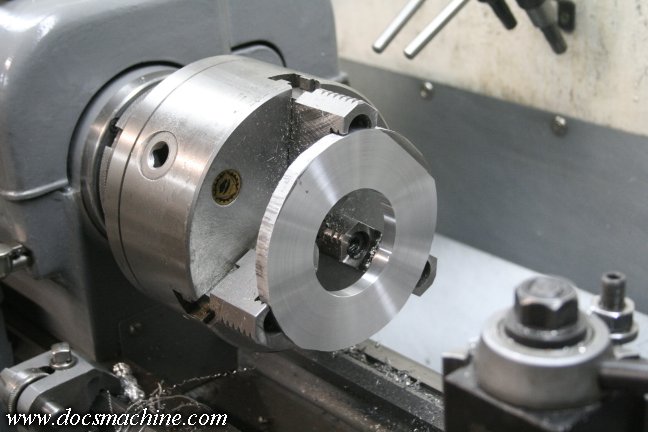
The pulley is then chucked up in the 4-jaw, centered, and turned down to match the new bore.
I only turned the pulley down .187" deep- the new plate will stick above the steel inner
bore, but there's plenty of room in the belt case for the thickness.
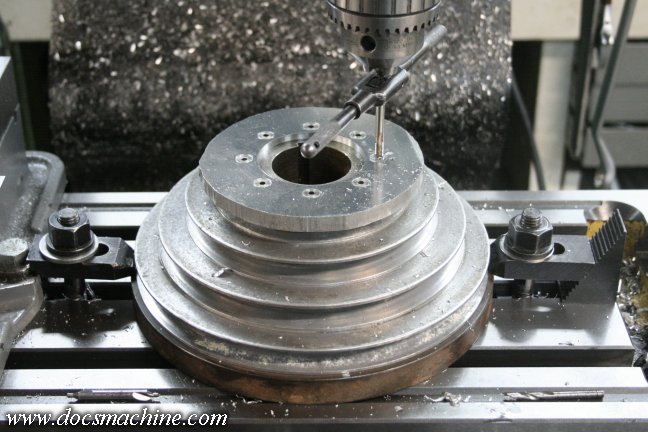
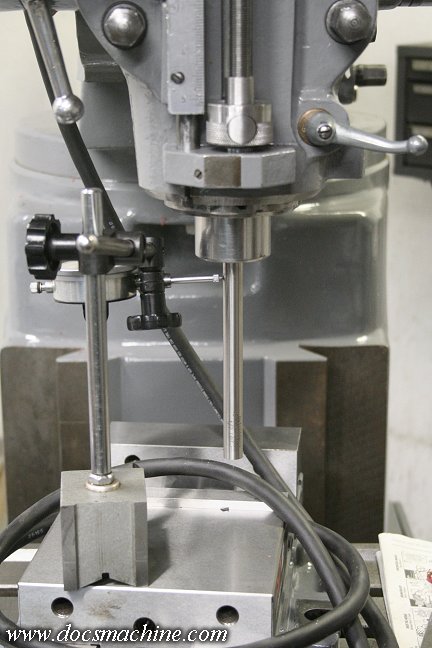
There was no convenient way to mount the pulley on my rotary table, so I simply bolted it down to the mill,
located the center with a co-ax indicator, and with a bit of tricky math, was able to drill an accurate
pattern of eight 10-32 screws to hold everything together.
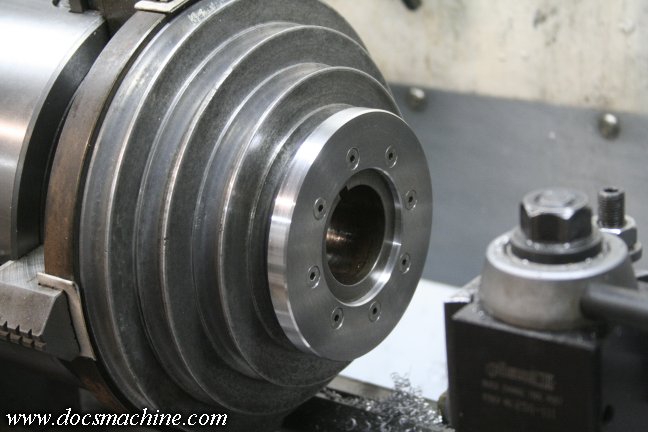
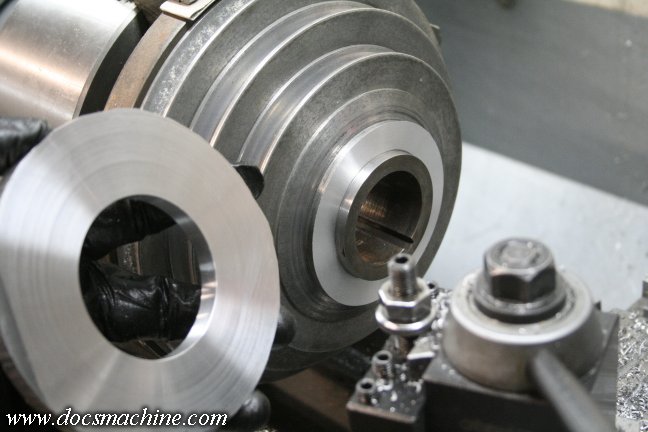
With the new plate solidly in place, it was back to the 4-jaw, to turn the whole
thing down to the same OD as the lower half of that pulley groove.
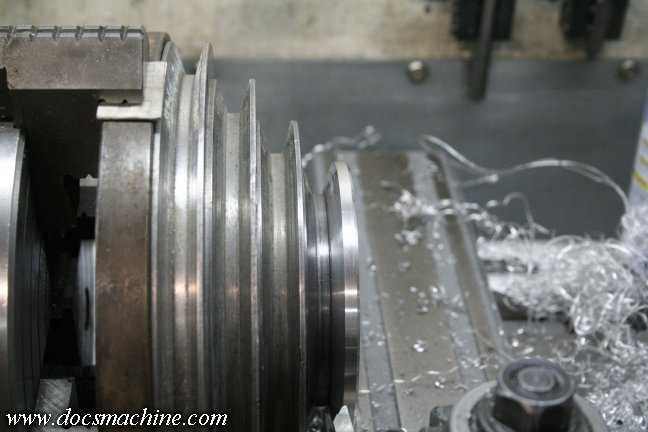
Then, it was a simple matter of kicking the compound over 20 degrees, since this sort of V-belt has a
40-degree included angle, and gently turn the upper face of the groove until the width was the same
as the rest. I double checked it with the new belt, and it should work great.
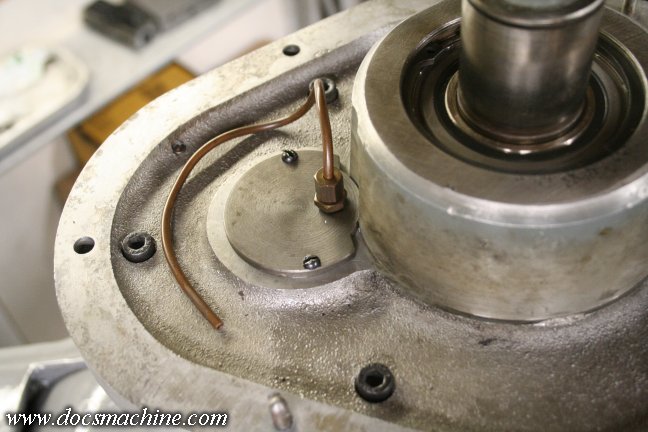
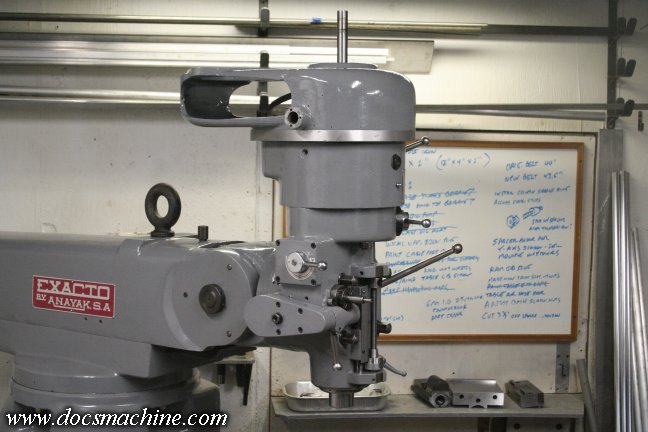
And, a final step before installing the pulley, this cover and breather-vent tube
goes over the upper back-gear-cluster bearing.
The key gets lightly deburred, and it and the pulley are simply slid into place and the snap ring installed.
After that, the belt-cover/motor mount is dropped on and bolted down.
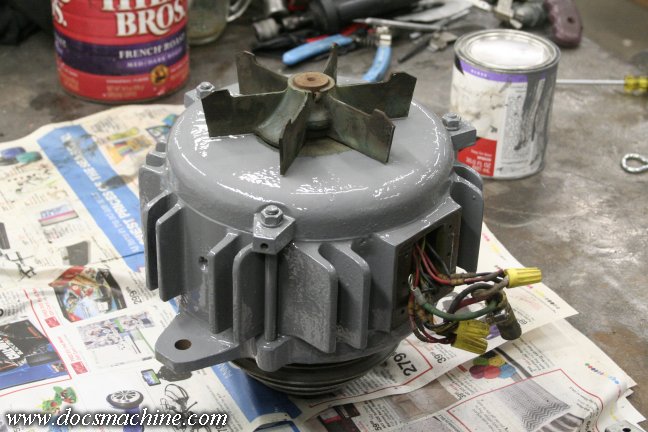
The motor had, by this point, been cleaned and painted to match.
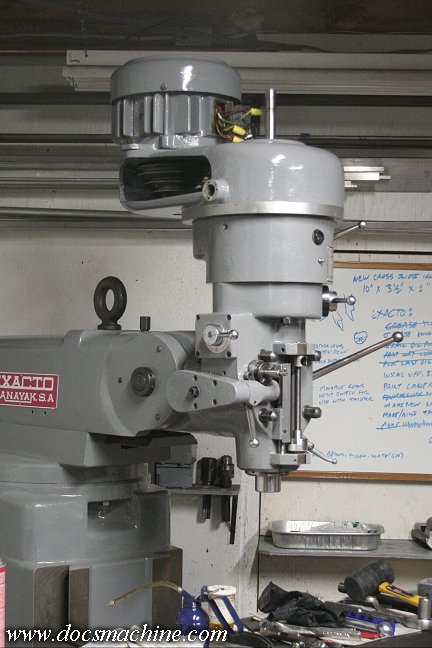
So all that's left is to bolt it down, thread on the belt, and install the adjuster lever.
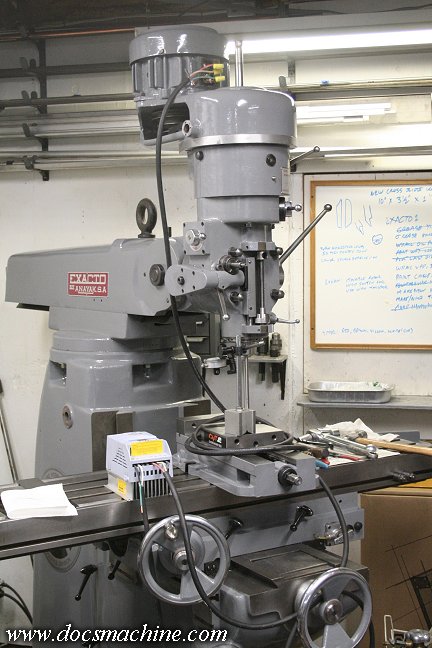
Finally! After almost a year, she's back together and almost ready to use!
Do a quick test-wire with the VFD, and lets's see what happens!
... Uh-oh.
That's not good...
All text, photos and graphics
Copyright 1998- 2017, Doc's Machine & Airsmith Services. All Rights
Reserved.
Information contained in
these pages is for reference and entertainment
purposes only. Our methods are not always the best,
quickest, safest, or even the correct ones. It's up to you to know how
to use your own machines and tools.
Keep your fingers away from the spinny blades o' death and you should
be all right.


