Rebuilding an Arboga E-825-L Gear-Head Drill Press, Part 7:
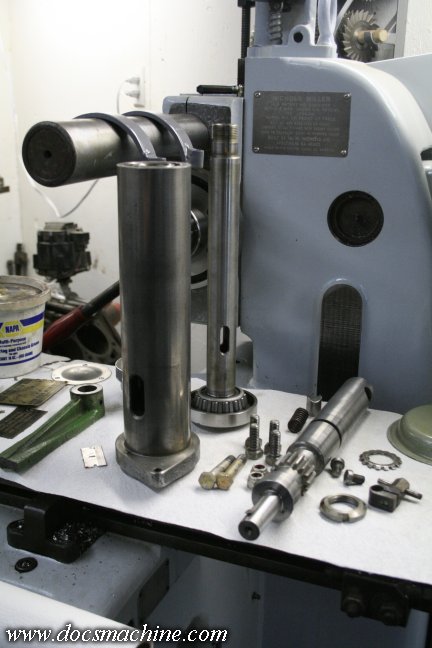
Next came the quill and spindle. These bearings, too, got a dab of axle grease.
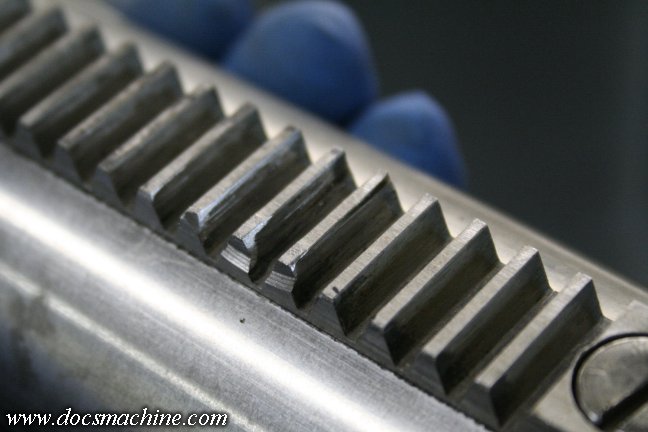
One part needing repair were these teeth on the quill rack- when the drill fell over, it landed on
the quill handle,
which pushed the shaft and gear inside sharply to the left. The shaft hit the rack teeth
and put a good dent in
three of them. I had to file down the displaced metal, so the gear would ride
smoothly over those teeth again.
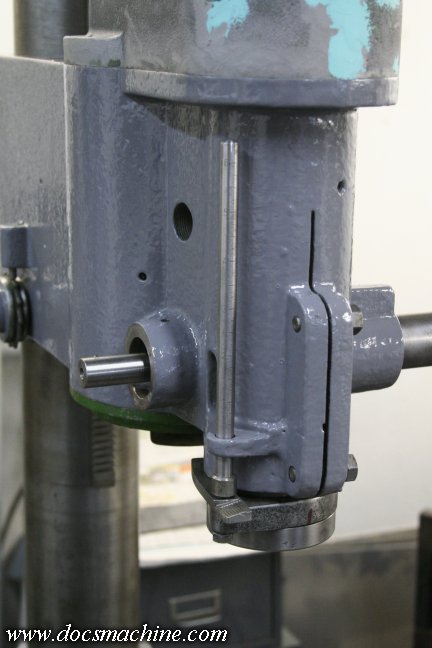
After that, it was a simple matter of sliding the quill into place, and then slipping the gear
shaft
in from the side. At the moment, there was nothing holding the quill in place, so I resinstalled
the front two pinch bolts, and lightly snugged the lower one as a temporary 'clamp'.
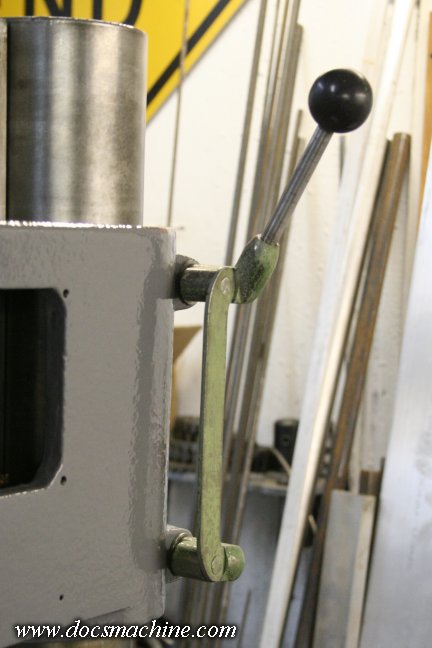
And, to help hold the whole head steady, I finally added
the two rear pinch bolts and its linked locking lever.
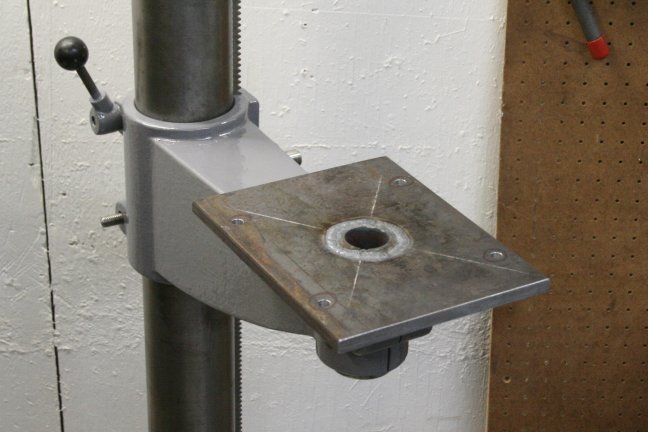
As shown in part 1, when the drill fell over, the table mounting shaft broke off the mounting plate.
It appeard it may have been repaired at some previous point already, so I decided to make an entirely
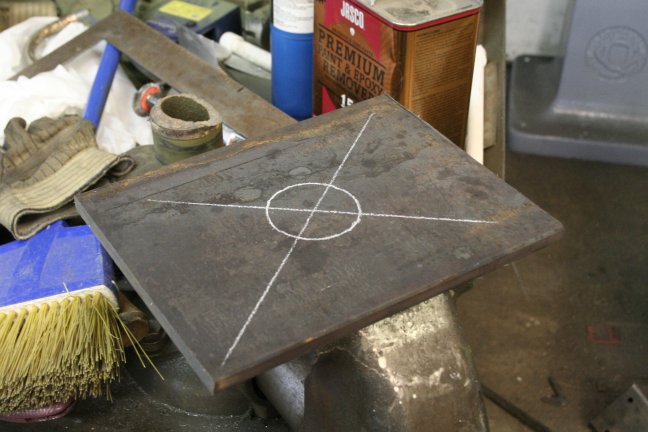
new mount. I started with a plate of 1/2" steel that I had bandsawed to the proper size,
then located
the center and sketched out the position for the shaft.
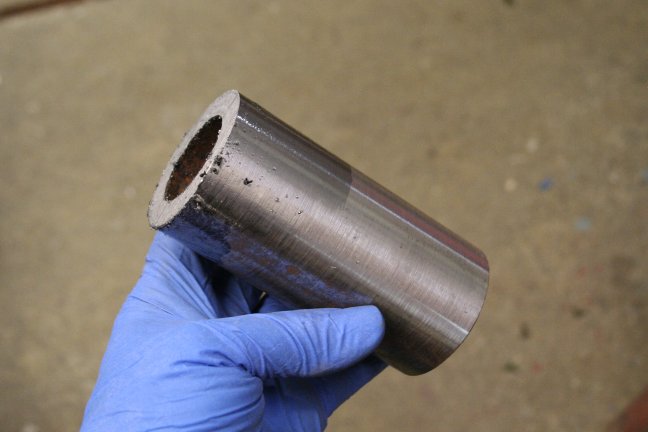
For the shaft, I found a chunk of extremely heavy-wall industrial pipe that was very close to the
proper size,
needing only a realtively light skim cut. After turning, I bandsawed it off and faced the end.
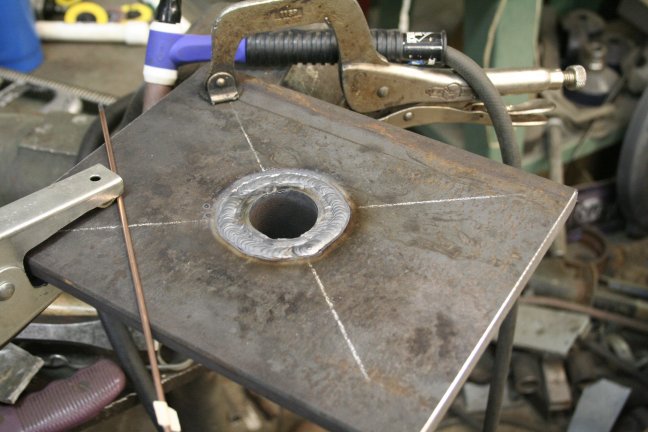
I'd torched a rough hole in the plate, then set it up in the mill to bore it to the final size and
accurately centered. I then milled a deep chamfer on both parts, and TIG welded them together.
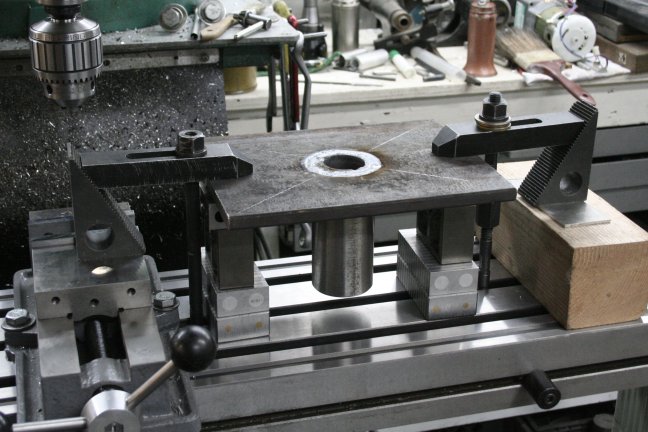
Once it had cooled, I set the plate up on the mill, located for the
table mounting holes, and drilled one at each corner.
A quick test fit and everything's just fine. The table showed virtually no warpage,
and the
mounting shaft is actually kind of surprisingly square to the top.
All text, photos and graphics
Copyright 1998- 2017, Doc's Machine & Airsmith Services. All Rights
Reserved.
Information contained in
these pages is for reference and entertainment
purposes only. Our methods are not always the best,
quickest, safest, or even the correct ones. It's up to you to know how
to use your own machines and tools.
Keep your fingers away from the spinny blades o' death and you should
be all right.