Rebuilding an Arboga E-825-L Gear-Head Drill Press, Part 8:
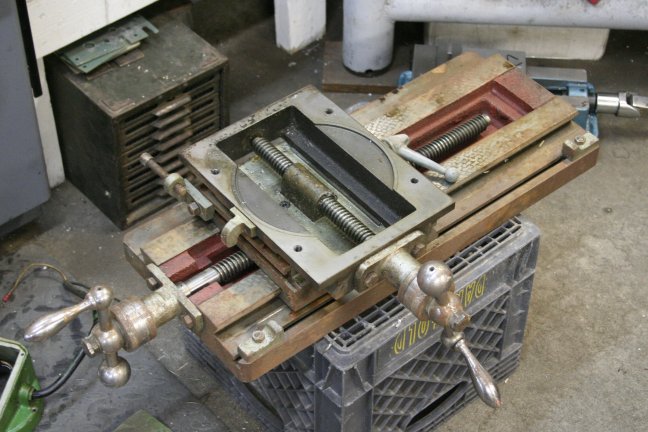
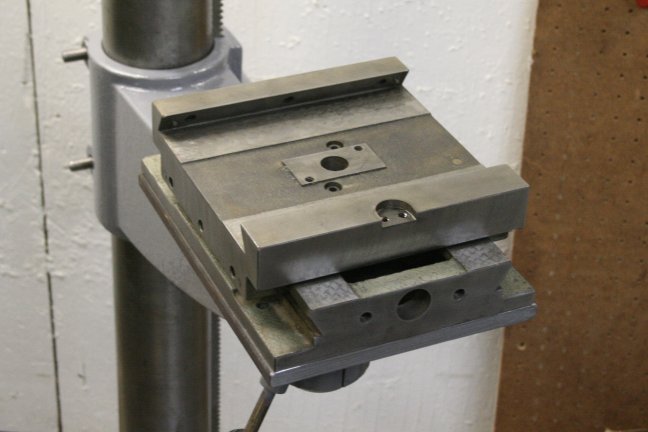
For the most part, the mill-style table itself survived with very little damage, but it
still
needed to be disassembled for cleaning, derusting and general servicing.
The precision way surfaces proved to be in excellent shape, showing only
minor signs of wear and use.
Of course, it doesn't see the constant movement of an
actual milling machine, but still, it's nice to see.
Note the adjustable table stops.
I got the feeling the machine had been badly stored for a long period after the crash,
and many of
the precision surfaces had a smattering of surface rust. Fortunately, most of it
was easily cured
with Vinegar soaks, Scotchbrite and WD-40, and Naval Jelly.
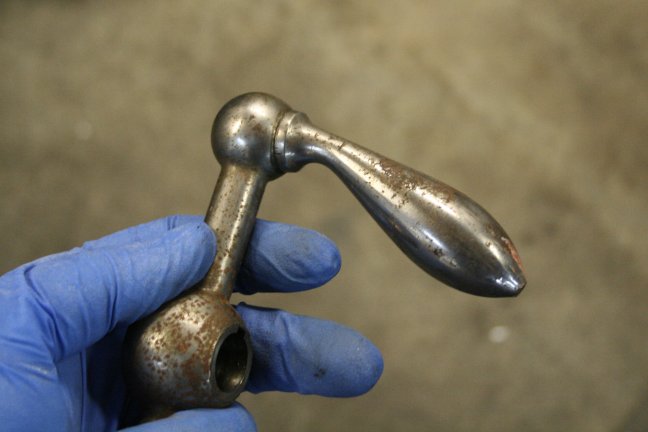
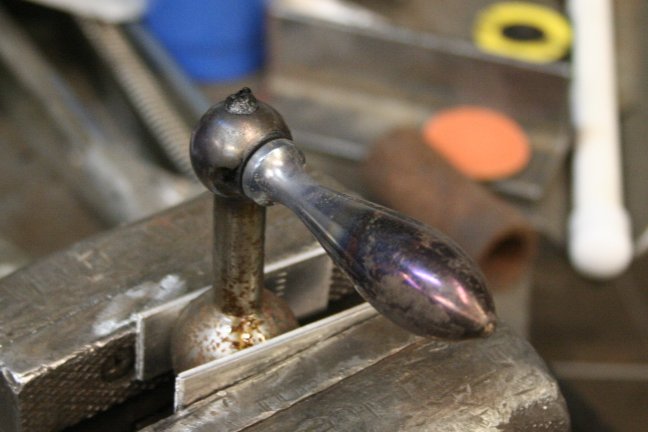
The one bit of actual damage was this bent feed handle.
Which was relatively easy to fix- I heated it up with an oxyacetylene torch, and using
a piece of
pipe that slipped over the fat end of the knob, gently bent it back into place.
Once cooled,
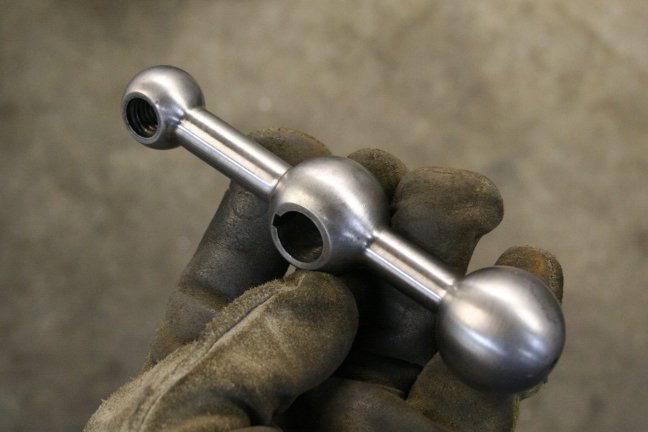
I unscrewed it from the crank arm and cleaned both pieces.
I applied a light coat of Naval Jelly to remove the rust (and, interestingly, some of the heat discoloration too)
and then rinsed it off. I then used some fine Scotchbrite and 600 grit sandpaper until the whole thing
had a smooth, uniform matte finish. I considered trying to polish it, and may still.
After that, it was simply a matter of reassembling the puzzle.
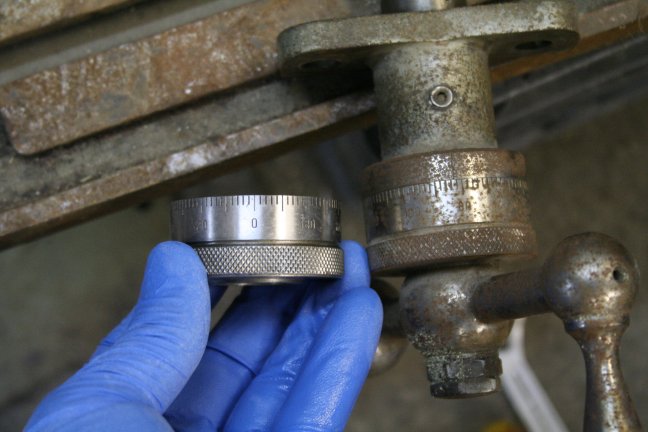
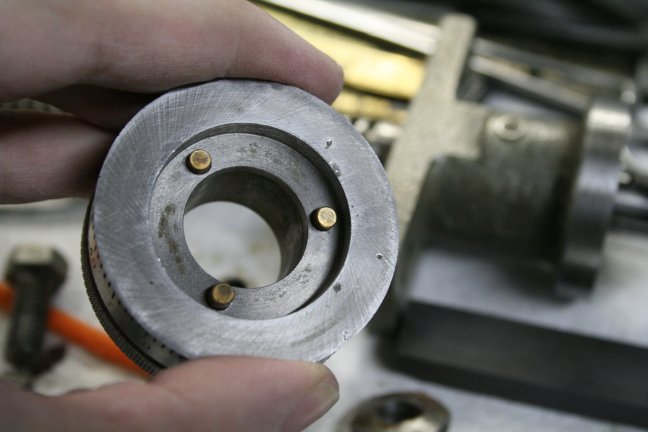
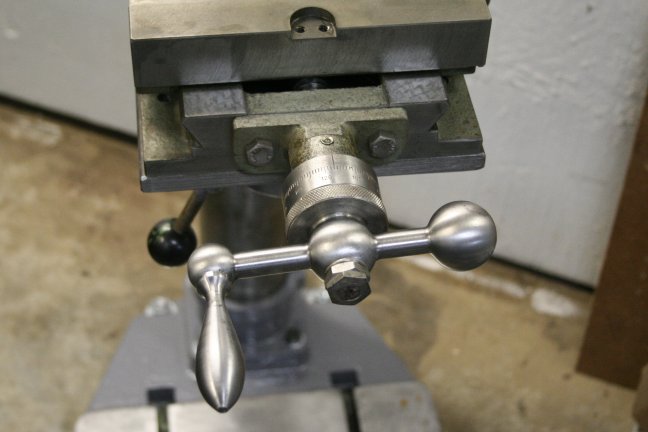
One neat bit: The handwheel dials are zero-settable, meaning you can turn the dial back to zero
(or whatever
number is necessary) to make it easier to set spacings or distances, etc. Most lathes and
mills use a set screw
or thumbscrew- this unit has these three spring-loaded bronze pins to accomplish
the same thing with
just friction. Once cleaned and lightly oiled, I found out they worked very well indeed.
Repaired, cleaned, scrubbed, lightly lubed and assembled.
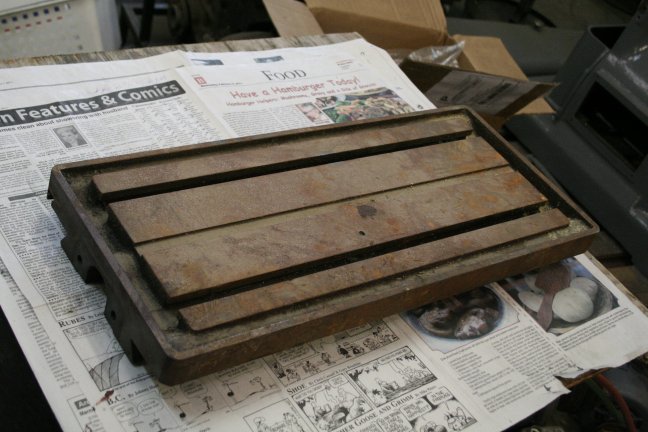
The table, too, was a bit rusty, but note that there's only the one "misdrilled" hole.
Lots of industrial drills
of this vintage have dozens or even hundreds of holes in the table, where
an inattentive user drills too
deep and goes into the vise or even into the table. For this one,
however, all I needed was a little
more Naval Jelly, and a quick pass with some Scotchbrite.
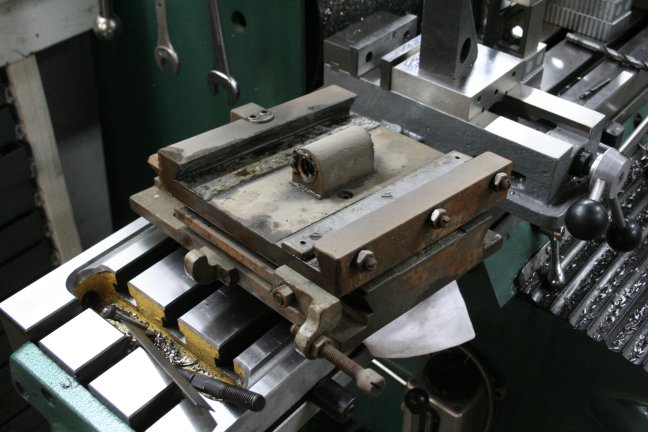
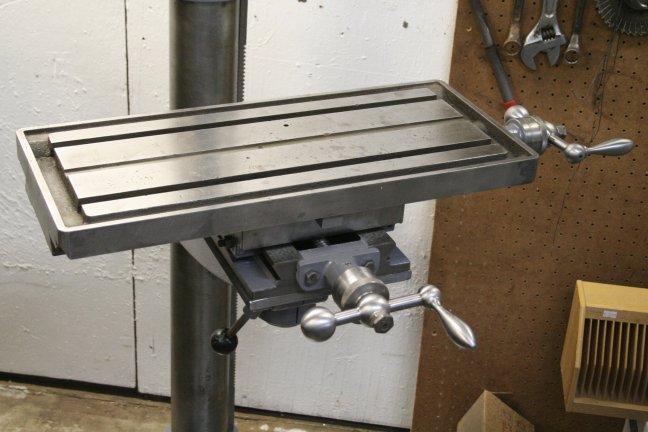
Cleaned, lubed and slid into place. The handwheel and leadscrew slipped in, threaded
into the table nut and
bolted down. To finish it all off, I dabbed a little paint on it here
and there, and adjusted the gibs.
We're darn near done!
All text, photos and graphics
Copyright 1998- 2017, Doc's Machine & Airsmith Services. All Rights
Reserved.
Information contained in
these pages is for reference and entertainment
purposes only. Our methods are not always the best,
quickest, safest, or even the correct ones. It's up to you to know how
to use your own machines and tools.
Keep your fingers away from the spinny blades o' death and you should
be all right.