Rebuilding and Upgrading a Jet JMD-20VS Mill-Drill, Part 2:
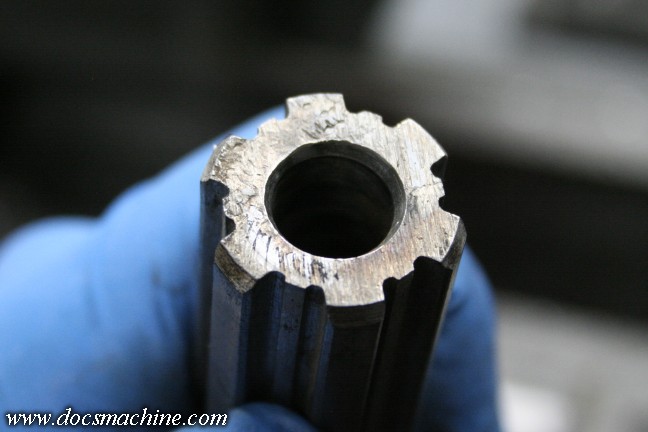
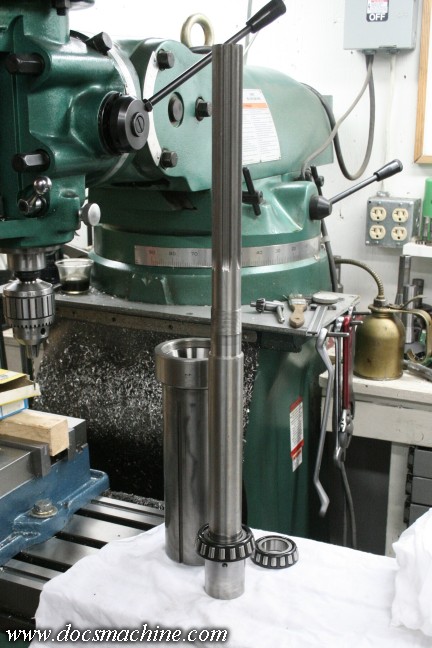
The one minor issue was the spindle itself. Reasonably well machined in almost all
respects, except the drawbar end had, oddly enough, simply been ground flat,
presumably on a grinding wheel or belt sander. That left a slightly rough surface
that was also not quite square to the spindle axis. You can see how the drawbar nut
wore the left side more than the right.
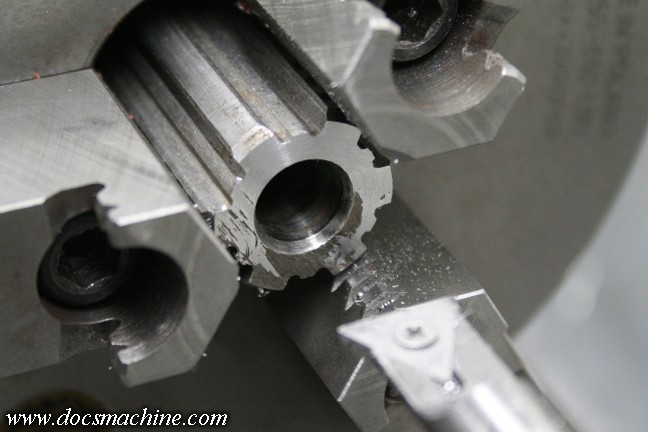
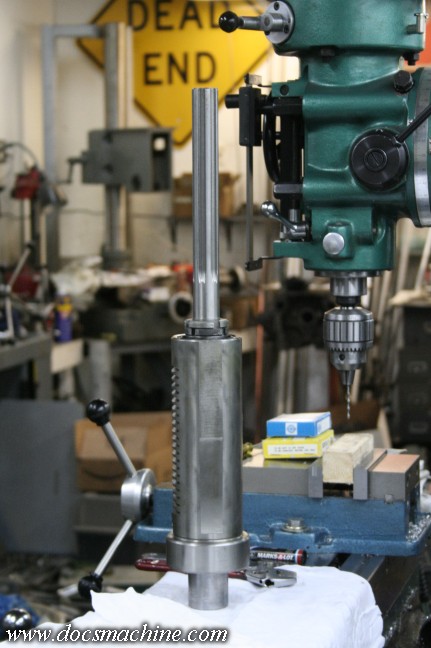
Fortunately the fix was just a moment's time on the lathe. Here, again, you can see
how one side was a bit lower than the other, which can affect how well the drawbar tightens
and how well it holds. And the odd grip of the shaft, with the cut being inside the jaws, was due to
the length of the spindle- that's as far as I could get it through the headstock of the lathe.
But I was careful to avoid cutting into the lathe jaws themselves.
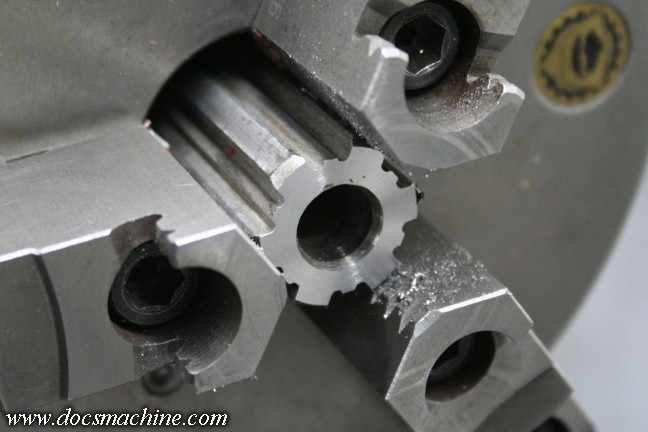
And done. There were still a couple of light dings up at the 12 o'clock position, but
they won't hurt anything and I was trying to cut as little off as possible. Later, I also lightly
faced off the base of the drawbar nut itself, and I plan to put a thin hardened washer in between.
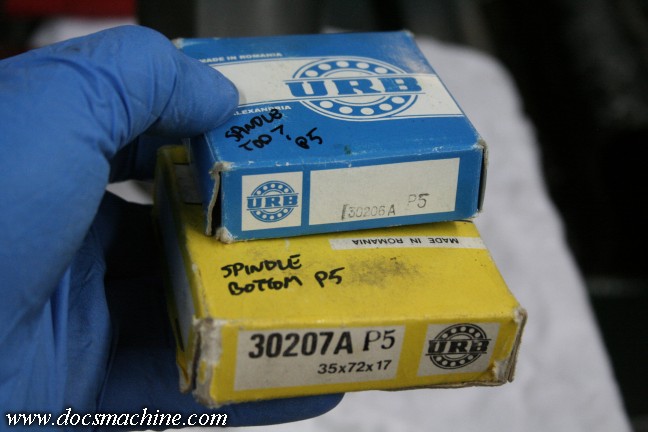
The original spindle bearings were worn, and probably weren't all that high a quality to begin with.
Fortunately we had a good bearing shop in town (since closed, unfortunately) and he managed to find me
a set of P5 bearings- that's the class of fit, equivalent to ABEC 5. In other words, somewhat more precise
than the average off-the-shelf bearing, and unfortunately, considerably more expensive as well.
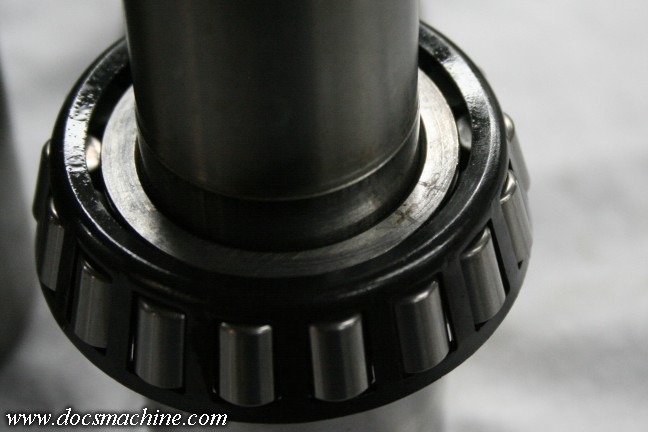
Installation was straightforward, sliding on easily 'til right at the end which
required a slight press. Note the cloth- cleanliess is key with precision bearings.
Also note the marks on the inner race. Not only are thee bearings made to a finer tolerance
than typical general-use bearings, but what error they do have is marked-
the signs denote, as I recall, the "high" side. Although in this case, 'high'
means at best about 50 millionths of an inch.
When used in a dual-bearing arrangement like this, the idea is to match the "high" sides,
so the spindle will "roll" in a (very minute) eccentric manner, rather than "wobble".
Gently slid into place in it's matching outer race. Again, clean, clean, clean.
The small threaded hole in the spindle is for a locating key for the R8 collets.
Upper bearing and race in place, and adjuster nuts lightly snugged.
Final setting will be done once the mill's up and running.
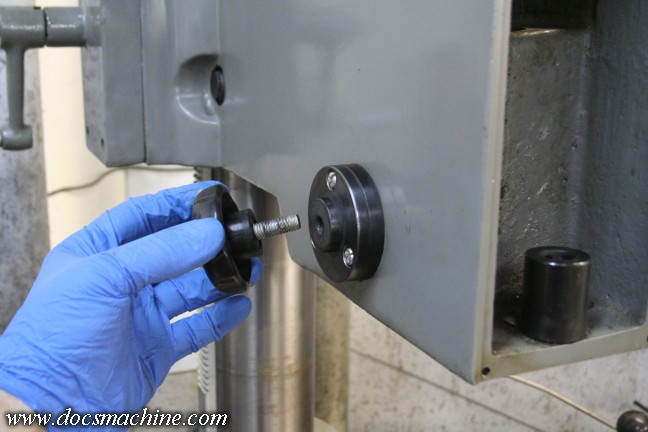
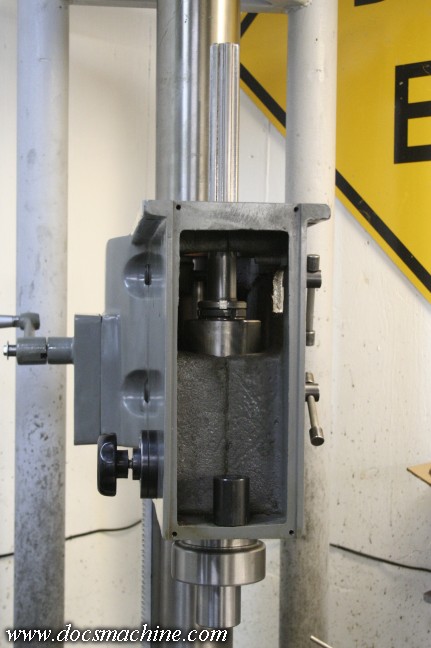
For the time being, in order to retain the assembled spindle and quill in the head casting,
I reinstalled the quill lock. On this model, it's just a screw that presses a brass
wear plate against the side of the quill. Simple but sufficient.
And installed. Still a long way to go, but it's progress.
All text, photos and graphics
Copyright 1998- 2017, Doc's Machine & Airsmith Services. All Rights
Reserved.
Information contained in
these pages is for reference and entertainment
purposes only. Our methods are not always the best,
quickest, safest, or even the correct ones. It's up to you to know how
to use your own machines and tools.
Keep your fingers away from the spinny blades o' death and you should
be all right.