


|
|
|
|
Now, technically I was supposed to remove the shock absorber first. But the upper connection is a threaded
stud, with a sort of a flat spot. With the mounting nut essentially rusted in place, the whole rod wanted to turn.
And being located inside the A-arm, meant it was difficult, if not near impossible, to hold the top of the rod,
and still turn the nut below it.
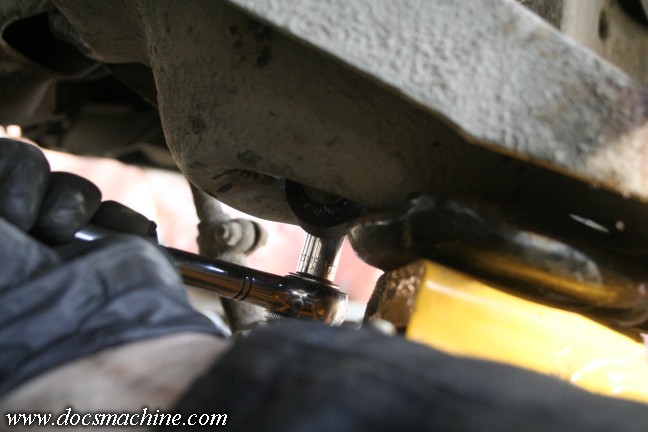
There are specialty sockets just for exactly that, but I didn't have one, so I just
did it a little backwards. With the jack still sort of supporting the lower A-arm (as in, there's still some fair
pressure on the coil spring) I removed the two bolts at the bottom of the arm.
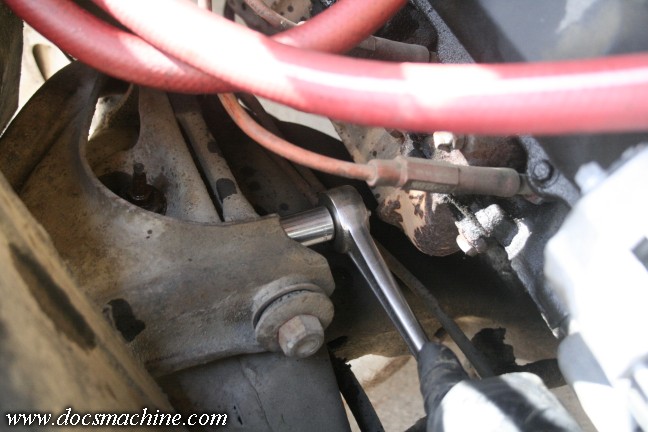
Then started to unbolt the upper A-arm. There's no tension at all on it at this point, so it's quite safe.
Before removing it completely, remember to collect and save the shims- you'll need those to align the car later.
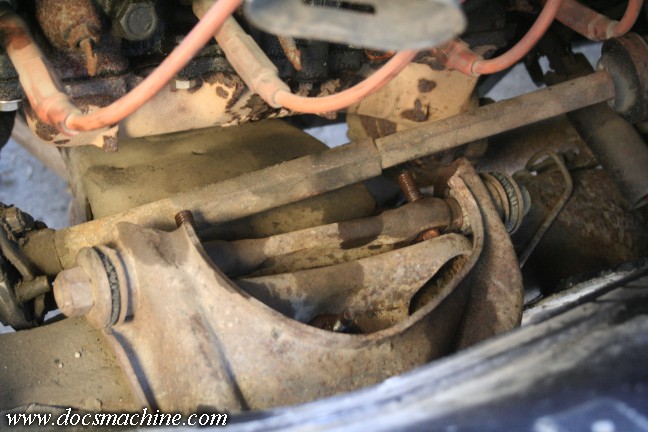
Once loose, the A-arm and pivot shaft can be removed as a unit, and manhandled out of the way.
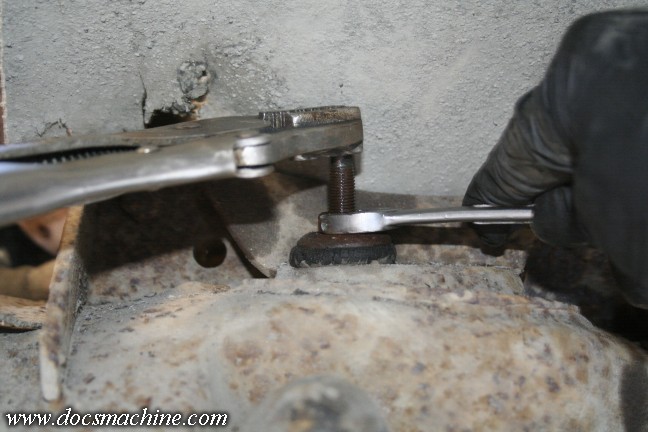
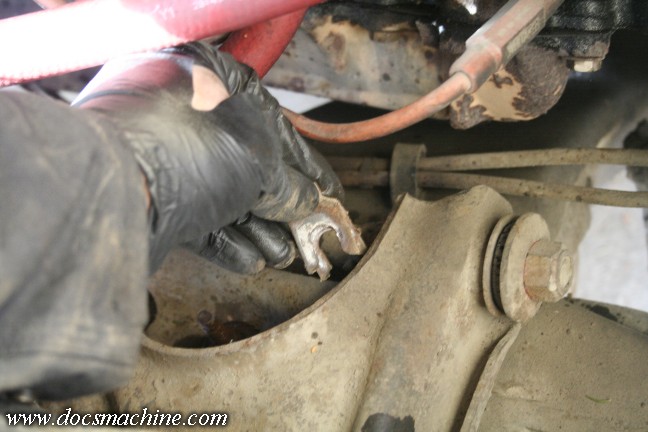
That leaves the top of the shock out in the open where it can be reached easily- a Vise Grip at the top to
hold the flat portion, a healthy dose of Kroil, and a 9/16" open end to worry the nut off over
the course of the next twenty-seven minutes or so.
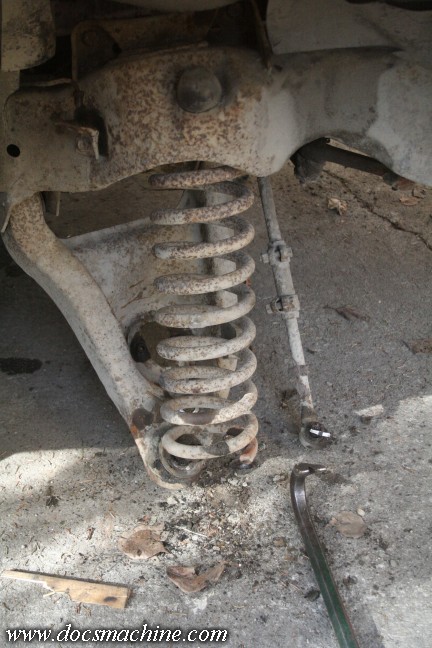
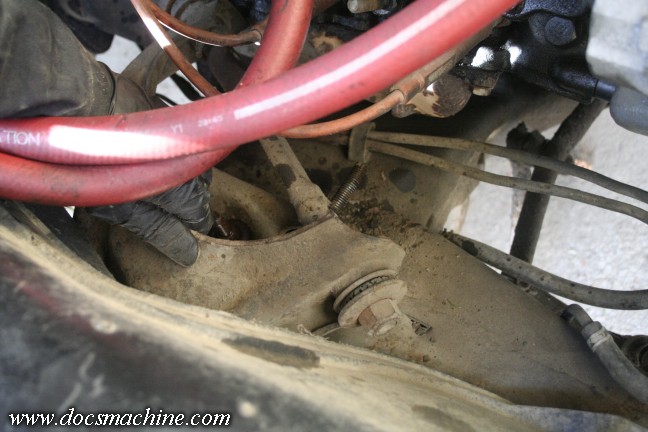
After that, the jack can be fully lowered, pried out of the way, and the coil spring pried out of its seat.
Repeat on the driver's side, except the steering shaft is in the way of the A-arm removal.
While it would have to be removed anyway to get the A-arm out, as luck would have it, I'll be replacing
the steering box as well, so no better time than the present to disconnect the "rag" joint...
Pry the steering shaft loose and swing it as much out of the way as
possible, and finish removing the A-arm and shock, just as before.
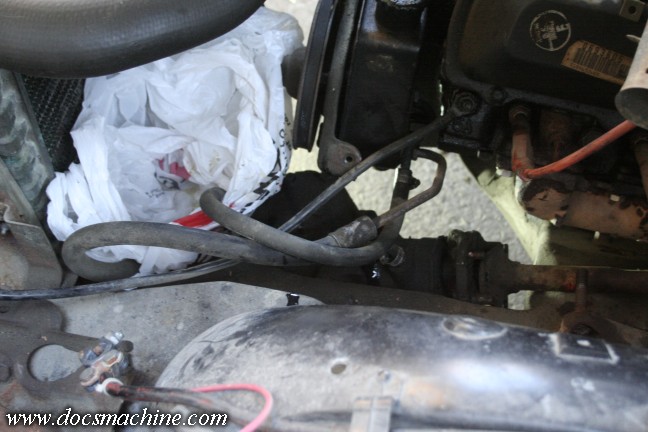
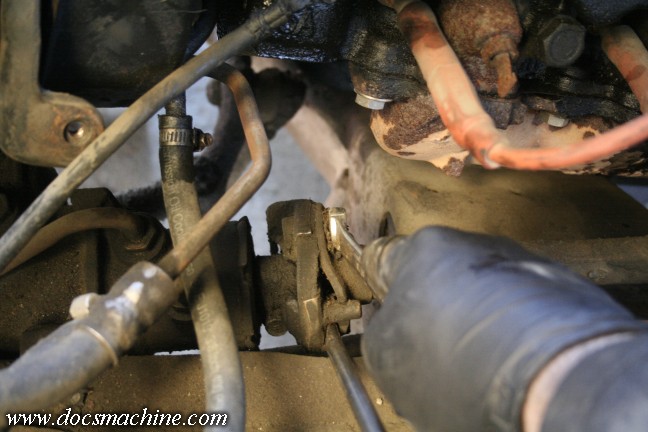
Finally- okay, soft of- disconnect the hydraulic lines from the
steering box, and stick 'em in a bunch of grocery sacks to contain the
fluid as best as we can.
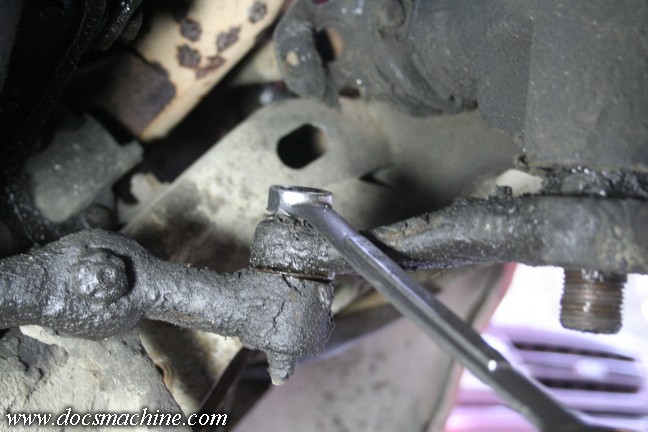
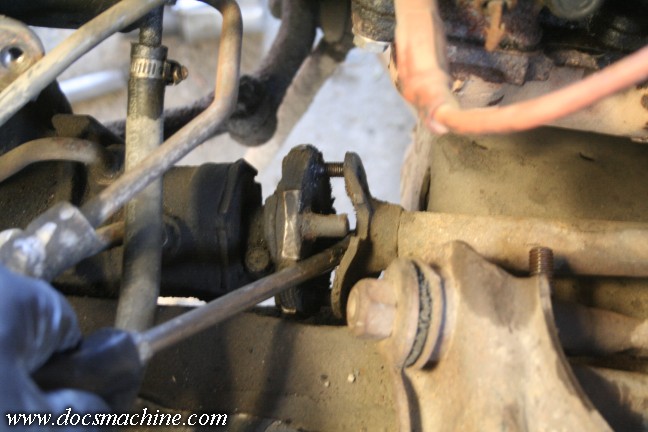
Break the steering cross bar loose from the Pitman arm, and unbolt the idler arm from the passenger side...
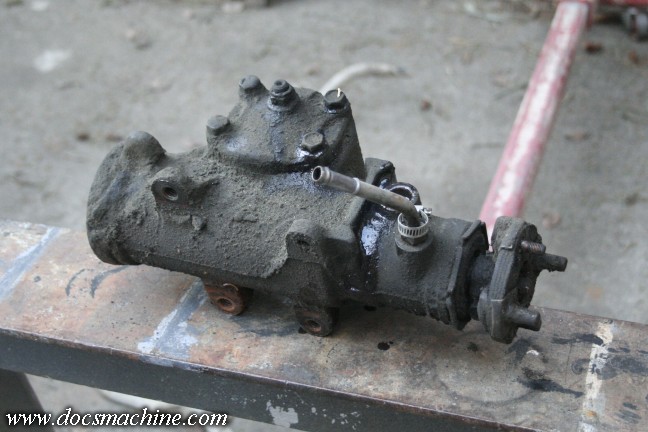
And at last, unbolt and remove the steering box.
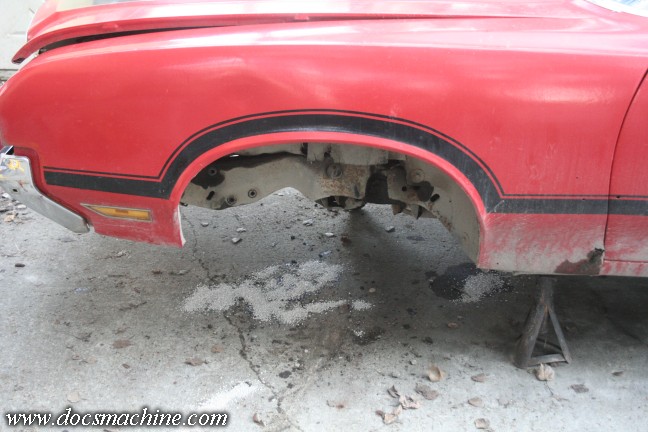
So, just as the sun was going down, we're left with an (almost)
completely denuded frame front.
The passenger lower A-arm is being
stubborn, unfortunately- the bolt has rusted to the steel collar
inside
the old rubber bushing. The whole assembly turns, and being the rear
bolt, the proximity to
the frame means I can't whack it with a hammer,
nor pry on it with a crowbar.
 |
 |
 |