[
Return to Main Page ] [
Return to Projects Index
] [
Doc's Machine & TWB Store] [
Contact Us ]
[
The Whiteboard Webcomic
]
Rebuilding A Junker Cutlass Into A Kinda-Sorta Faux-Four-Two Musclecar, Part 11:
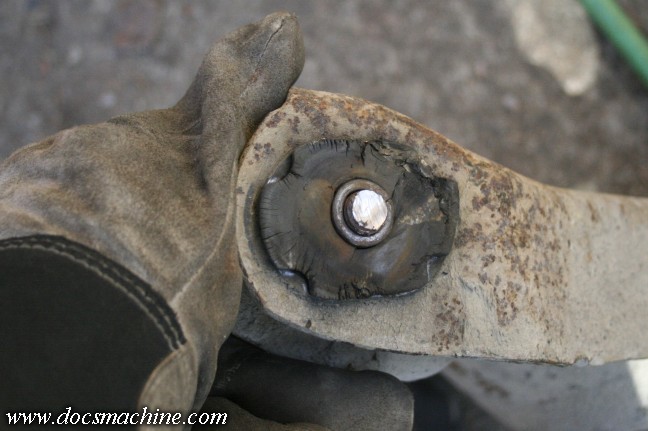
The problem with the last lower A-arm was that the bolt that holds the assembly in place, passes
through a rubber bushing. Said bushing has a molded-in steel tube, so that the bolt has something
to tighten against, without crushing the brackets or the bushing. Naturally, the bolt rusted to
the tube and seized in place. When I tried to turn it loose, the tube, stuck to the bolt,
turned inside the rubber bushing.
The angle of the frame kept me from being able to drift it out with a hammer, and since the
tube inside is bigger than the hole through the frame, it was well and truly locked into place.
I have other A-arms I'll be putting on, already painted and ready to go. So really, I could
have jumped in there with a gas-axe or a plasma cutter and blown everything out of there.
I preferred to try and save it, so I had to worry the ends off with various air and electric
grinders and cutoff wheels, all at bad angles and throwing sparks the exact wrong direction.
(Which in this case was virtually every direction.) But eventually I got 'er out of there
with minimal damage to the car's frame, and the A-arm can be saved and reused if necessary.
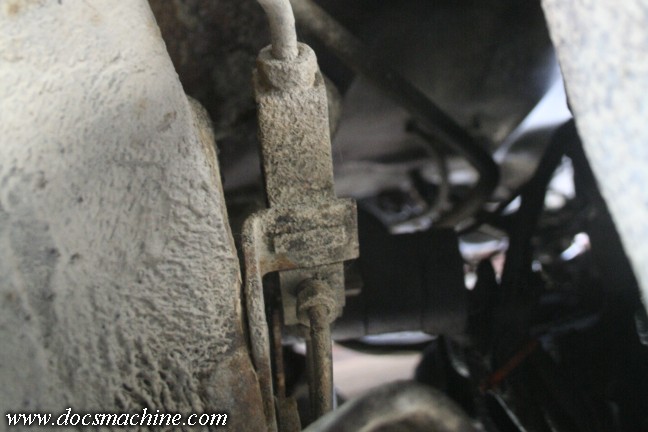
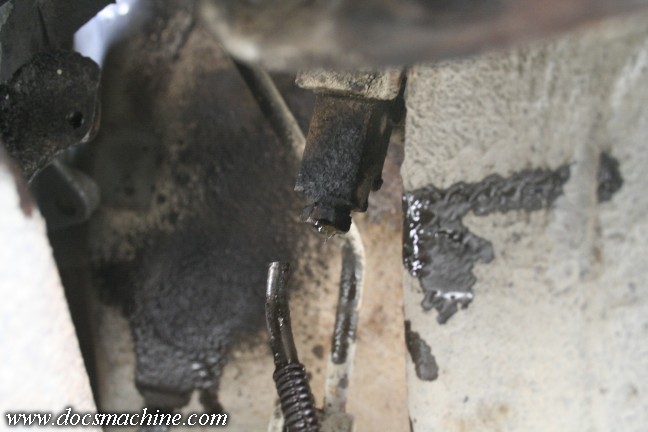
After that, it was time to strip out the rest of the old brake system. Thhe proportioning
valve was located down on the side of the frame, in kind of an inconvenient spot, and better
still, it had steel tubing held on by steel nuts screwed into an iron block- basically
nothing wanted to turn. Heat was iffy to apply, thanks to the close proximity to wiring,
the floorpan (which had carpet on the other side) and the aptly named firewall.
Fortunately, since virtually all of this is getting replaced, I could skip
the finesse stage and go right to the cutting tools. :)
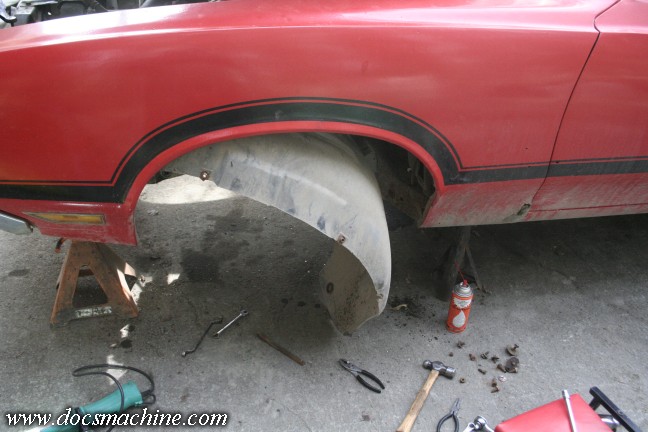
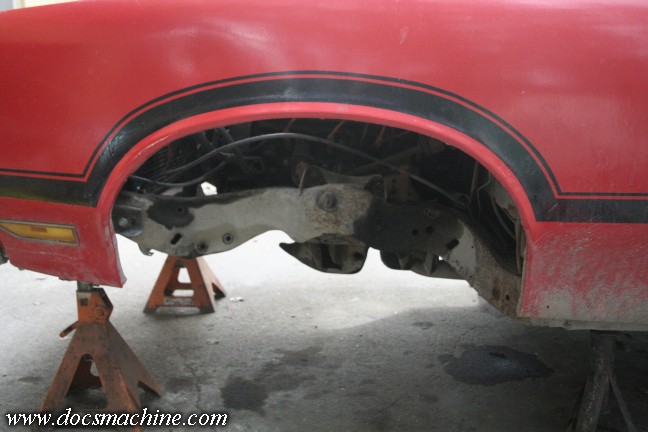
However, to make things a little easier, I decided to remove the drivers' side inner fenderwell,
which would allow more direct access to the work area. The problem there being that most of the
fasteners were pretty much as rusty as the distribution block...
To start, I had to remove the battery tray, which ought to give you an idea.
'Course, the battery corner is always nasty, thanks to forty years of fumes from the old
vented batteries. Interestingly enough, despite the rust, most of the bolts came out with
some effort- even the one that had flaked down from a 1/2" to a 7/16". I'm not kidding.
One had to be persuaded off with power tools, but that's to be expected. After that, the fenderwell came right out.
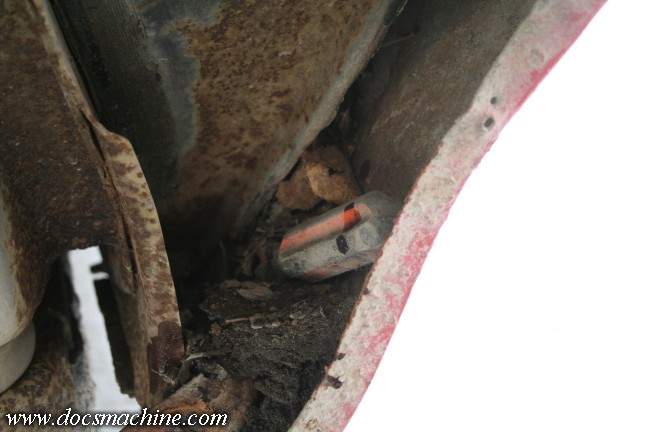
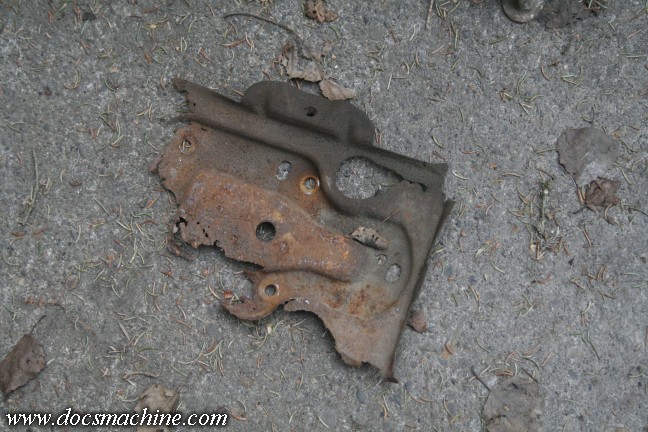
And, lodged down in the rear quarter of the fender was this nice little bonus.

Well, it's not that much of a bonus, a cheap no-name (and now badly rusted) screwdriver,
along with about four pounds of old leaves, rust flakes and pine needles.
'Course, I've known that corner had rusted through since I painted the car, but I'm not
too worried- I can get a patch panel for that part of the fender for about $80, or I can
use one of the spare fenders I have. But bodywork will come later.
Now I have access to the work area.
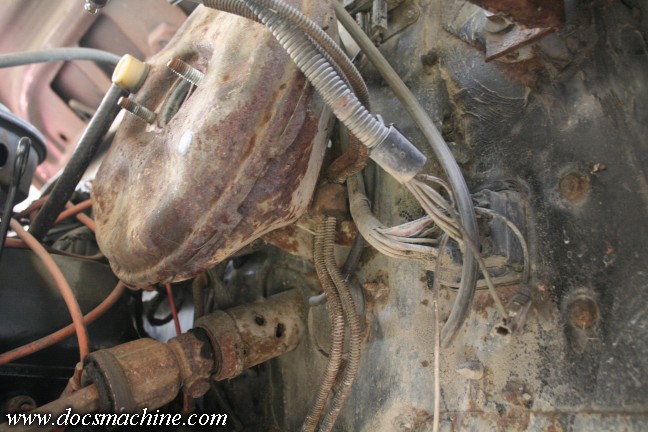
The lines from the master cylinder down to the old block are bolted to the back of the booster mount.
After trying and failing to loosen the lines at the block, as I said, I just got
out the cutting tools, slicing through the rear line with a cutoff wheel, and
the front ones with heavy side cutters.
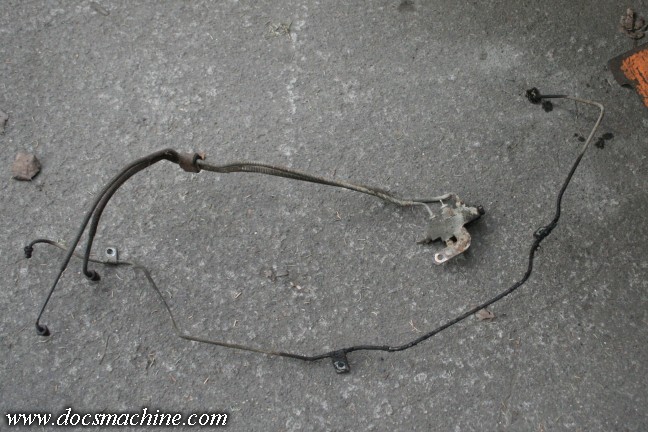
With the lower lines out of action, the uppers were free to be pulled clear, and without
the block, a few bolts to free the brackets let the rest of the lines get worried out.
All text, photos and graphics
Copyright 1998- 2025, Doc's Machine & Airsmith Services. All Rights
Reserved.
Information contained in
these pages is for reference and entertainment
purposes only. Our methods are not always the best,
quickest, safest, or even the correct ones. It's up to you to know how
to use your own machines and tools.
Keep your fingers away from the spinny blades o' death and you should
be all right.


