[
Return to Main Page ] [
Return to Projects Index
] [
Doc's Machine & TWB Store] [
Contact Us ]
[
The Whiteboard Webcomic
]
Rebuilding A Junker Cutlass Into A Kinda-Sorta Faux-Four-Two Musclecar, Part 12:
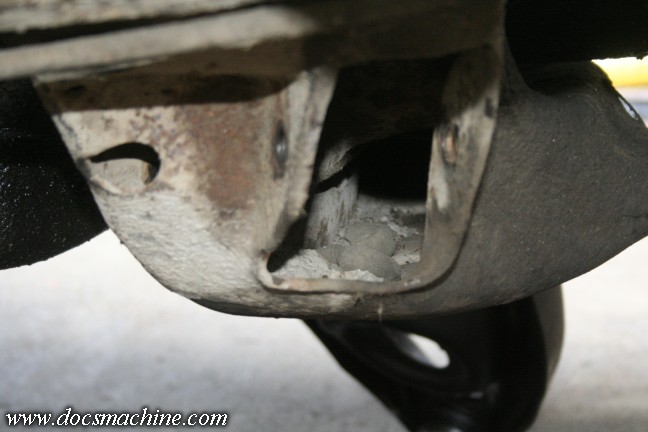
Time to start bolting someof these shiny new parts back on. First, scrape some of the
rocks and mud out of the frame crossmember...
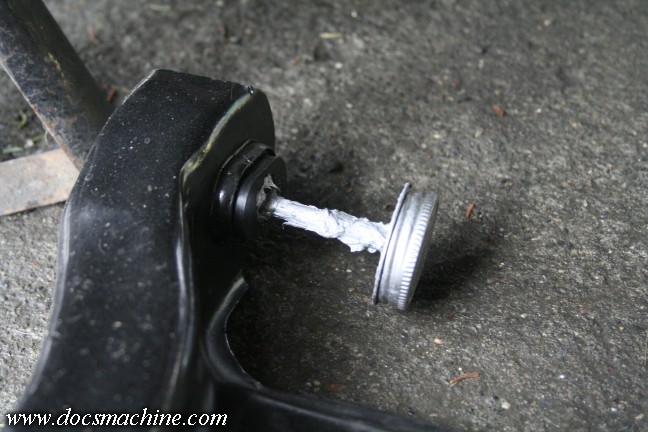
Then, to get one of the lower A-arms into the mounting ears, I needed to spread them slightly.
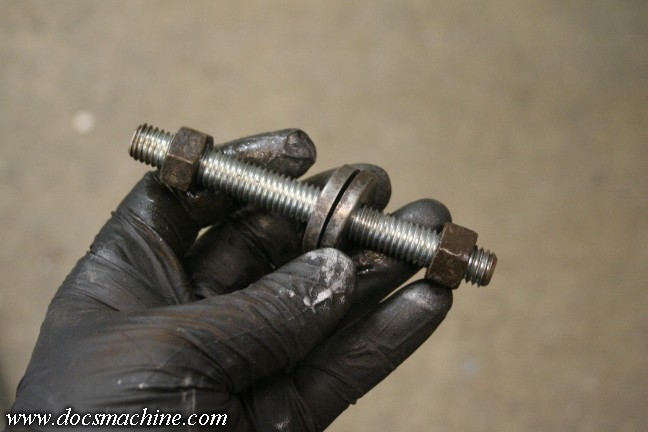
I grabbed some allthread, a couple of nuts and some heavy washers from the parts bins...
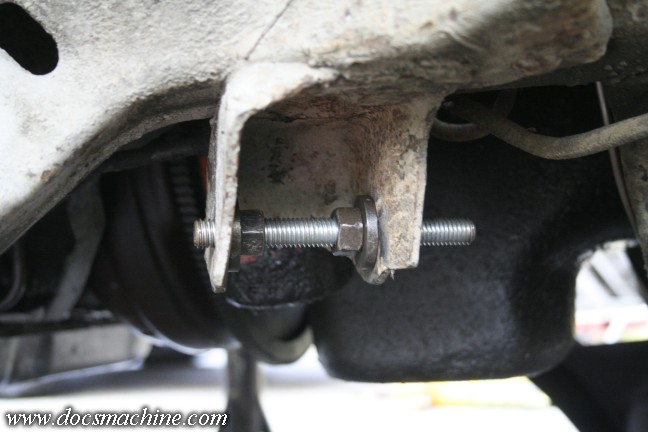
and set it up like to to open the brackets up a bit. And with that, the A-arms slid
right in, with a little persuasion from a deablow, that is. :)
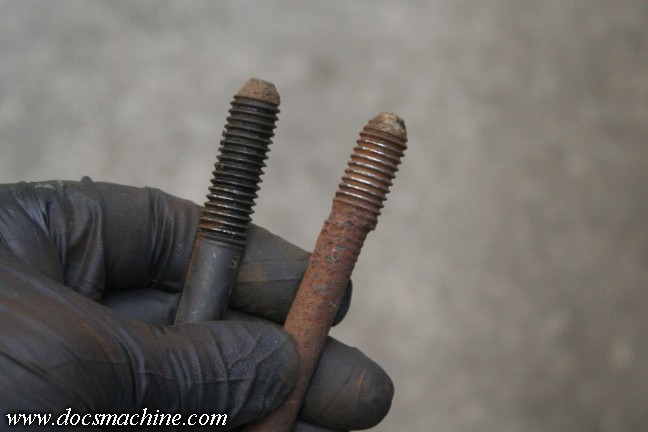
And fortunately I had spares from a parts car, since some of the pieces I
took off are... shall we say, less than acceptable.
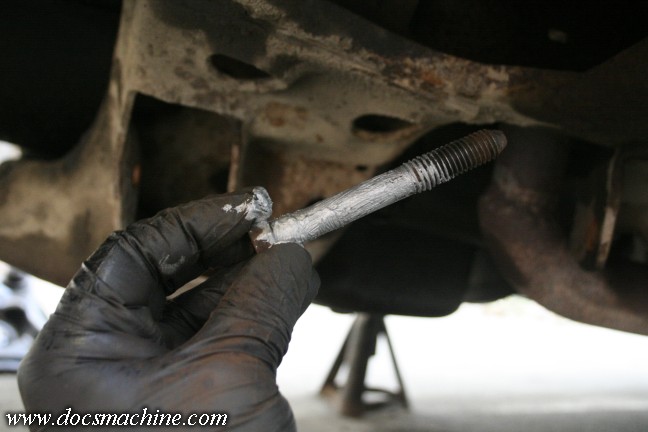
Those new bolts go in with a healthy dose of antiseize, since, after all, this is Alaska.
Overboard? Again,
Alaska. Things rust up here.
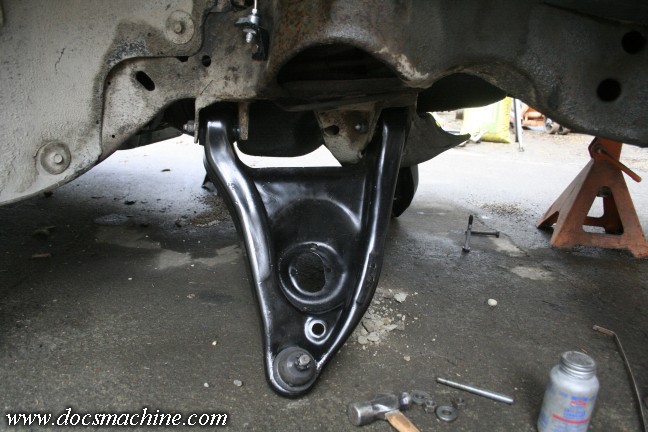
And, well, that's it, both A-arms in and bolted in place. Now, one of the tricks here is
that you don't tighten the bolts until the spindles are assembled, and the car is sitting
back on its tires. That way the A-arms are in their normal driving position,
Here I missed getting pictures of installing the upper A-arms and spindles.
It was a simple bolt-together process, no real issues.

The new upper A-arms came with new polyurethane bump stops, so those too got a dollop
of antiseize and bolted in place.
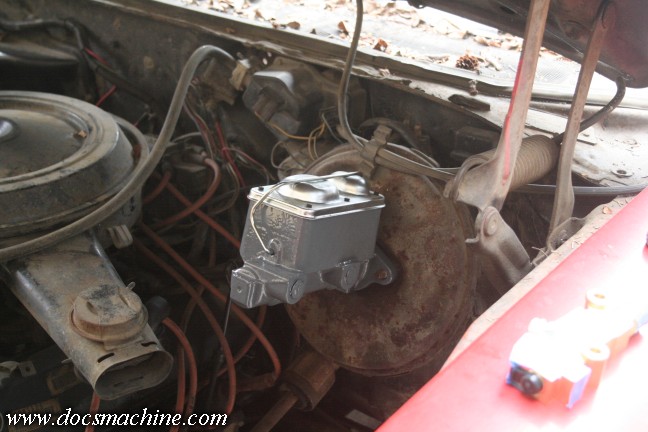
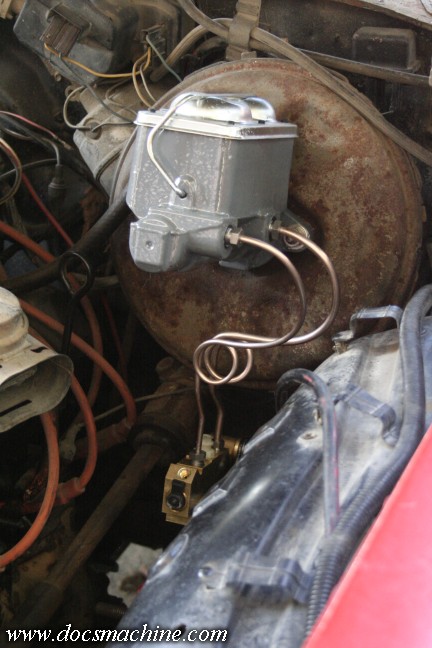
With the heavy stuff in place, I bolted in the new master cylinder with a good healthy coat
of POR-15 in what proved to be a futile attempt to give it some brake fluid reistance.
That gave me a rough working area where I might mount the proportioning valve,
I figured basically right below the master cylinder, above the frame, and as
far outboard as I could get away with, to reduce heat soak from the manifold.
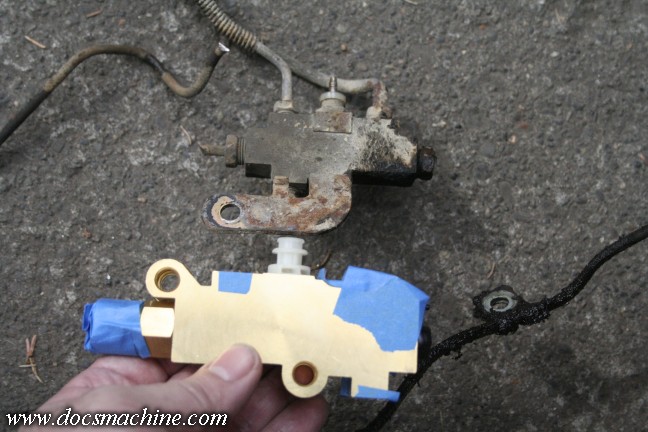
When I ordered a disc/drum P-valve, the doofuses sent me a valve for a '78-up Cutlass,
not a '72. I didn't complain, as I knew it all needed to be modified and custom-plumbed
anyway, but the upshot is, I can't bolt the new block in place of the old block.

I decided to make an all-new mount, and weld it to the frame. First a cardpaper template...

Transferred over to some 10 ga sheet steel...

Blasted out with the plaz...
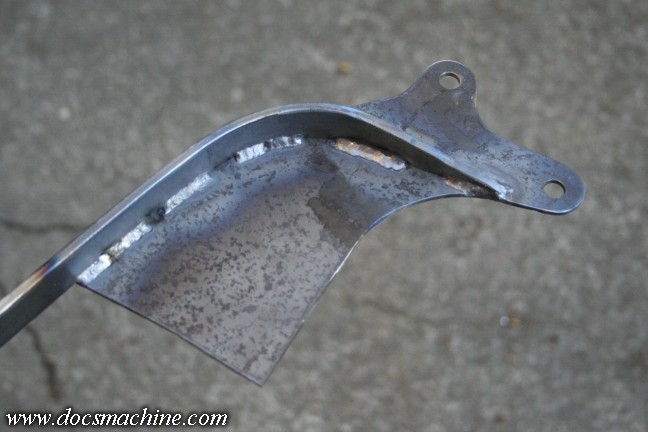
Deburred, ground smooth, drilled, trimmed, and given a heavy bracing rib...
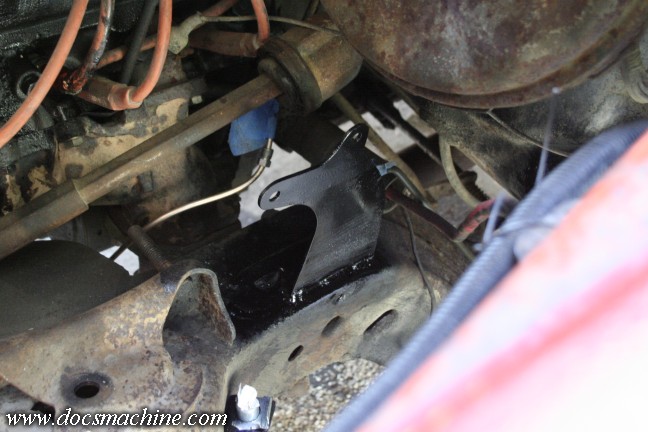
Triple checked, and then welded into place.

Now it was time for some brakelines. I had decided to switch from steel lines to corrosion-resistant
Copper-Nickel, or NiCopp, line, along with some stainless steel frare nuts from Jegs.

So I got out my tools and set about mangling... I mean, expertly bending and
installing some nice, fresh and shiny new brake lines. :)
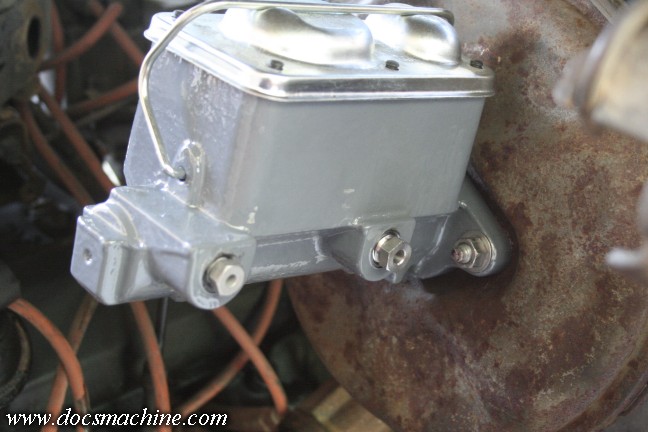
I threw a couple of the stainless nuts at the master cylinder, and started from there.
Note the stainless nuts and washers on the cylinder mount, too.
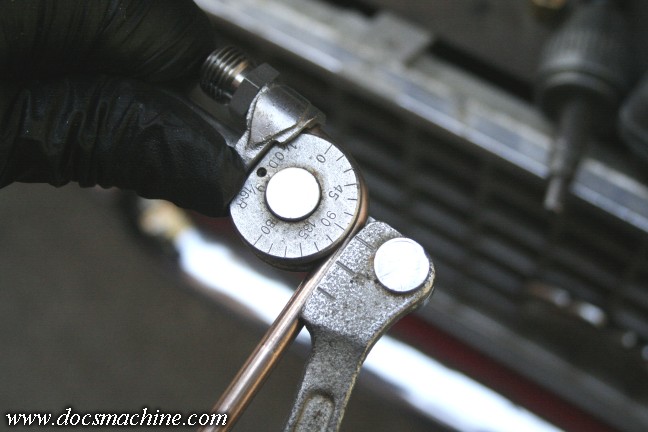
The cupro-nickel is relatively soft and easy to bend by hand, but for some parts,
I wanted a sharp corner, so of course we get out the tubing bender.
And, with a little more creativity, we had a fresh pair of lines to the P-Valve.
I even threw the wheelwell back in to check for clearance or interference.
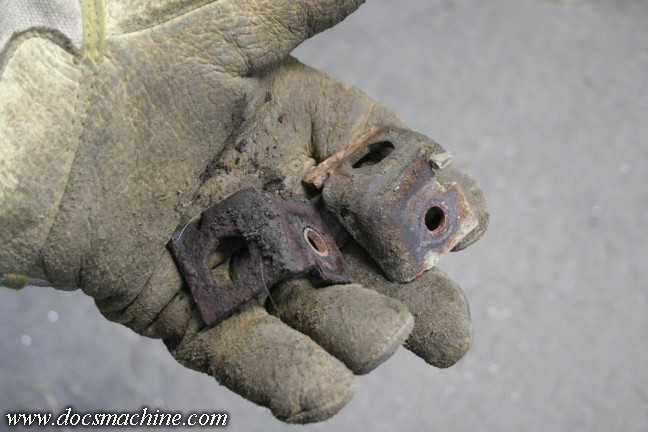
Now, to give me something to aim for after that, I took the original honse-mount brackets...
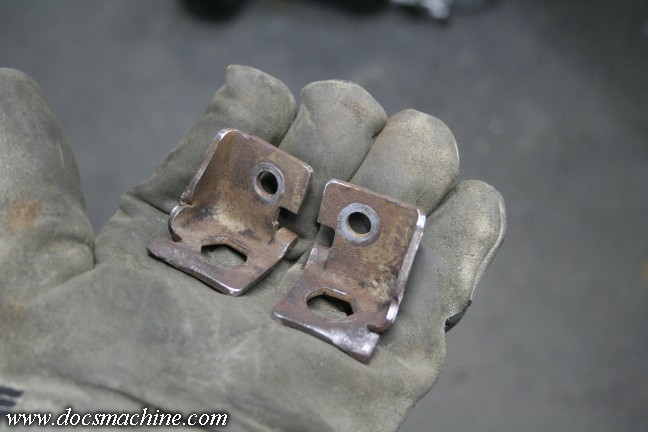
Cleaned 'em up, deburred and degreased 'em...
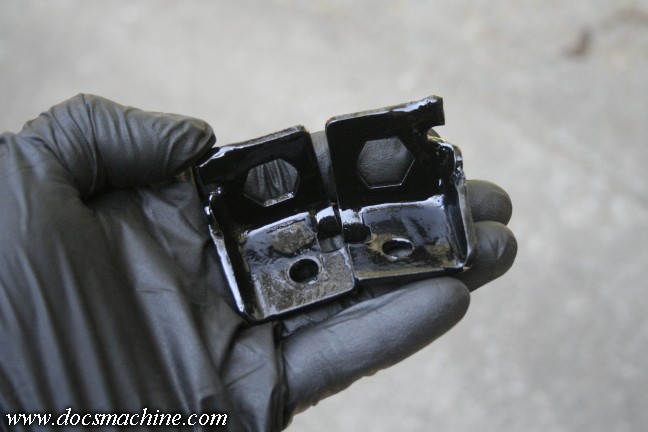
And gave 'em a shiny coat of POR-15
All text, photos and graphics
Copyright 1998- 2025, Doc's Machine & Airsmith Services. All Rights
Reserved.
Information contained in
these pages is for reference and entertainment
purposes only. Our methods are not always the best,
quickest, safest, or even the correct ones. It's up to you to know how
to use your own machines and tools.
Keep your fingers away from the spinny blades o' death and you should
be all right.


