[
Return to Main Page ] [
Return to Projects Index
] [
Doc's Machine & TWB Store] [
Contact Us ]
[
The Whiteboard Webcomic
]
Rebuilding A Junker Cutlass Into A Kinda-Sorta Faux-Four-Two Musclecar, Part 8:
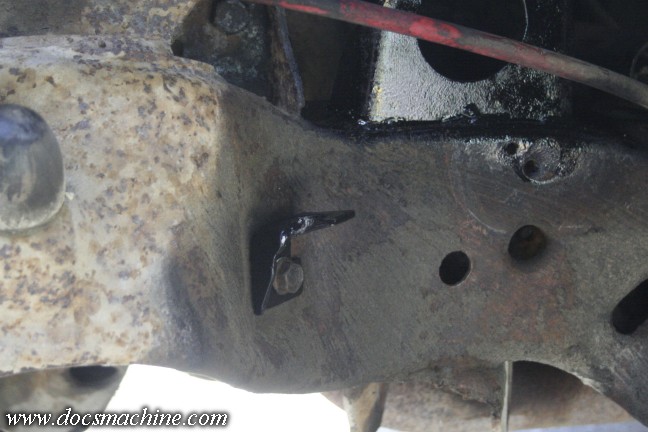
Those freshly-painted mounting brackets get bolted back to the frame,
to give me something to aim the new lines at.
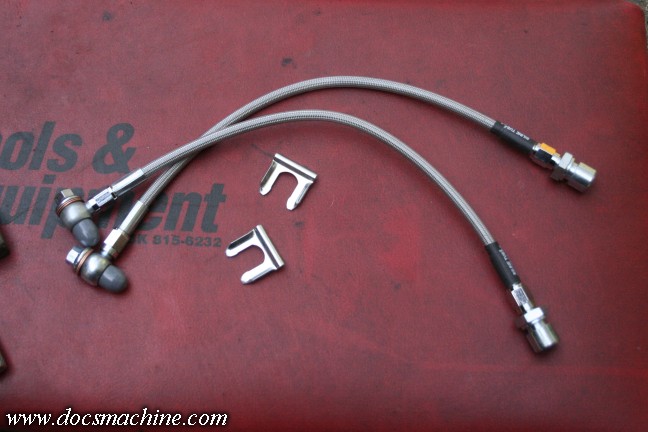
I'll aslo be swapping the factory rubber lines for braided-stainless, which have less
expansion flex under pressure.
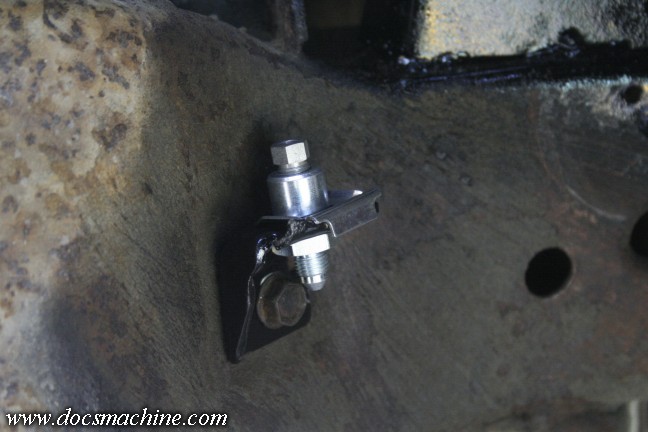
These have adapters for the ends, so I mounted those to the frme brackets.
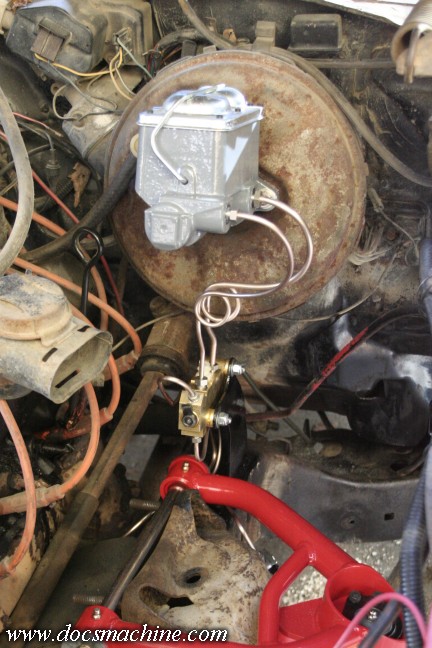
And that let me run the front two hardlines from the P-valve to the flexible lines.
And while I still had the fenderwell out, I had one other thing I wanted to take care of.
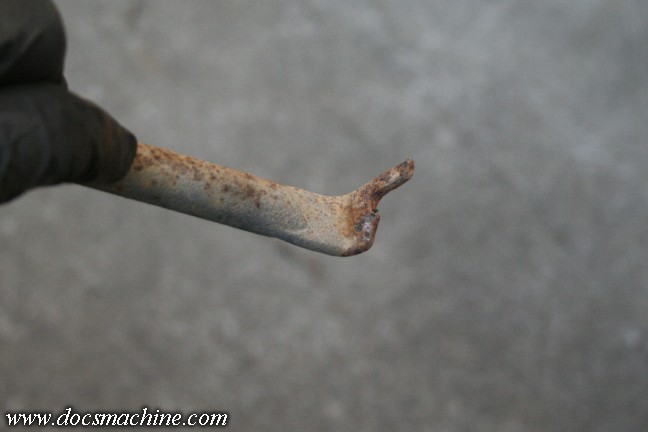
One of the fender braces had fatigued and cracked off, letting the fender flap in the wind.
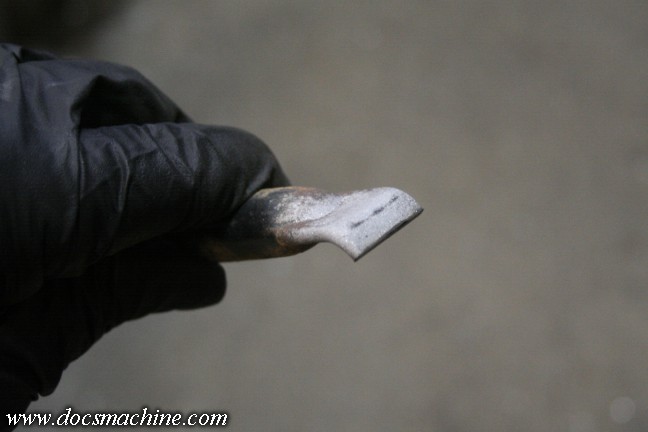
Cut the remnant off and sandblast it smooth...
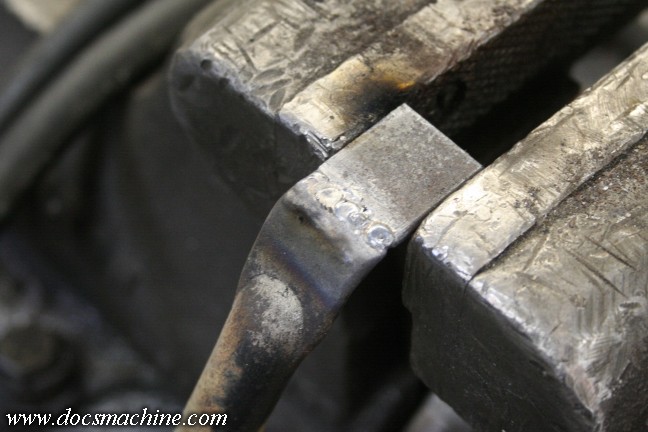
TIG on a new piece of steel...
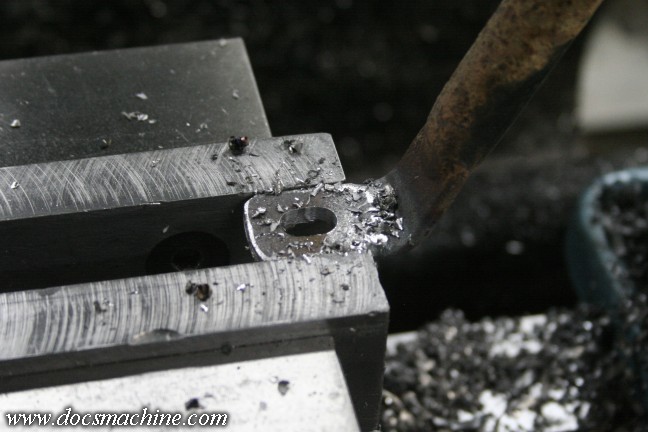
Clan it up on the grinder and mill a new slot...
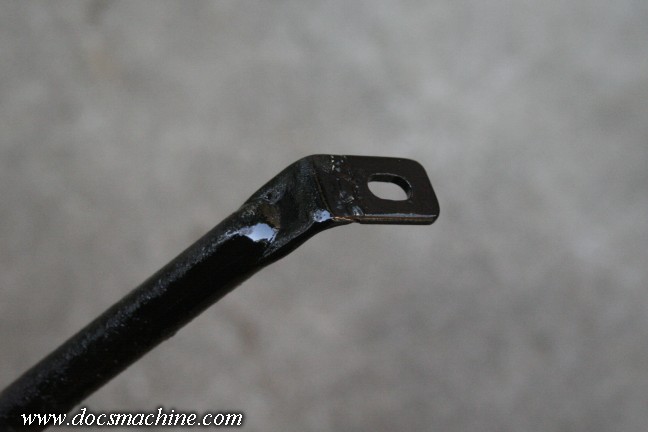
And slather it, too, with some POR-15.
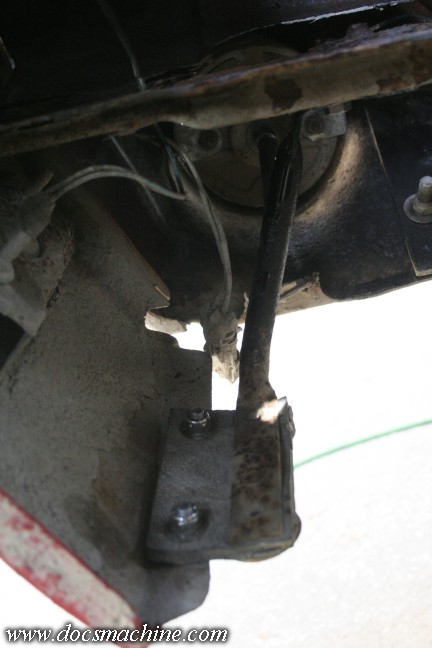
Then when it's dry, mount it back in place with some new stainless fasteners.
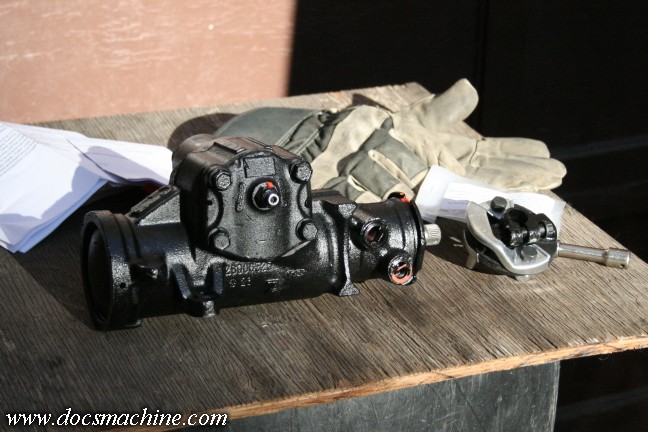
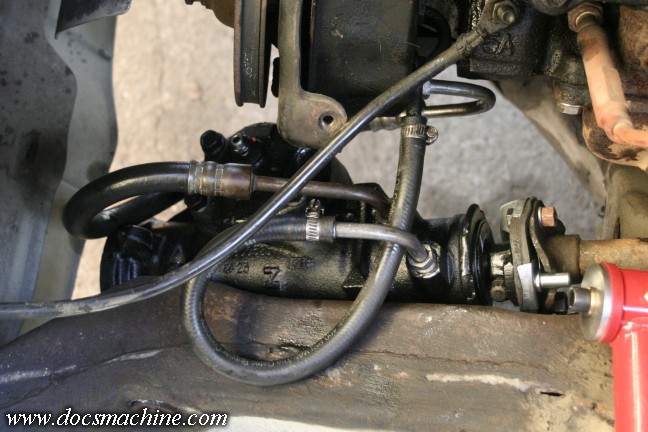
Now for the good stuff. I'd removed the steering box earlier, and going by advice from the
internet, swapped it with a Jeep steering box, which has a faster ratio. From the factory
16:1 down to 12.7:1, but still having the same full 87 degree sweep of the arm.
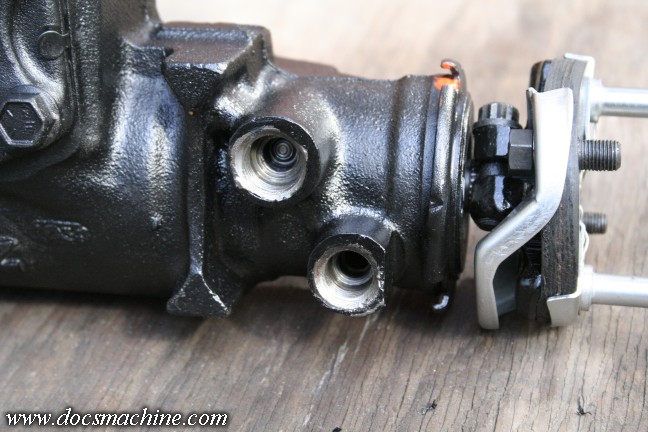
One issue with the swap was going from the modern metric O-ring fittings, to the old flared ends.
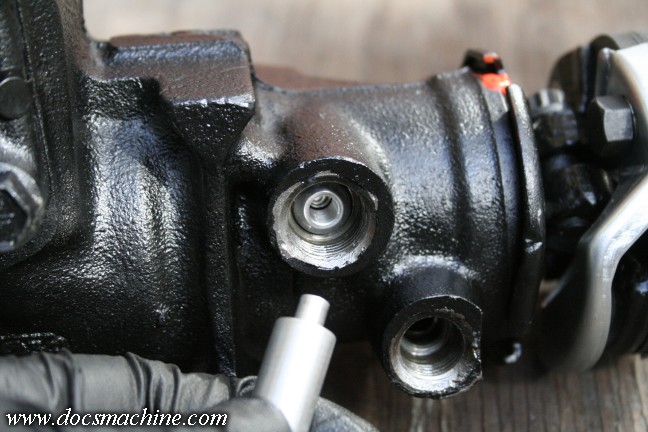
A company called Lee Engineering makes a conversion kit, though, which is really just new tapered seats.
You also need the right spline-count "rag" joint, but I was planning to replace my old one anyway.
Save for the hose inserts, the box is externally identical to the original Cutlass box, and bolts right back into place.
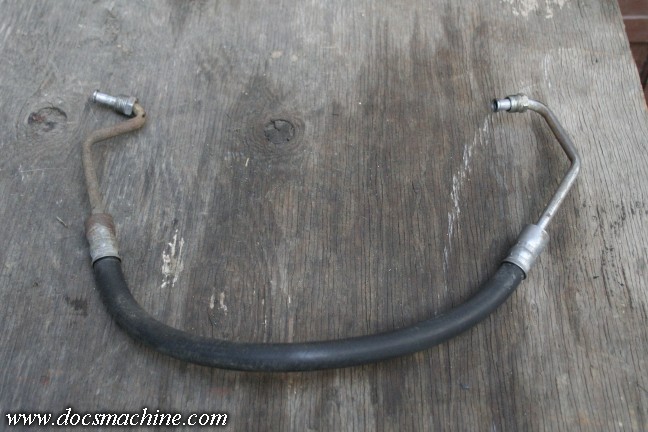
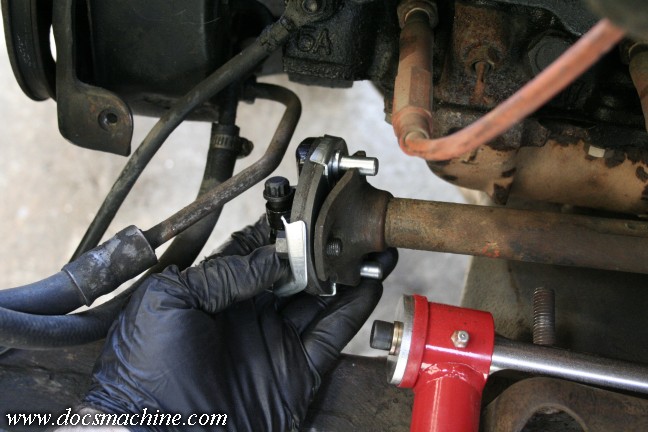
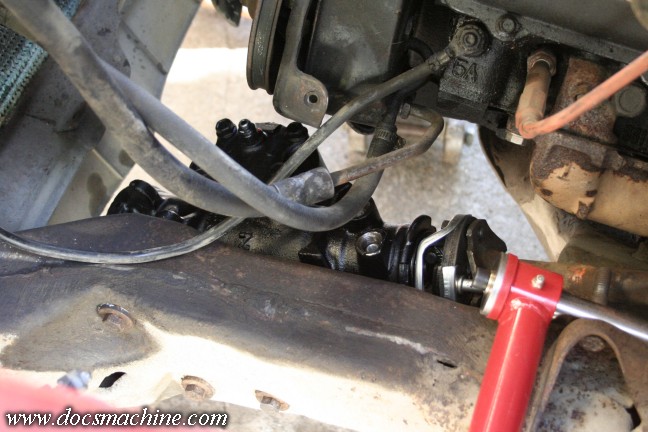
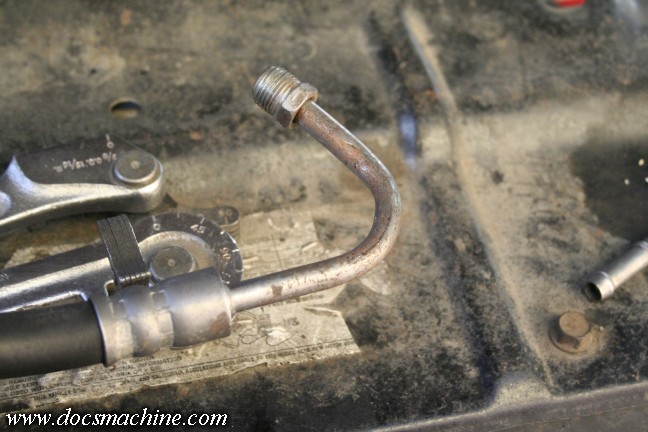
Now, the hydraulic lines themselves didn't want to fit all that well- I'd had to do some mixing
and matching back when I put this motor in in the first place, and while the hose worked, it
wasn't really a proper match. I tried to make some effort to straighten things out a bit...
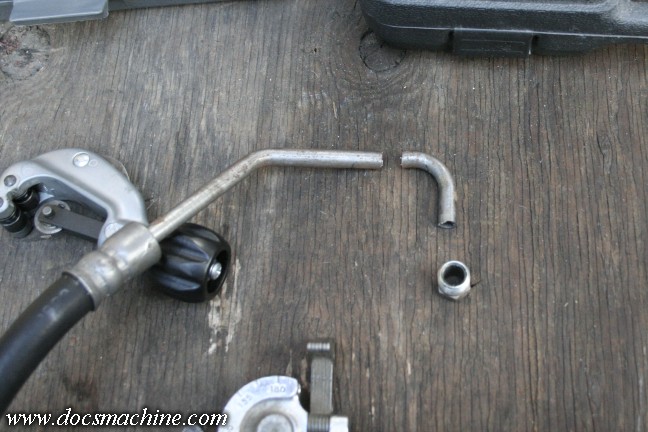
... By cutting a little of the excess meat off the hard portion of the lines.
And increasing the bend to give a little more favorable angle to the hose routing.
Still not the cleanest routing, but I was limited by the angle of the lines into and out
of the steering pump. It's a little better than it was, though, and a bit more out of the way.
All text, photos and graphics
Copyright 1998- 2025, Doc's Machine & Airsmith Services. All Rights
Reserved.
Information contained in
these pages is for reference and entertainment
purposes only. Our methods are not always the best,
quickest, safest, or even the correct ones. It's up to you to know how
to use your own machines and tools.
Keep your fingers away from the spinny blades o' death and you should
be all right.


