[
Return to Main Page ] [
Return to Projects Index
] [
Doc's Machine & TWB Store] [
Contact Us ]
[
The Whiteboard Webcomic
]
Rebuilding A Junker Cutlass Into A Kinda-Sorta Faux-Four-Two Musclecar, Part 8:
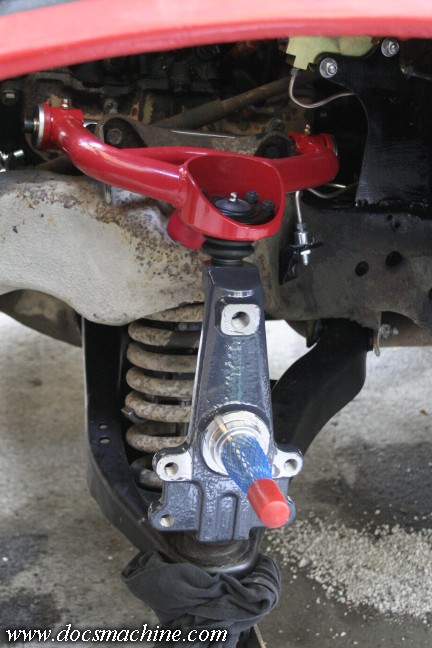
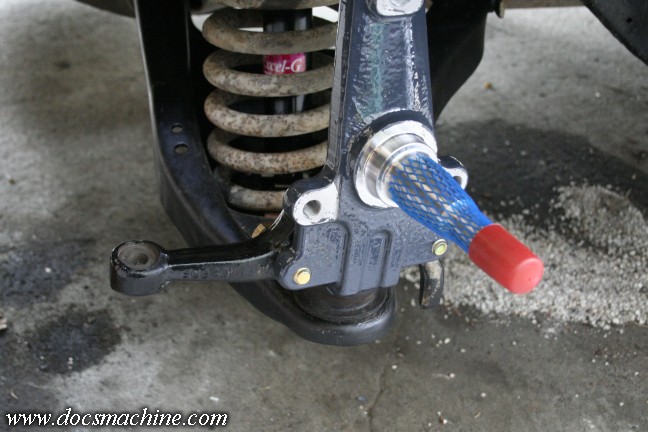
Okay, now we had the A-arms, spindles and coil springs back in place, and a solid start on the brake lines.
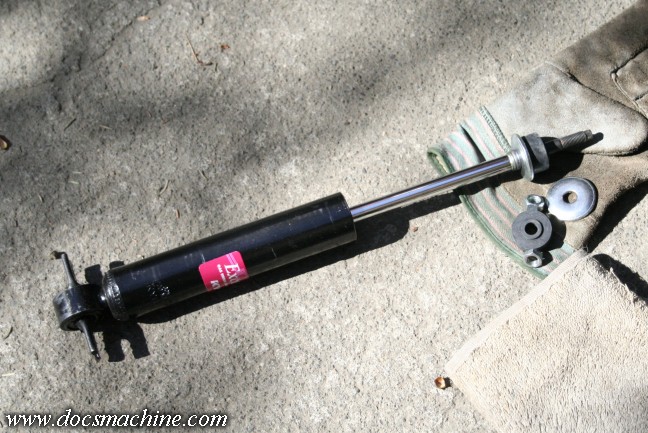
Next up, we throw some new shocks in there...
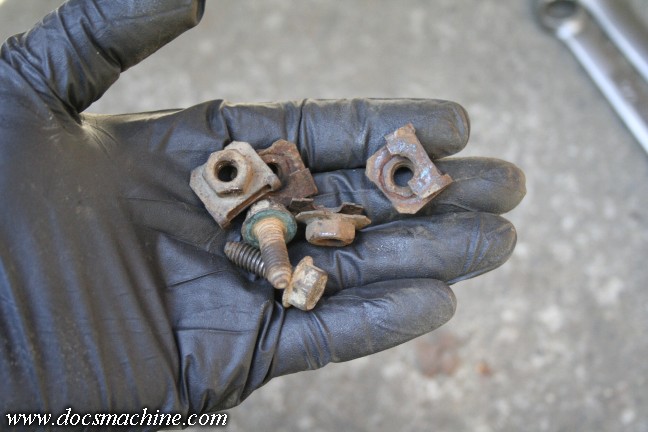
Thankfully I was able to salvage enough J-Nuts for the lower ends...

Though I still went with new stainless bolts and neverseize. :)
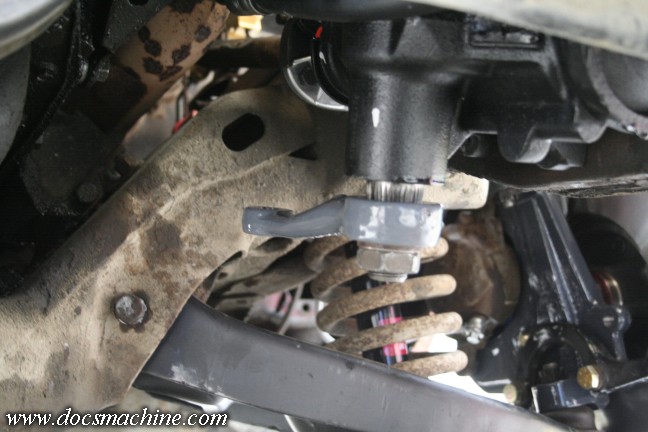
Bolt on the freshly-painted steering arm, with fresh Garade-8 bolts...
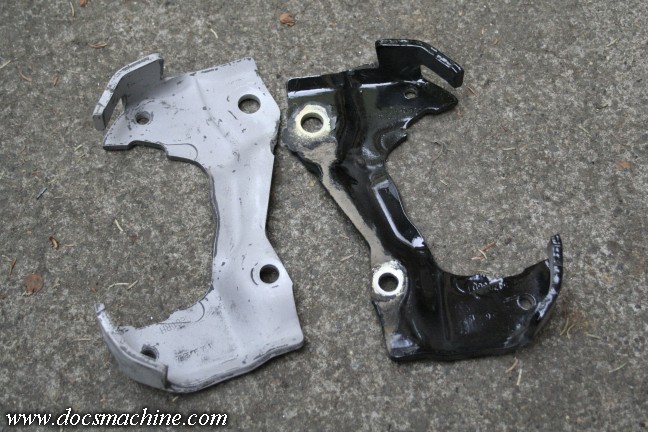
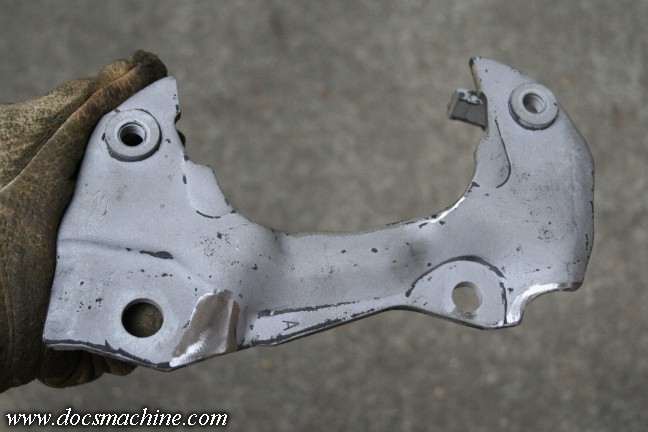
Now, when it came time for the caliper brackets, I discovered an issue. Why is the one sandblasted?
Because they didn't fit. The spindles came with zero installation instructions, so it took me a bit to figure out.
The bottom was even worse, leaving a 3/16" gap.

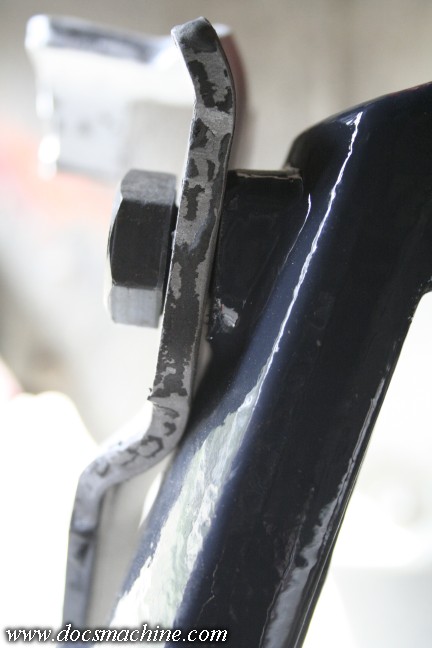
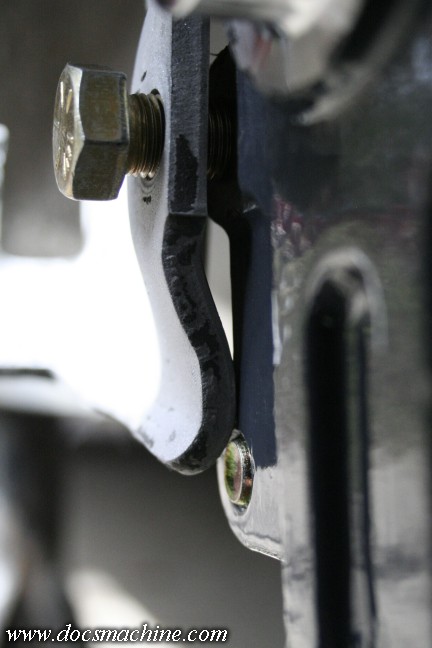
Turns out you're supposed to clearance the caliper bracket, notching it at the bottom...
And then grinding a little relief on the back.
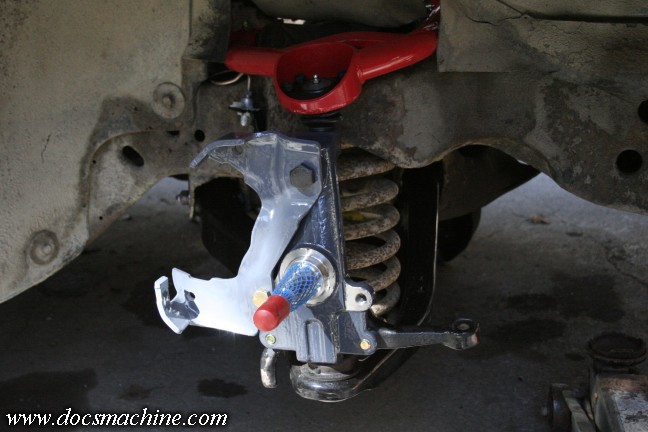
After test fitting, I repainted them with yet more POR-15, and once that was cured, mounted 'em up.
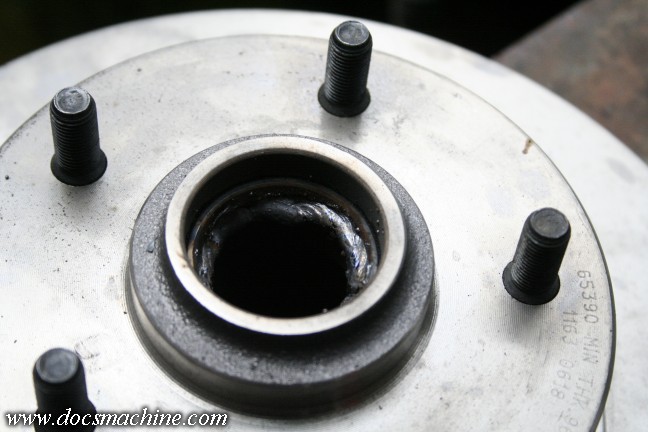
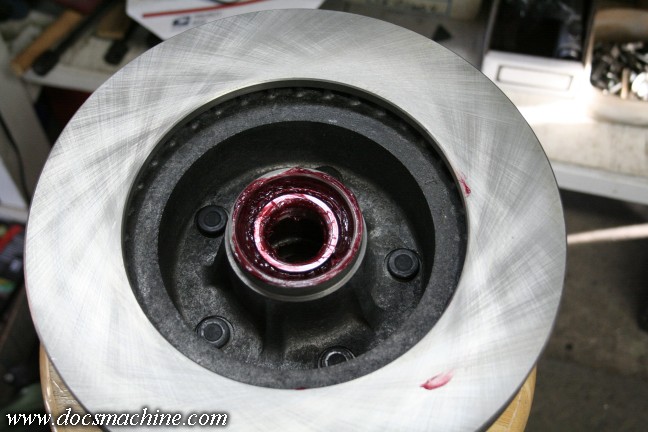
After that, it was time to mount up the brand new hubs and rotors. These came with bearing
races already installed, but those races actually had tiny spots of rust even when I first
got them, presumably from poor storage- that is, on the supplier's part. I popped most of
'em out, but one proved stubborn, and there wasn't much ridge on the inside to fit a drift.
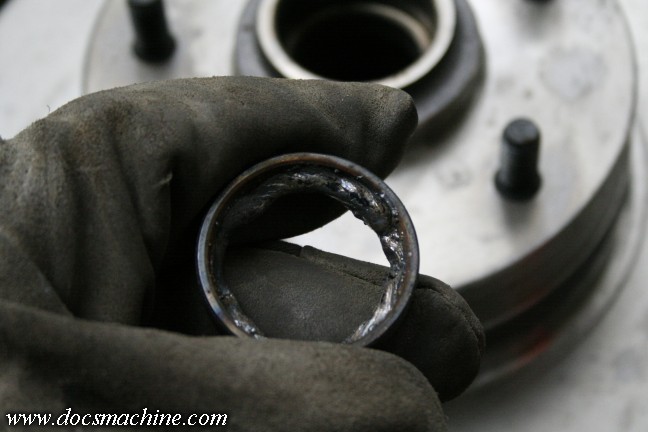
So I stepped back to the old trick of running a weld bead around the inside, and when it cooled,
it fell right out.
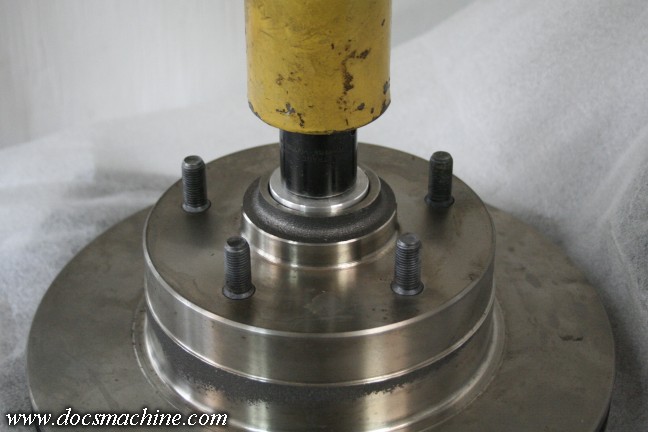
Then I pressed the new races in...
made fredamnshur there wasn't any weld detritus in the bore, and packed the new bearings in.
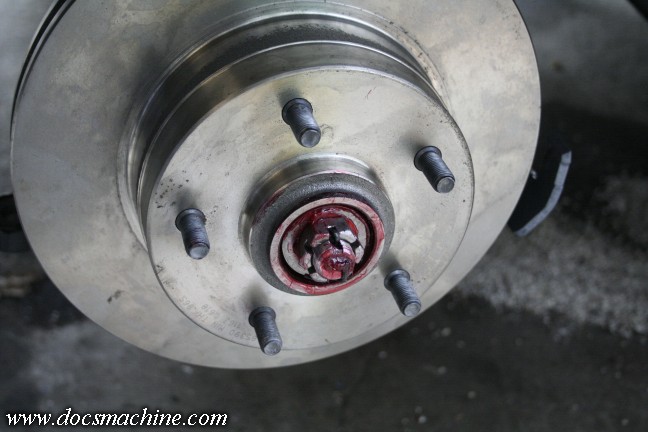
Slid 'em in place, torqued the castle nuts, backed 'em off, and pinned 'em.
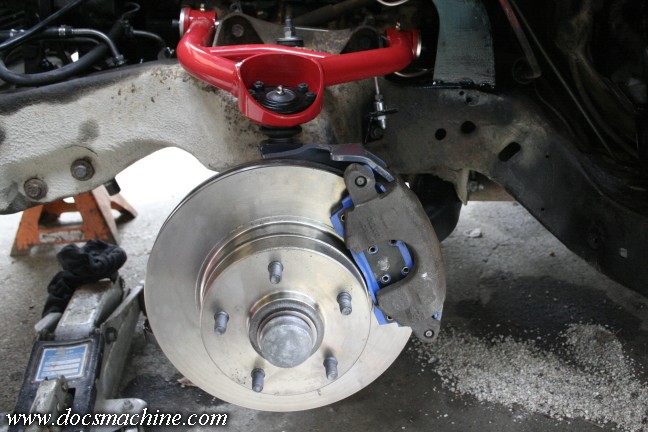
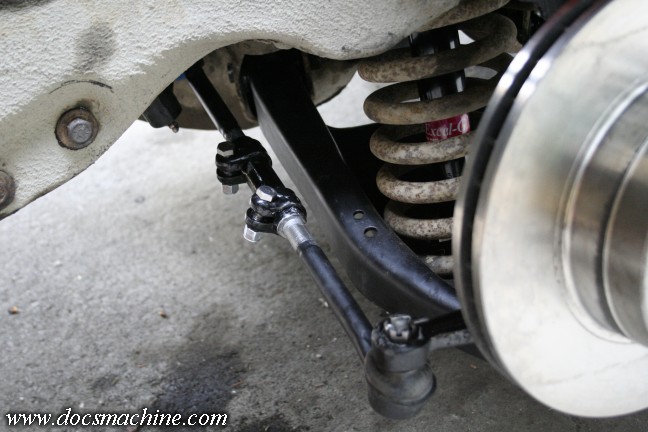
And finally, slid the calipers and pads into place.
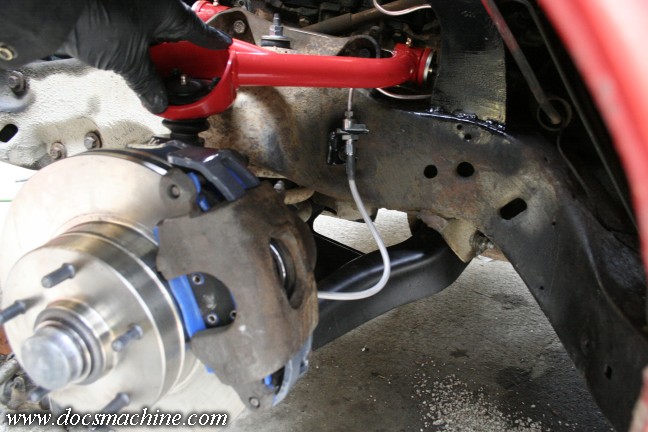
I could then hook up the last section of brake line; the braided stainless hoses from the caliper to the frame mounts.
Moving inboard, the freshly painted Pitman arm gets bolted to the steering box...
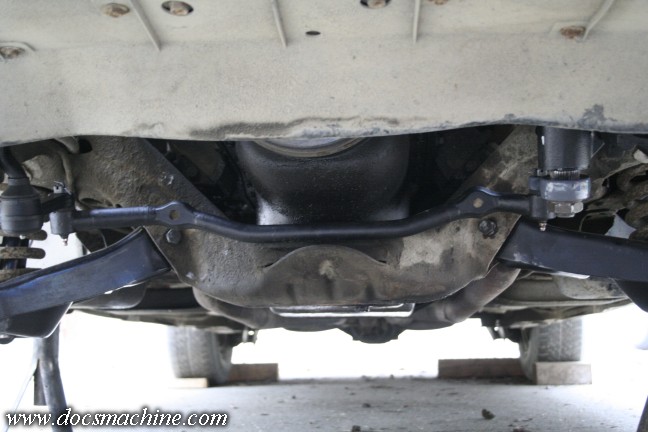
The brand-new center link (or 'track rod') gets hung on it and a new idler arm...
And finally, the new inner and outer tie-rods, with heavily-anti-seized threads and stainless clamping bolts.
And in all cases, each castle nut gets a dab of antiseize as well, along with a stainless steel cotter pin.
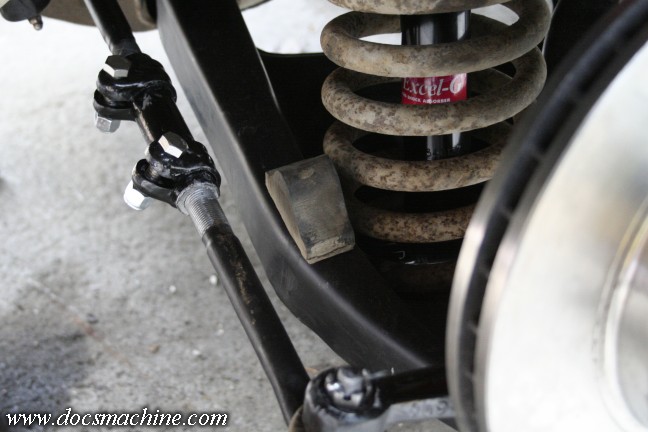
One last finishing touch, reinstalling the rubber bump stops on the lower A-arms.
All text, photos and graphics
Copyright 1998- 2025, Doc's Machine & Airsmith Services. All Rights
Reserved.
Information contained in
these pages is for reference and entertainment
purposes only. Our methods are not always the best,
quickest, safest, or even the correct ones. It's up to you to know how
to use your own machines and tools.
Keep your fingers away from the spinny blades o' death and you should
be all right.


