[
Return to Main Page ] [
Return to Projects Index
] [
Doc's Machine & TWB Store] [
Contact Us ]
[
The Whiteboard Webcomic
]
Saving a 1943 Springfield Engine Lathe, Part 2:

The trailer ride home was uneventful, although we tried to run it past the truck depot and get an overall
weight only to find out their scales were broken- pity, as I was curious to know how heavy this Monster is.
Anyway, I called over a neighbor with big 966 and he was able to drop it right in front of my shop. It doesn't
look like it here, but I had just a couple of months before the snow was due to fly, so I was kind of in a hurry.
Tarps and a portable canopy kept 'er dry(ish) and let me work on it even in the rain.
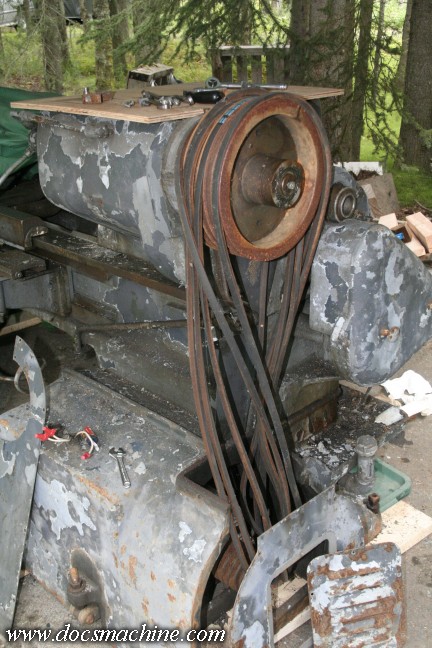
The first order of business was a real live test- to put power to the motor, and with the motor,
try the clutch, gears and feeds to better evaluate the whole machine. As I noted in the first section,
a bad bearing, bent main shaft or damaged gear could have easily turned this whole works into scrap.
I started by removing the belt covers and undoing the belts- I wanted to try the motor first, without
any drag from the headstock. Plus I wanted to test the electricals before spinning any gears,
just in case there was a bad bearing or something in there.
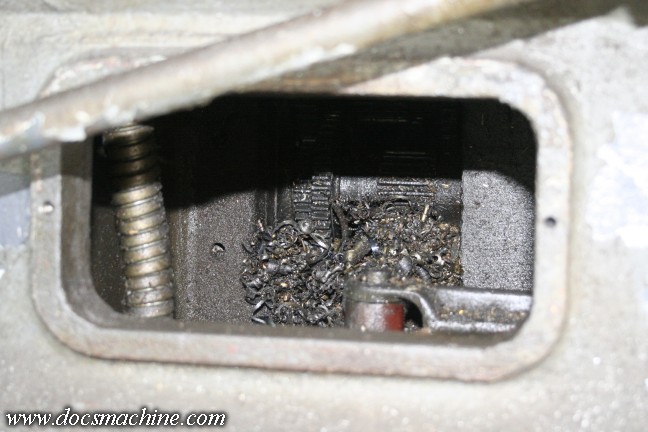
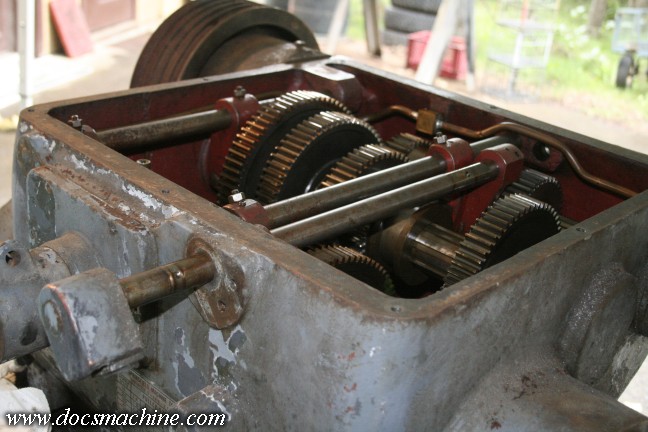
Next up was an evaluation of the rest of the drivetrain, to make sure there wasn't anything in the way
if something started to turn. Unfortunately, the space under the headstock was full of decades-old chips
and swarf, much of which had spilled over into the threading gearbox. The gears in there were
clogged with junk, so I wouldn't be able to test any of that until it was thoroughly cleaned out.
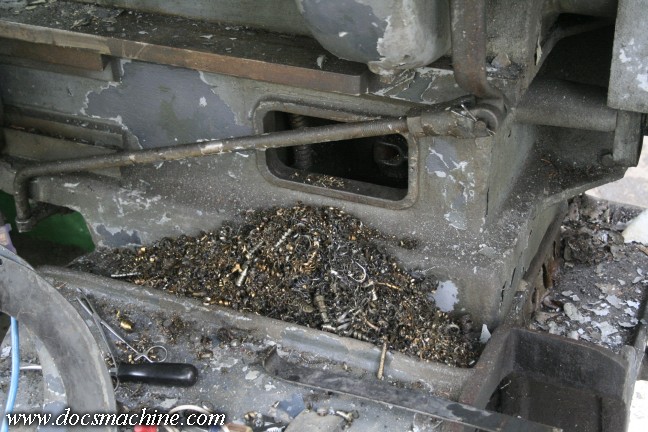
his is just some of what I dragged out of there. Steel, stainless, brass, bronze, you name it.
I filled a small bucket with it and there was still more in there.

Next up on the list of importance was making sure the headstock had good oil. Springfields have a pressurized
oiling system, with a headstock-driven gear pump pulling oil from a reservoir in the base casting. Oil runs back
down through a pipe in the center of the bed casting. I of course had no idea how long it had been since the oil
was last changed- or even checked- and with it sitting outside for at least a couple of years, I decided it was worth
a look to see what kind of condition the oil was in. This nameplate is a cover to seal the oil reservoir, and has
a pair of drain plugs built in, one for each side of a divided 'tank'.
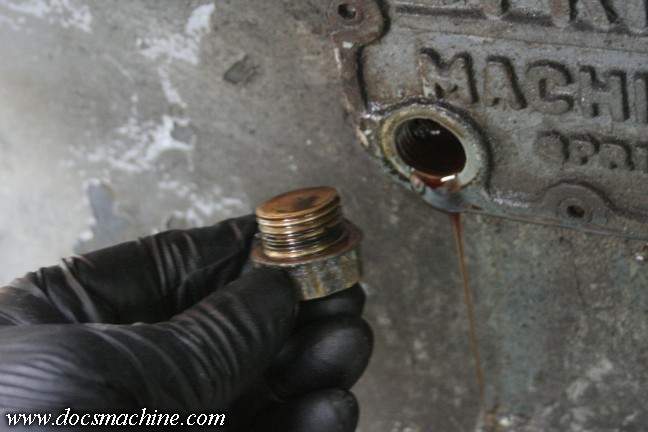
The plugs are large brass pieces, sealed with a soft copper gasket. There was over five gallons
of oil in the two compartments, but I managed to save the bulk of it.
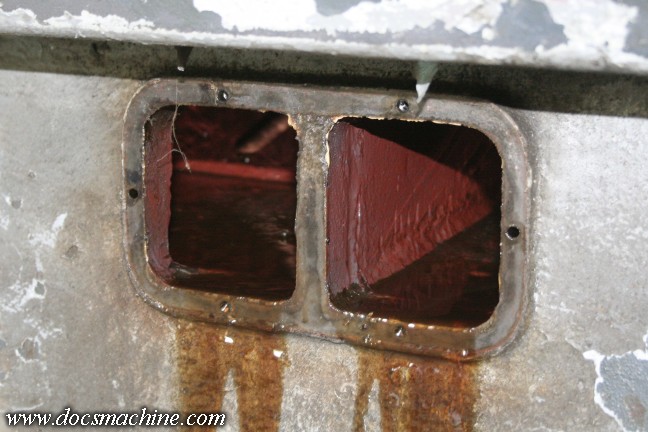
I didn't necessarily need to take this cover completely off, but again, I wanted to give it a good
look to check for debris, loose bits, rust, water intrusion or just general gunk. I was happy to see
that there was very little of any of that in there, just a very thin swish of gunk that was nonmagnetic.
I let the oil settle for several days, poured off most of it and gave that a crude filtering with
paper towels and a funnel, and dumped just under five gallons back into the headstock.
(Of course, after closing the cover plate back up.)
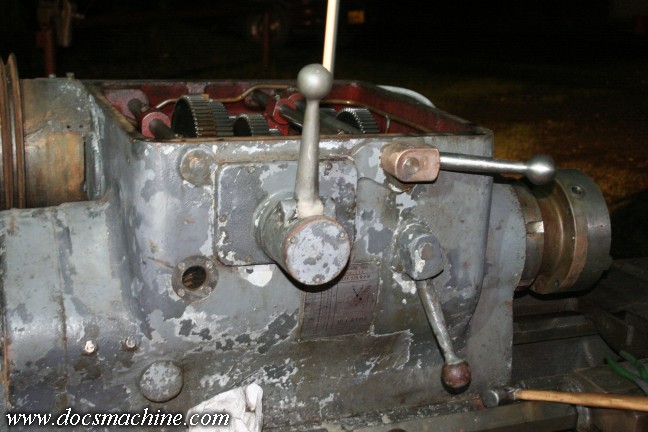
Next up, since the idea was to test the gearing in all possible speeds, I had to fix two of the three levers.
This lever assembly has both a left-right motion, and in-out, shifting something very much like the old
"three on the tree" manual transmissions from back in the day. It had been bashed at some point,
which snapped off the 'ears' of the shifter fork inside. Fortunately again, the parts had been
retained, and initially, it was an easy welding job.

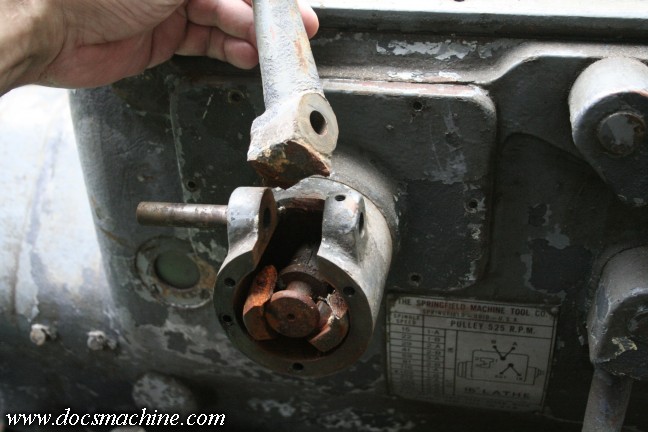
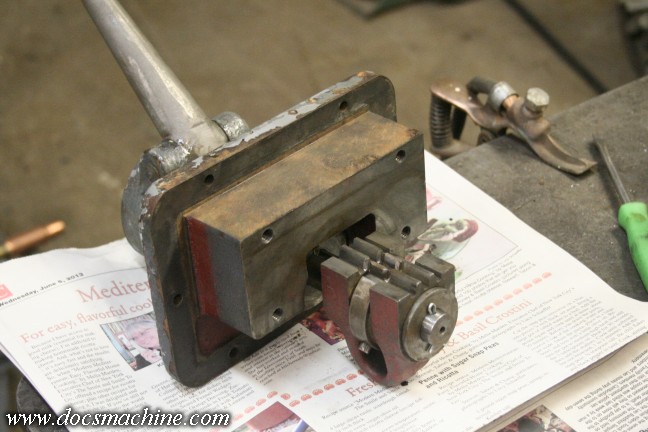
The other lever was a simple two-speed affair, that I initially thought had to come apart from the inside.
These tapered pins held the shifting fork (in red) to the rod- one just tightens the nut down to extract the pin.
The the whole shaft can slide out the front.
As it turned out, it was unnecessary- once I was able to strip the three or four layers of paint off,
I noticed the lever bushing was held onto the rod by another taper pin. The bushing, I was also surprised
to note, was solid bronze, and weighed almost two pounds. They knew how to make 'em back then.
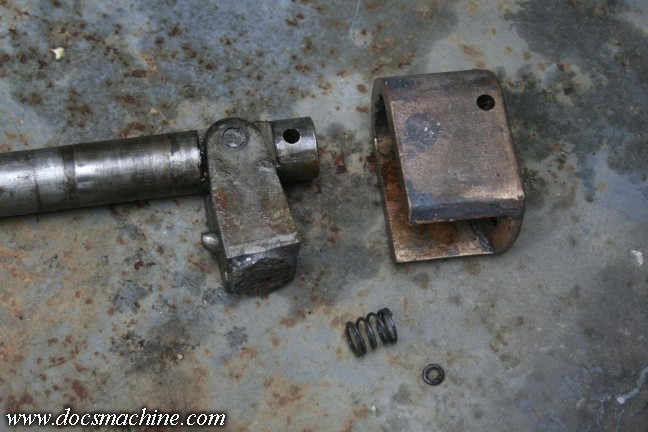
Once that pin was removed, the cover bushing slides right off, an inner pin slips out releasing the lever yoke,
and a return spring comes out. The original springs, on both levers as it turns out- had long since broken and
had been replaced by somebody who just jammed a small spring up in there, rather than replacing it properly.
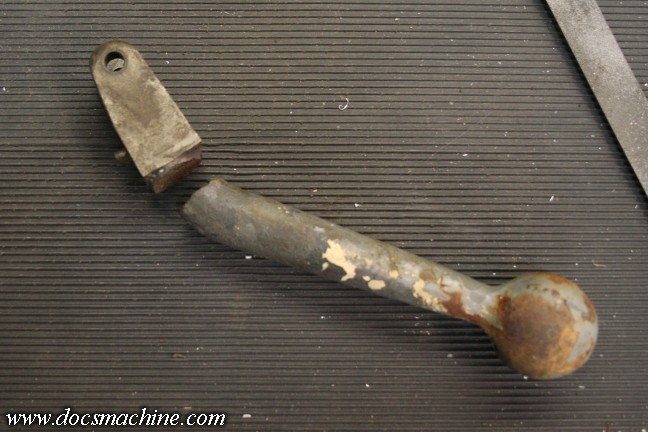
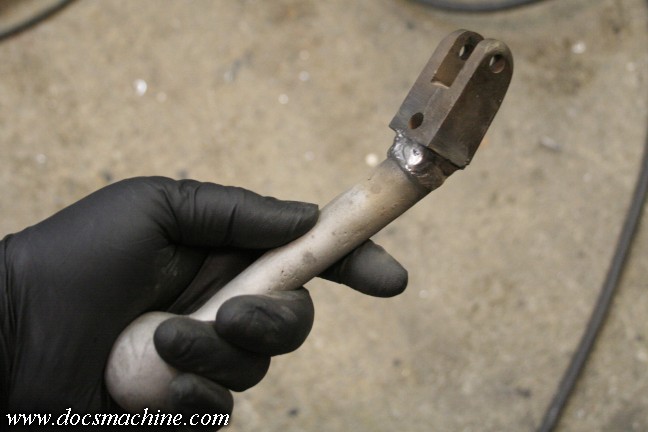
That got me the loose parts necessary to do the repair. As noted in part 1, I was lucky in that the
broken parts had been kept, so in this case, rather than having to fabricate an entire lever,
it was a relatively simple welding job.
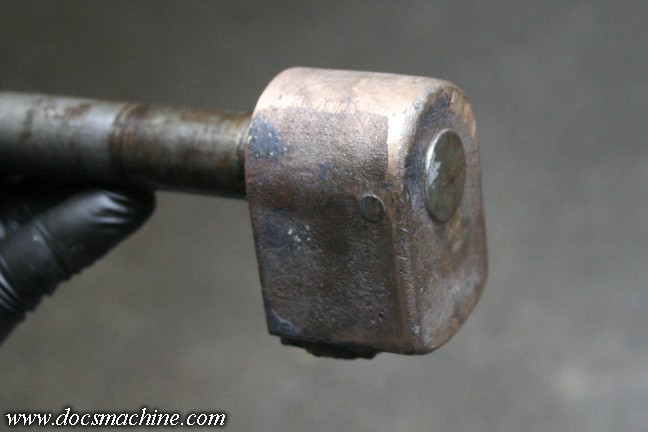
Once bead-blasted, it turned out to be a clean break, with the parts
fitting snugly back together like two pieces of a puzzle.

Note the hollow ball at the handle end- the wire held a "core" insert
in place while the iron was being poured.
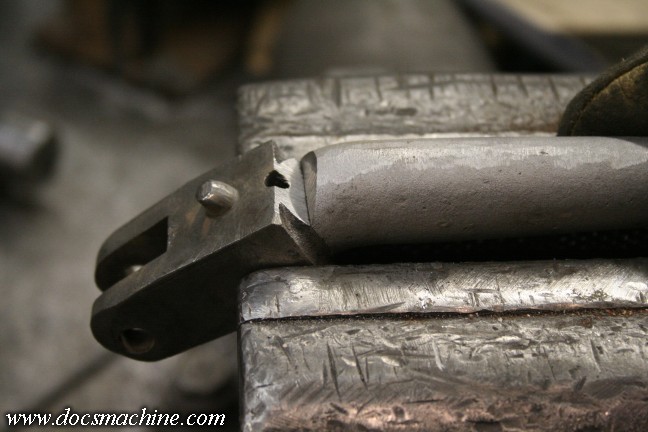
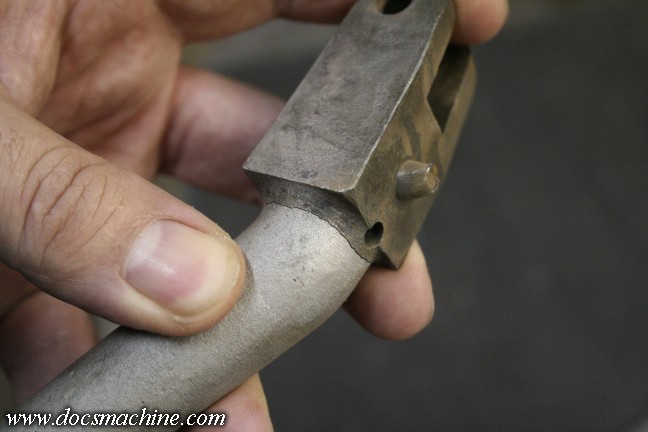
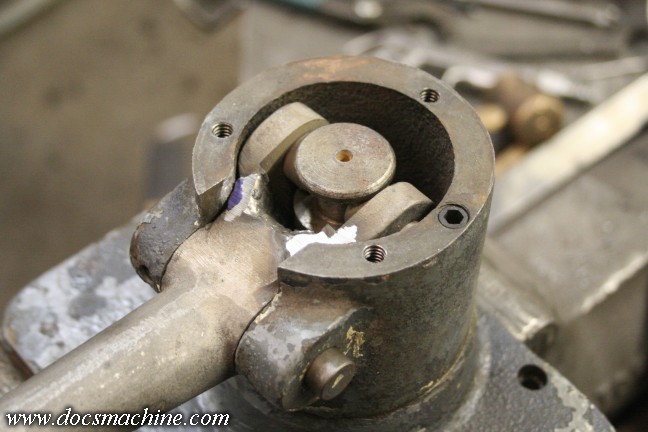
The repair was fairly easy: I used a special stick-welding rod called Muggyweld, which makes fixing most
cast iron parts almost as easy as welding mild steel back together. I started by grinding out the back to
form a V-groove, and setting the parts carefully in the vise to hold everything in alignment. Then it was
a simple matter to lay a short bead, let it thoroughly cool, grind a notch at the front,
weld, let cool, and repeat for the two sides.
And done. Other than the leave-it-to-cool time, it almost
took longer to write about it than actually do it.
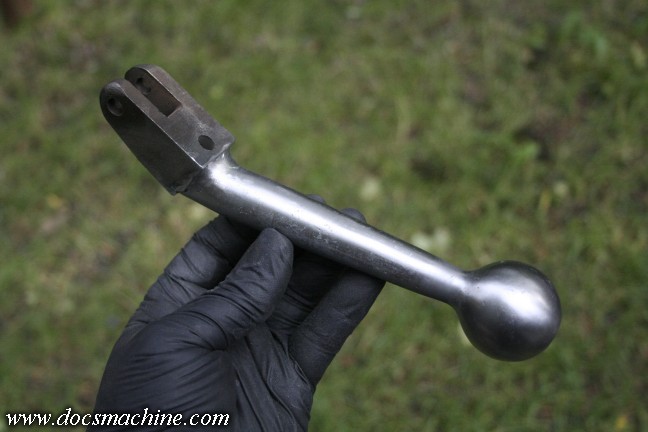
I then used some small air grinders, a Roloc disc sander, hand files and some Scotchbrite
to dress the welds down and get it looking almost factory new again.
The 3-speed lever was very similar; the 'ears' fit back into place easily, so it was a relatively
simple matter of tack welding, grind a bit, fill weld, grind a bit, fill again. Eventually I had it
back together and with a little trimming got it fitted back into place.
The impact of whatever broke it in the first place almost sheared a cotter pin inside the assembly,
so that had to be replaced as well. The rest was just cleaned, relubricated and reassembled.
And then reinstalled. There's a rack mechanism that bolts to the inside,
so this can't be done without the top being off. At this point, we're
almost ready to test this badboy.
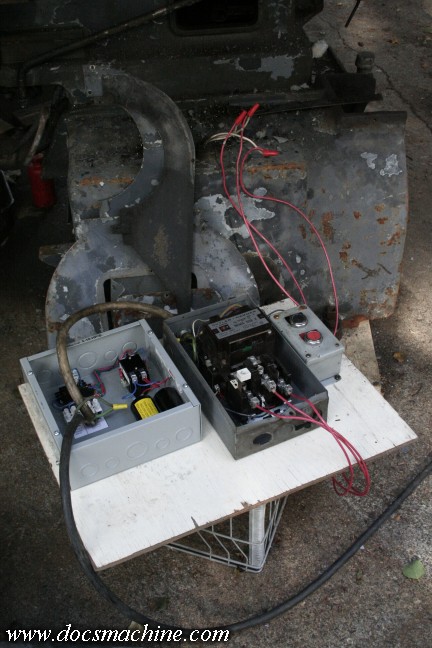
The motor is a big 10HP 3-phase, so just to test it, I ordered an inexpensive static phase converter
off eBay. For the test, I screwed it, the original magnetic starter and the old pushbutton controls
to a chunk of plywood in order to keep it all organized. I'm sure I'm violating about a hundred
electrical codes here, but again, just a test. Hardly anyone died.
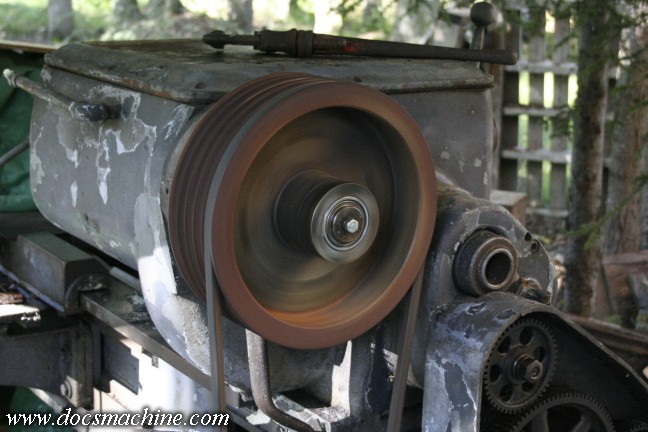
Success! It was even turning the right direction the very first time. And, as luck would continue to have it,
there were no nasty surprises- no bearing ruble, no gear-tooth clicks, nothing but the expected straight-cut
gear whine. The clutch engaged firmly, every gear worked smoothly. I even made a
YouTube video of it.
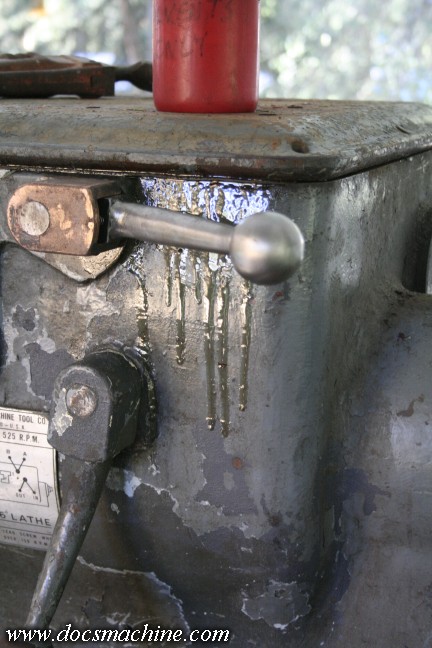
Even the oil pump worked great. At this point I was happy, as the headstock had proved to be
in great shape, and all the other problems were fixable with realatively minor work. I didn't want
to try the threading box due to the crud in there, and I didn't want to slide the carriage around too
much due to the rust and gunk under there, but still, I wanted to try a quick cut at least.
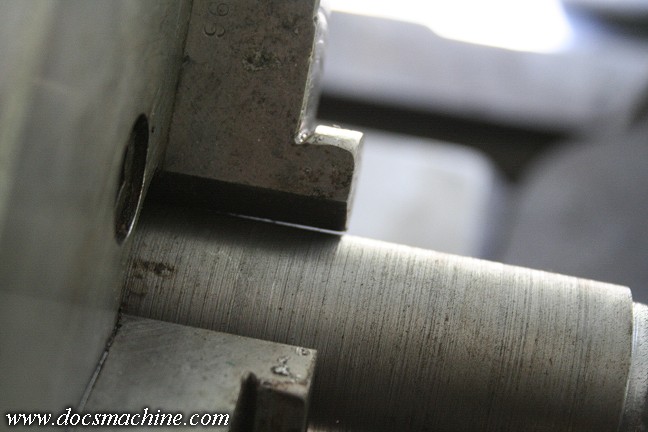
Oops, never mind. The chuck turned out to be badly bellmouthed- worn enough that the jaws
don't lay straight anymore, and only 'grab' at one point. I tried a small cut, but the part wobbled
so badly in the chuck I was afraid I was going to break something. I may be able to fix it later,
by grinding the jaws back to straight- though that assumes the chuck body isn't "sprung", which
if it is, it's junk and will need to be replaced. In any case, I'd proven the motor and headstock,
and since, at the time, winter was rapidly approaching, it was time to start dismantling things.
All text, photos and graphics
Copyright 1998- 2017, Doc's Machine & Airsmith Services. All Rights
Reserved.
Information contained in
these pages is for reference and entertainment
purposes only. Our methods are not always the best,
quickest, safest, or even the correct ones. It's up to you to know how
to use your own machines and tools.
Keep your fingers away from the spinny blades o' death and you should
be all right.


